Subpanel Install, Dual Emporia Vues, and more Home Assistant soft sensors

This year I've been expanding the electrical footprint in our home. I plan to begin a large solar install next year, so replacing our oil heat and propane appliances with electric has been high on my to do list. I added a circuit for our basement laundry, two 20A circuits for our partially finished bonus room in the attic, two minisplits, a heat pump hot water heater, and a run out to our chicken and goose coops. In doing so, I maxed out the breaker space in my 32 space GE Powermark panel. We recently purchased an induction stove - the full main panel was in my way of installing it.
Since last year, I've been monitoring my main breaker panel with an Emporia Vue, flashed with esphome and integrated with Home Assistant. The emporia only has 16 channels (+2 for your incoming conductors). Even though I'm only monitoring one leg of my 240v circuits, I still couldn't monitor them all. There wasn't more space in the panel to add a second unit. A single bigger panel couldn't fit two units either. I decided to install a 100A subpanel next to my main panel. This would give me a lot of future flexibility, make space for the induction range, and allow me add a second emporia vue to monitor every circuit in the house.
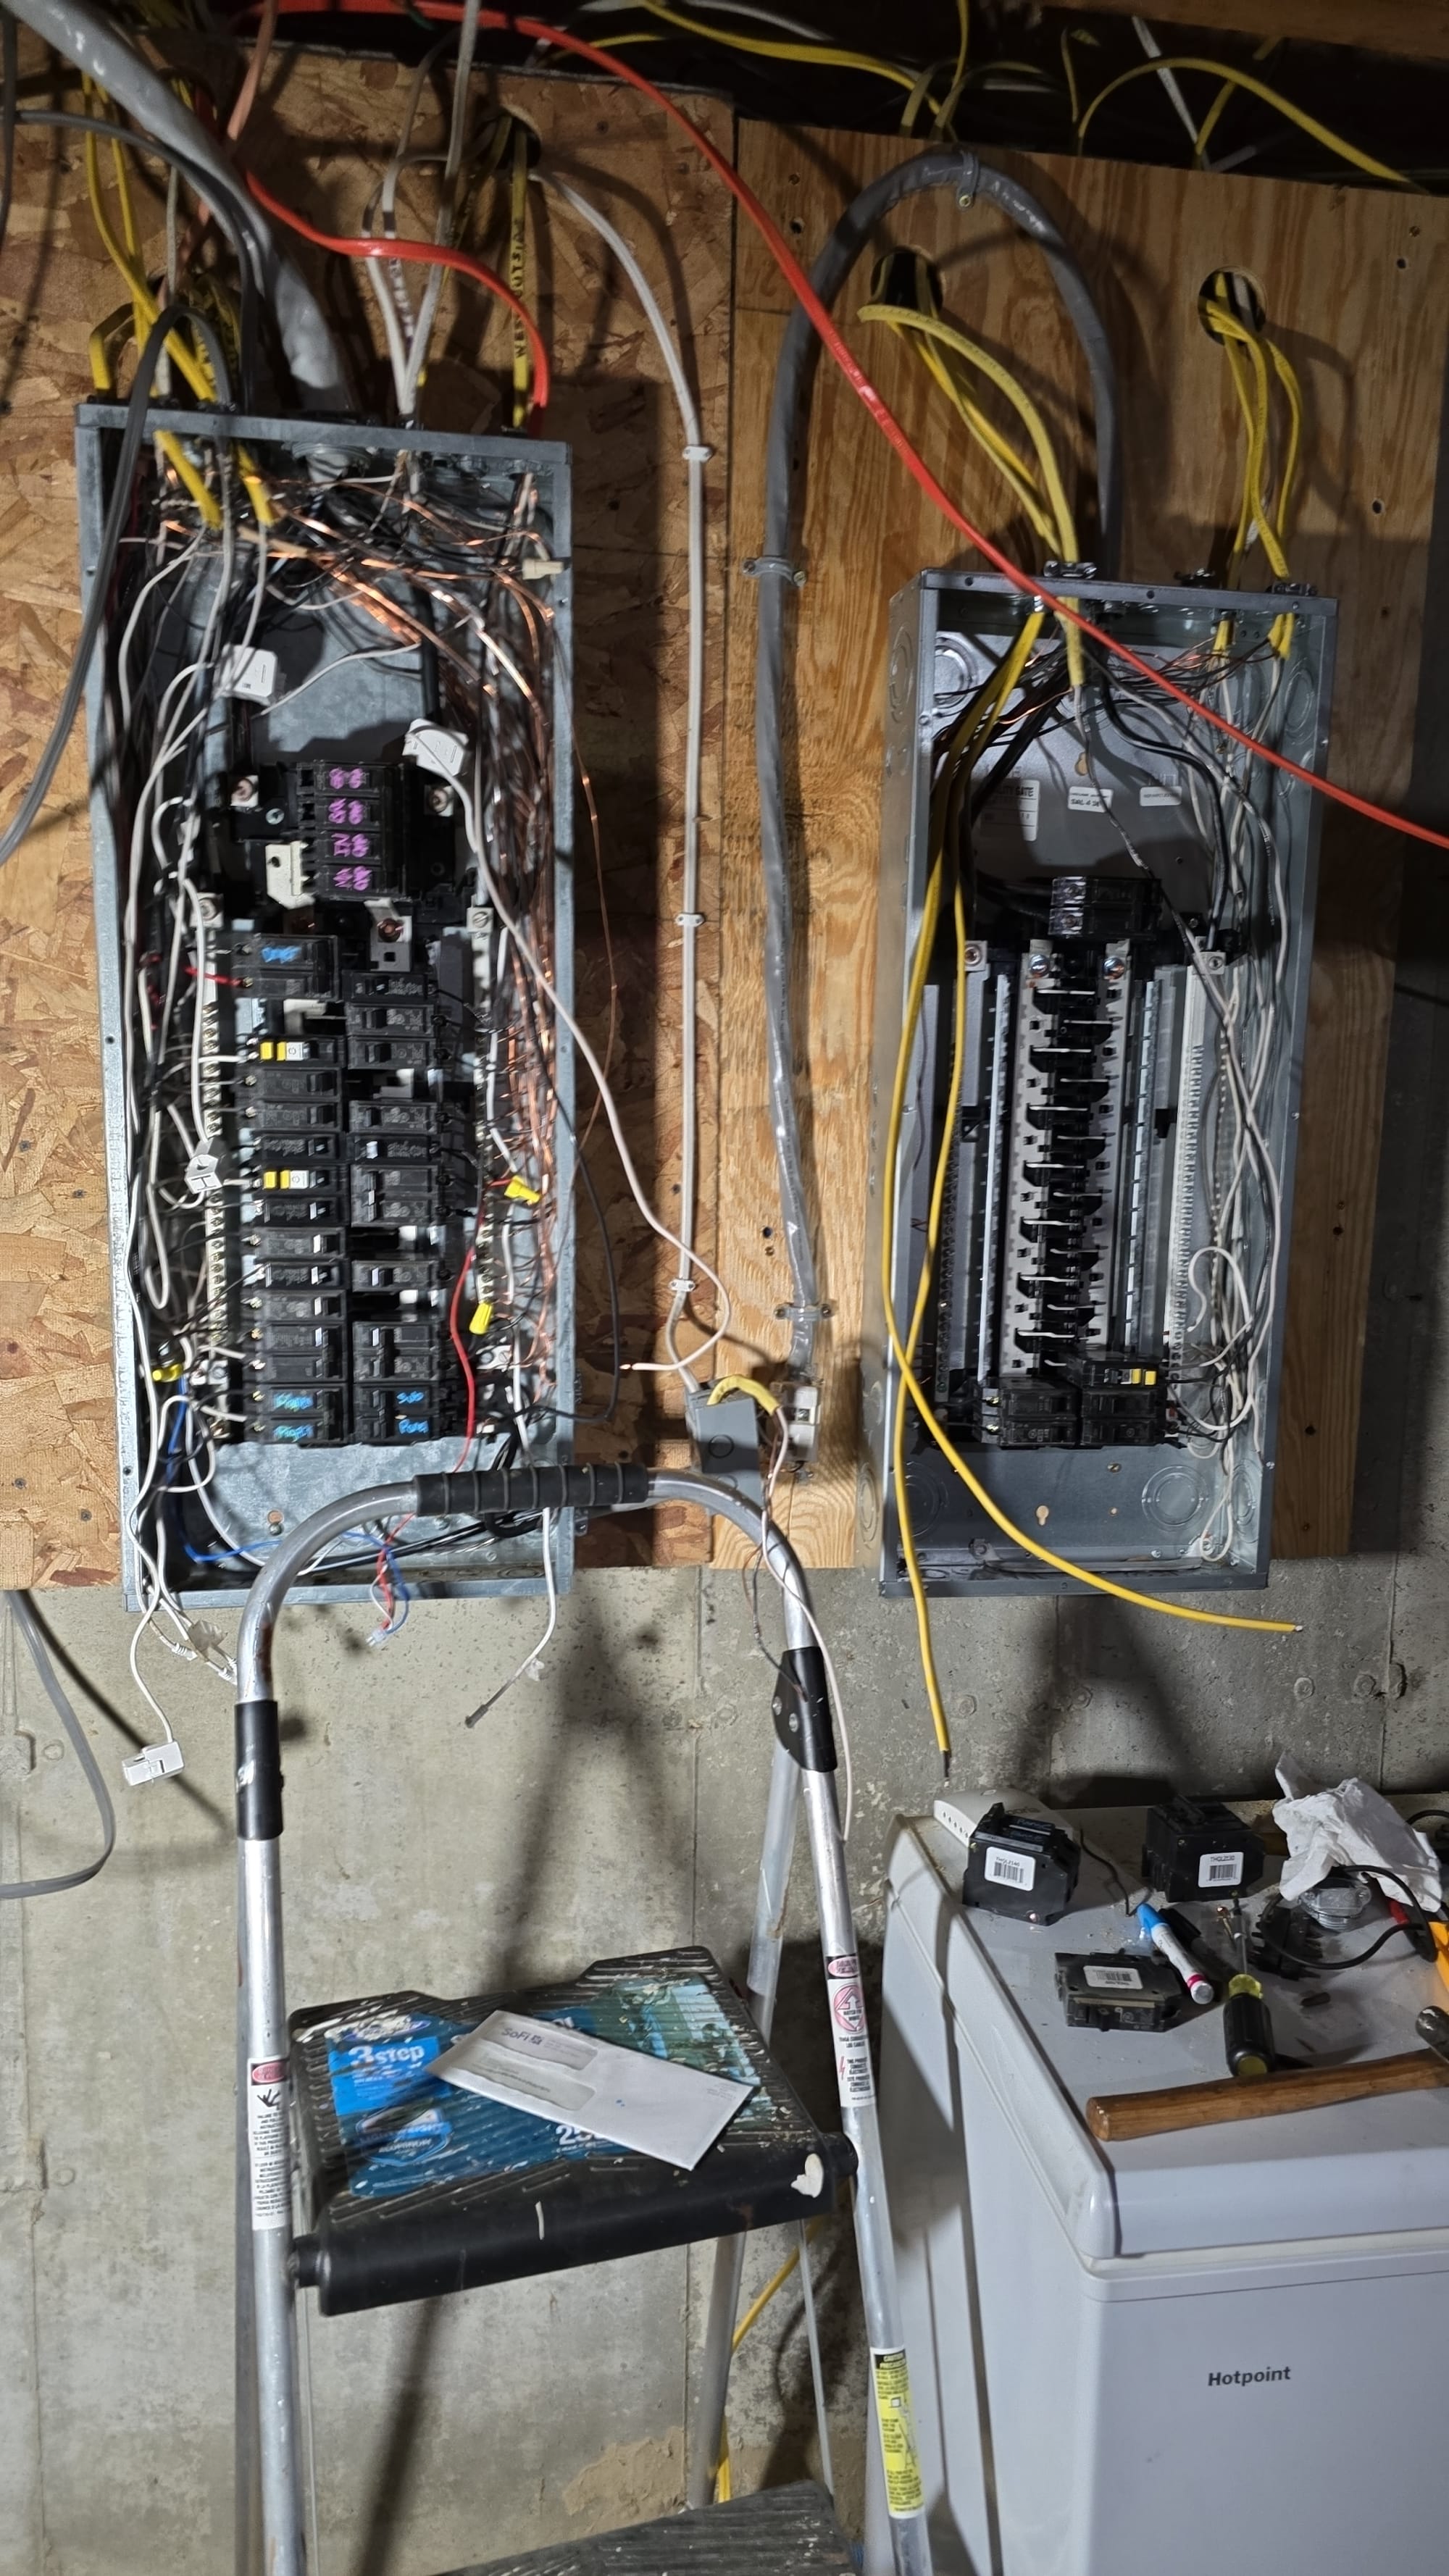
I bought a GE Powermark gold 32 space main breaker panel, 2/2/2/4 aluminum SER cable, noalox, and a 90A GE breaker. First, I mounted the new subpanel on a piece of plywood. To prepare it to be a subpanel, I removed the neutral/ground bonding bar and installed the ground bonding screw. Back in the main panel, I removed my heat pump hot water heater circuit and installed the 90A breaker. I added lugs to the ground and neutral bars, landed the feeder cable in the main panel, and connected it to the sub panel. I used noalox on all aluminum connections. I moved 8 120v circuits over to the subpanel, reconnecting my heat pump hot water heater and leaving the major 240v loads in the main panel.

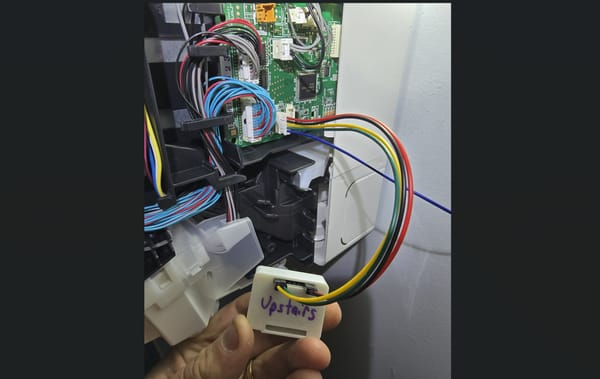
I opted to buy a used emporia vue2 on ebay rather than the new emporia vue3. The newer model has CTs with a better plug (can be cut to reduce the mess of cables like with the fixed length vue2 CTs), but appears to be trickier to connect for flashing esphome. I broke the new vue2 open and soldered serial headers on the board. Rather than use a dedicated usb to serial board, I used an esp8266 as a serial bridge. After flashing esphome and installing the emporie-vue-local config, it was ready to be installed in the the new panel. I labeled each circuit on the panel and in home assistant by changing the circuit entities friendly names.
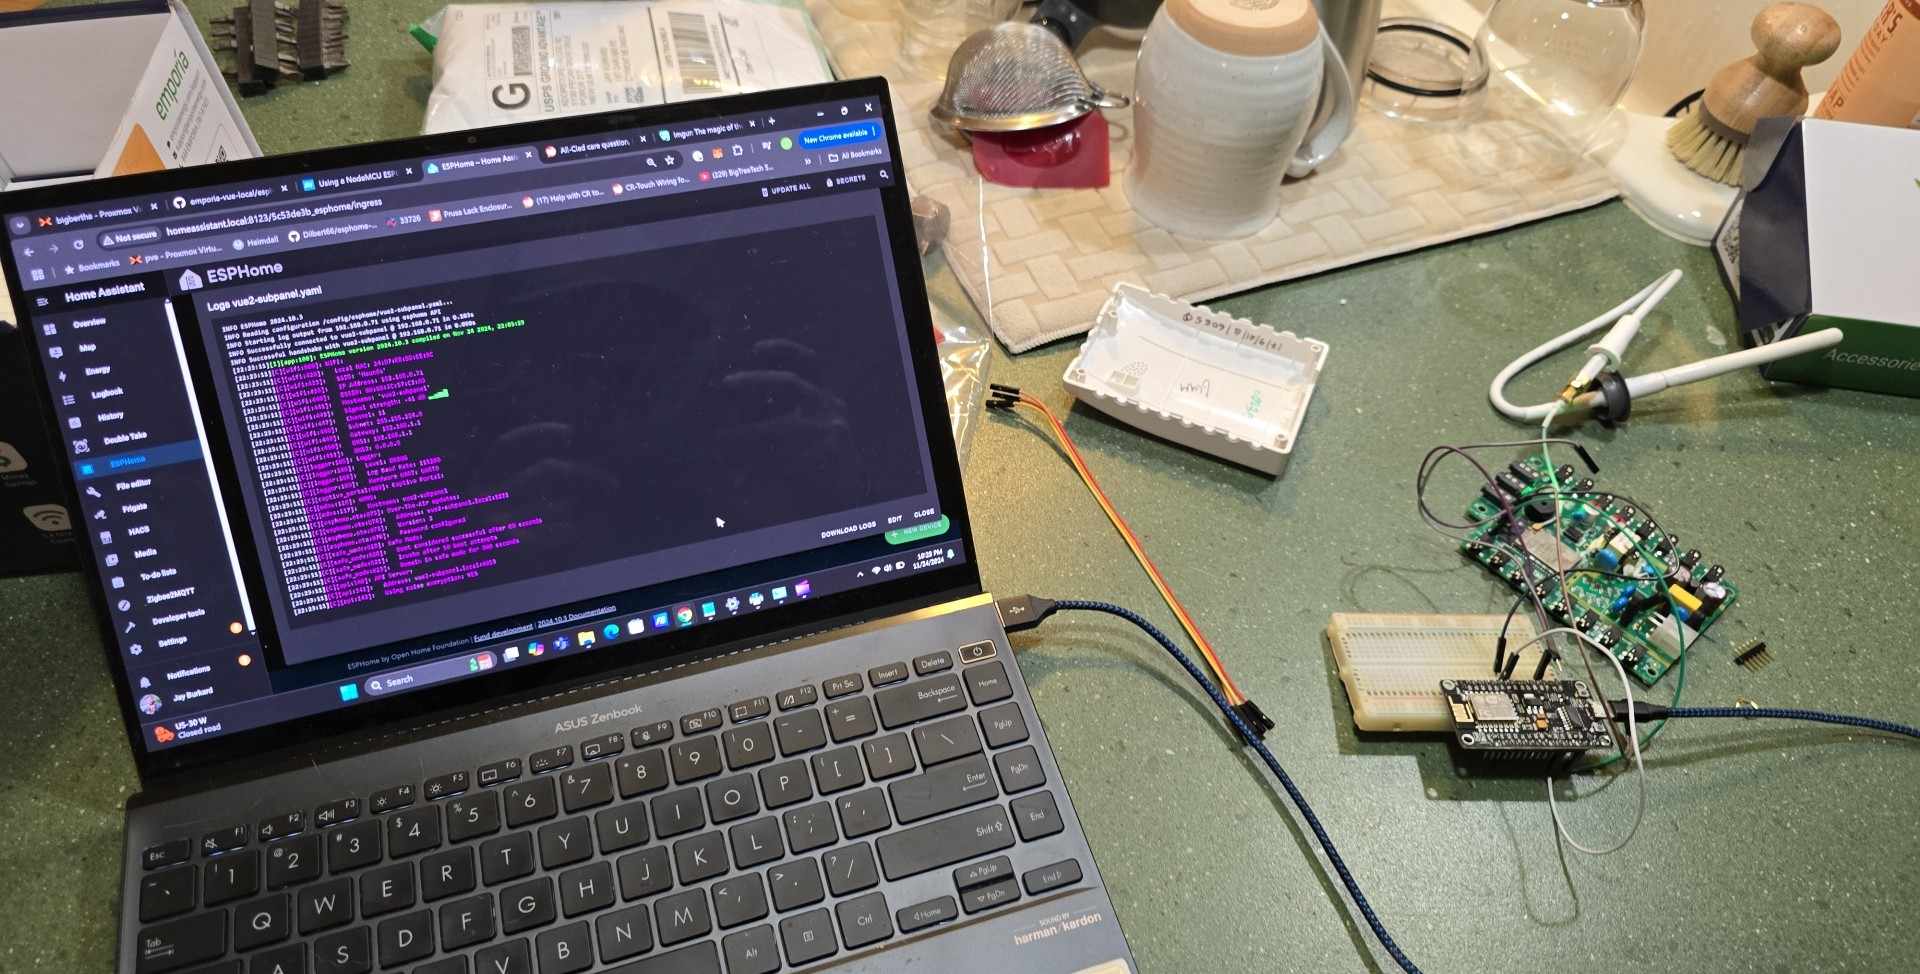
I took this opportunity to adjust my phase voltage calibration constant on both emporia units by measuring the voltage on each phase with a multimeter and calculating per the docs. I reflashed the emporia with the updated config. It had always been a couple of volts off on either phase, throwing my real time use slightly out of whack.
sensor:
  - platform: emporia_vue
    i2c_id: i2c_a
    phases:
      - id: phase_a  # Verify that this specific phase/leg is connected to correct input wire color on device listed below
        input: BLACK  # Vue device wire color
        calibration: 0.02266  # 0.022 is used as the default as starting point but may need adjusted to ensure accuracy
        # To calculate new calibration value use the formula <in-use calibration value> * <accurate voltage> / <reporting voltage>
emporia config - phase voltage calibration
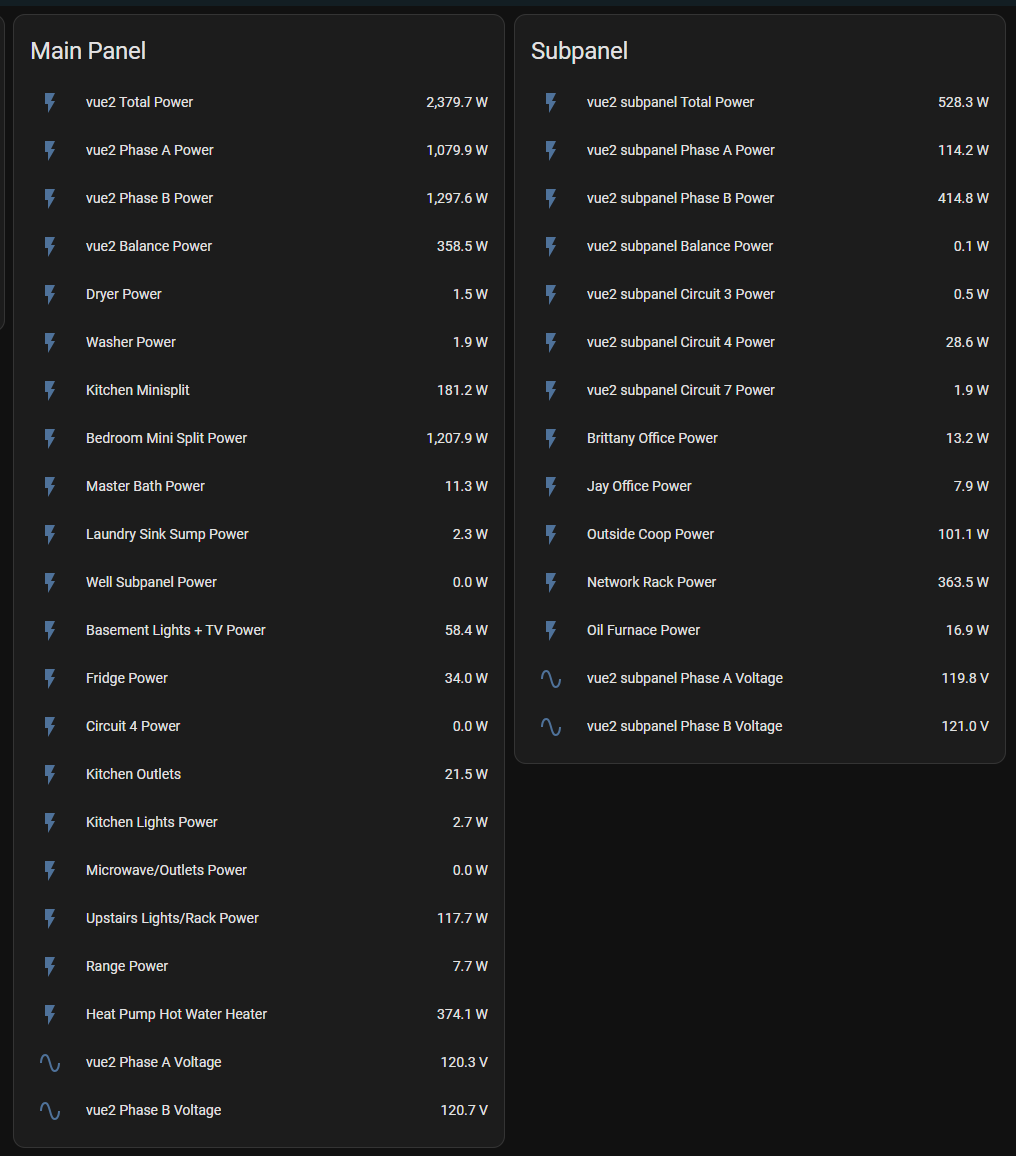
Monitoring every circuit in the house has let me set up some additional soft sensors in home assistant:
Washer and Dryer Status:
- My dryer and washer are both on a dedicated circuit in the basement. I set up a "helper" that creates a template binary sensor for each - if washer or dryer circuit statuses are over 100w, the state is "on", otherwise off. I have an automation that sends our phones alerts when either changes from on to off, indicating the cycle is complete.

{{ states('sensor.circuit_10_power')|float > 100}}Washer run status template binary sensor
Oil Furnace State and Fuel Consumption:
- Similar to the washer/dryer, my oil burner is also on dedicated circuit. I used the same concept to first create a binary state.
- Because the burner is a fixed flow rate, I could use furnace state to accurately estimate real time consumption. I used the history stats integration looking at the binary state of the burner to create a "boiler runtime today" sensor.
sensor:
  - platform: history_stats
    name: Oil Burner Runtime Today
    entity_id: binary_sensor.oil_burner_state
    unique_id: biasi_b10_runtime
    state: "on"
    type: time
    start: "{{ today_at() }}"
    end: "{{ now() }}"
Oil burner runtime, history stats integration configured manually in home assistant configuration.yaml
- I pulled the nozzle on my burner to determine its flow rate (0.85gph @ 100psi) and pulled up the spec sheet to determine flow at my pumps rated pressure (180psi). This turned out to be 1.12gph. I created a template sensor looking at the runtime sensor to calculate gallons of oil used.
{% set runtime_in_hours= states('sensor.oil_burner_runtime_today') | float %}

{% set gph_flow = 1.12 | float %}

{% set galused = (runtime_in_hours*gph_flow) | float %}


{{ galused | float | round(3) }}- Finally, I used the cost of oil sensor I built in my home assistant heating season calculation effort and the gallons of oil used today to calculate dollars spent on oil today.
{% set oil_used= states('sensor.oil_burned_today') | float %}

{% set oil_cost = states('input_number.heating_oil_price') | float %}

{% set returnvalue= (oil_used*oil_cost) | float %}


{{ returnvalue | float | round(3) }}- I added oil used today and dollars spent on oil today as badges on one of my sections' header.


As I mix heat sources this winter (minisplits, woodstove, and oil burner) and the economics of electricity and oil fluctuate, these numbers should help me quickly and easily optimize fuel costs.
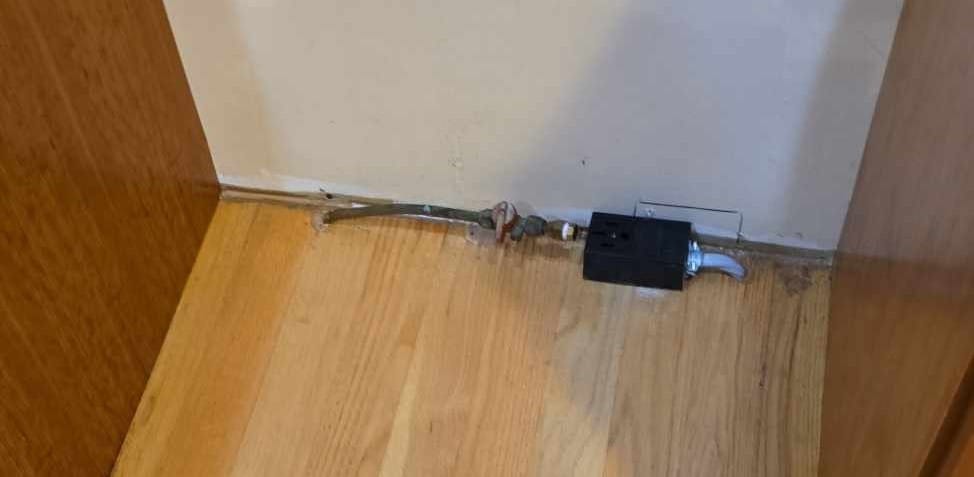
Somewhere in there I remembered why I started this project and replaced our gas range with an induction range. I shut off the gas outside and capped the line in the event I ever decide to go back to gas. I ran 6/6/6/6 SER cable (much cheaper than the 8awg romex I was looking at at first) to a 4 conductor stove 14-50R surface mount outlet and then installed the range.
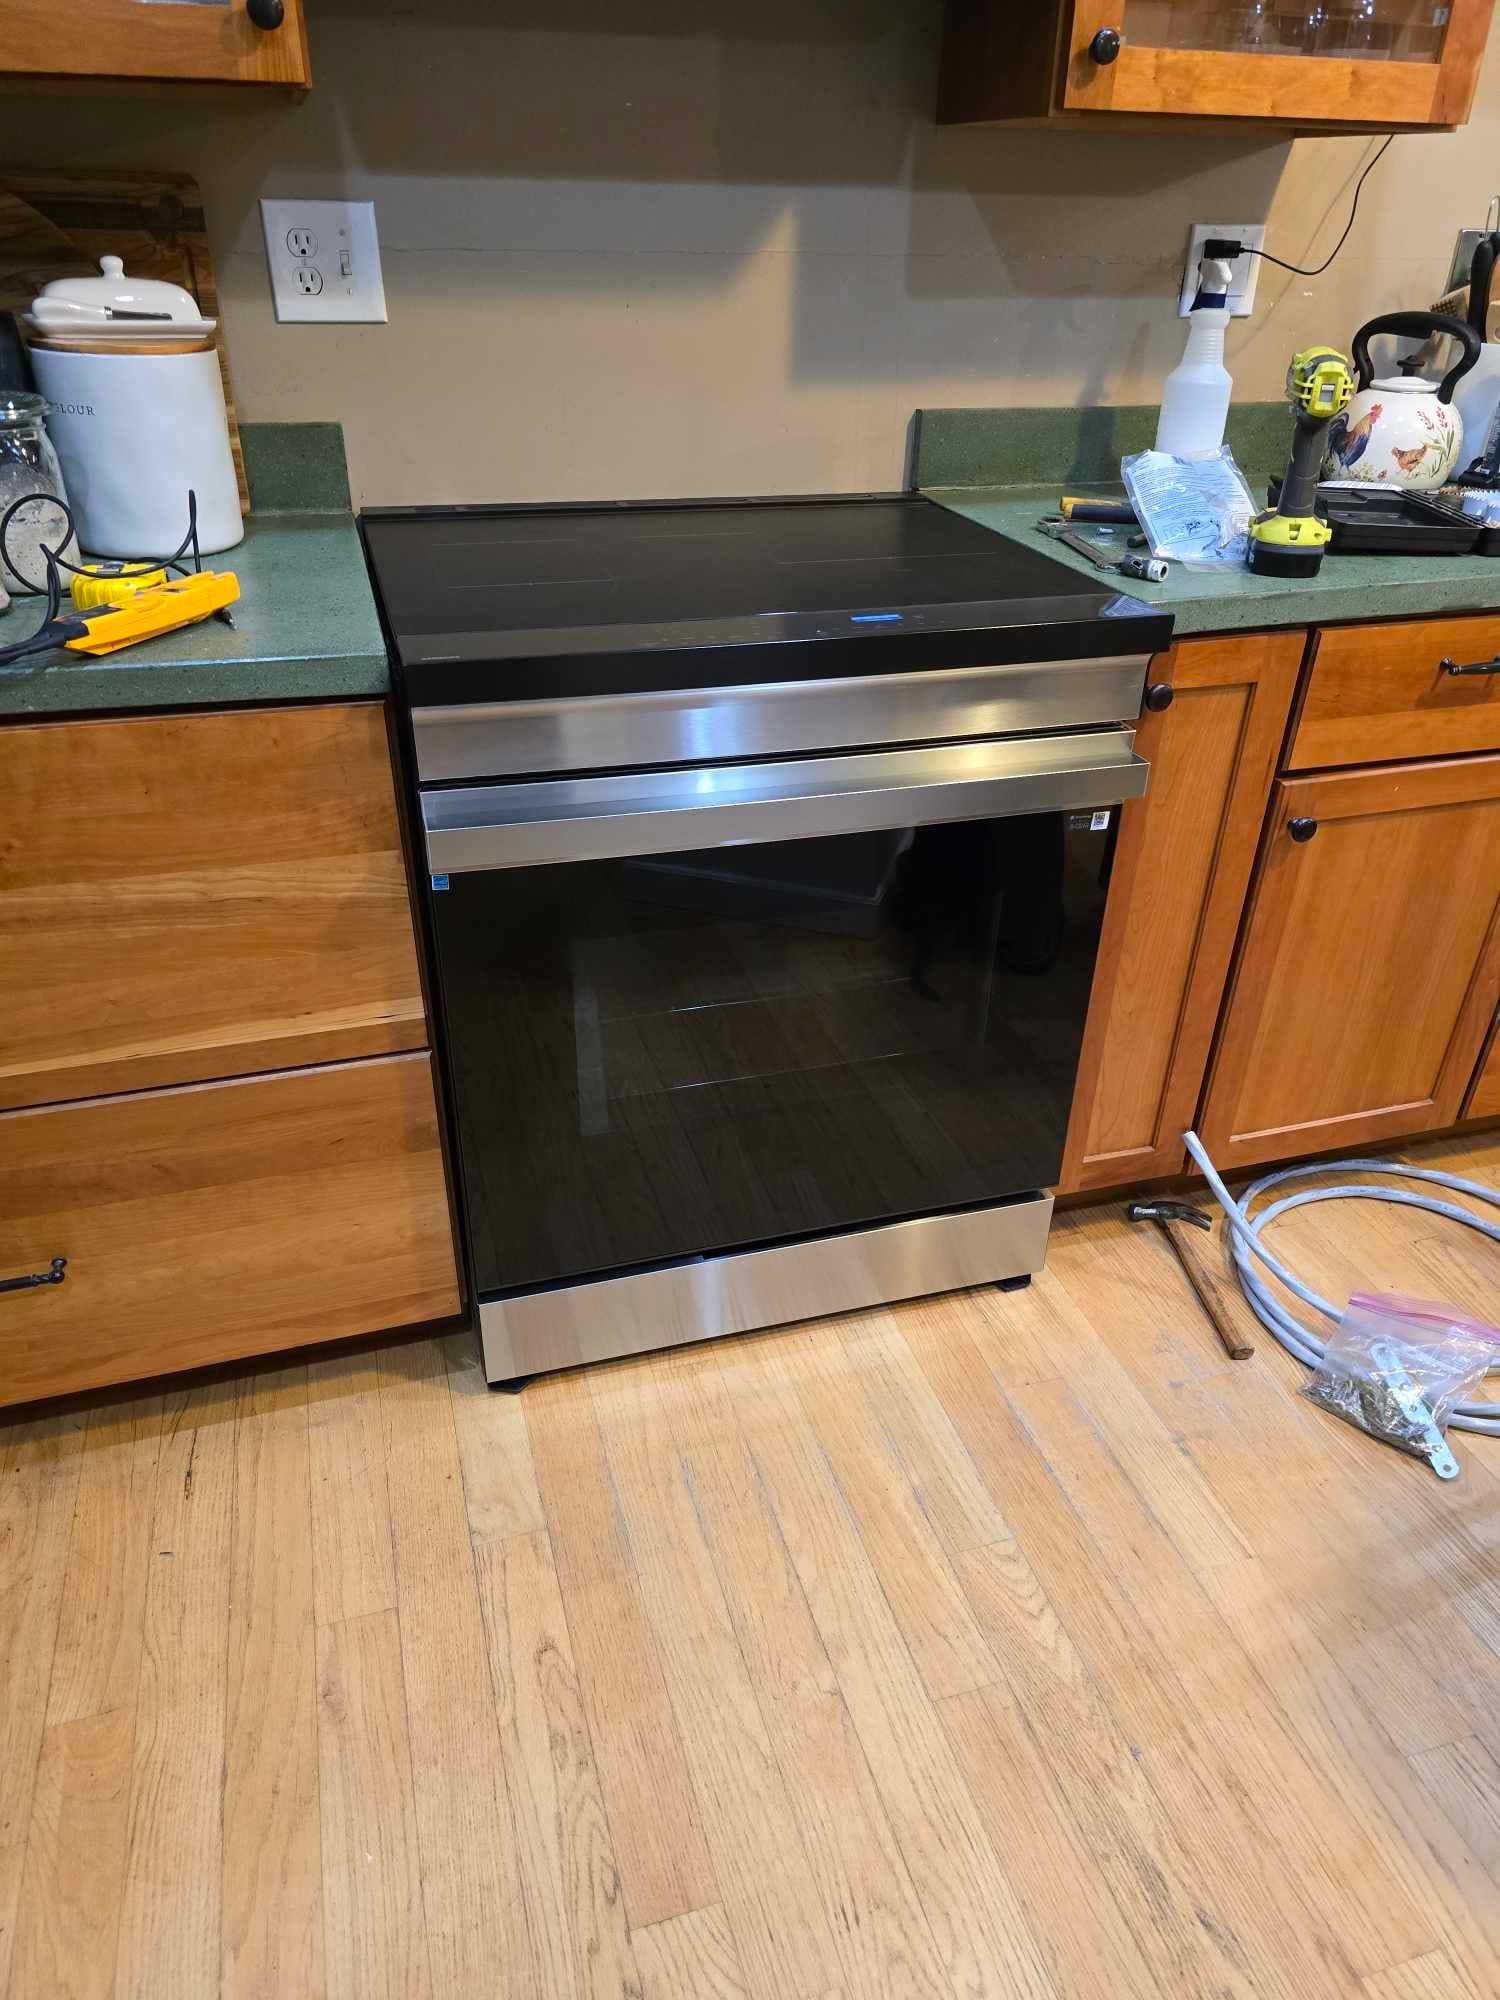
We've enjoyed the range so far and I look forward to running it for free on solar power next year.