Zero-Power Automated Drip Irrigation: Ram Pumps and Zigbee valves
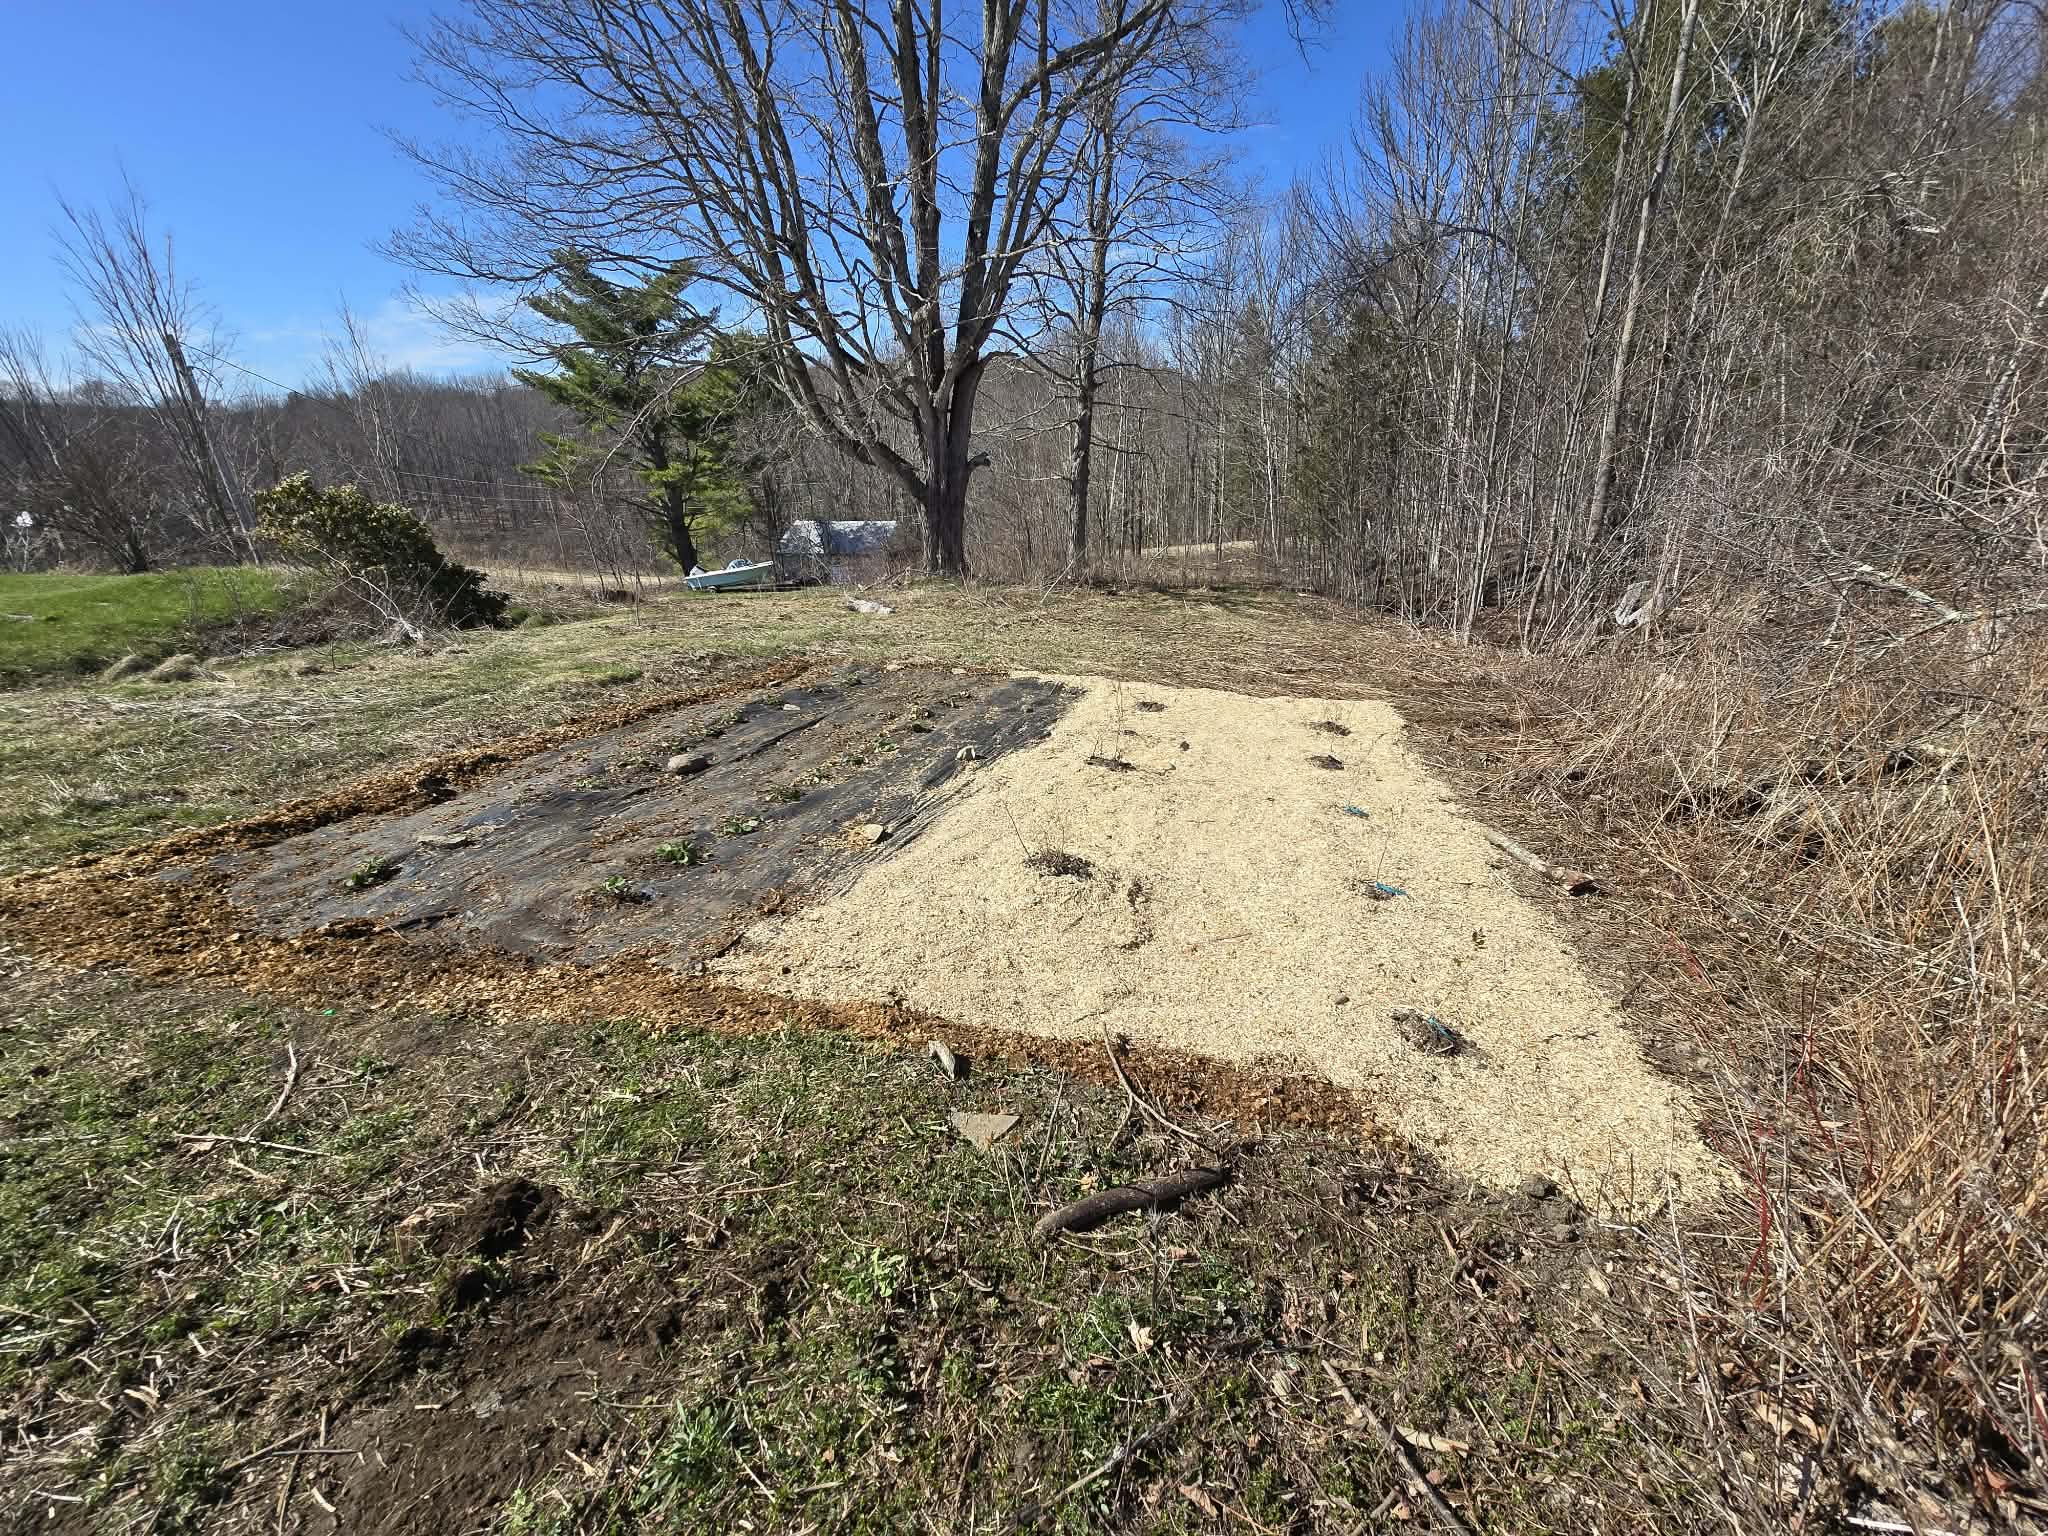
Last year, we planted a couple of small raspberry and blueberry plants. We didn't do much to maintain either patch and none of the plants did very well. This year, we were determined to do better. We started off re-clearing around the existing plants that survived, laid down geotextile fabric, and chipped some brush to lay on top. We picked up and planted ~25 strawberry plants, ~25 raspberry bushes, and ~10 blueberry bushes, spread across two patches. We bought T posts, drove them with the tractor bucket, and hung some woven wire fence (that we found in the woods - benefit of living on old farm) around both patches to keep chickens and deer out.
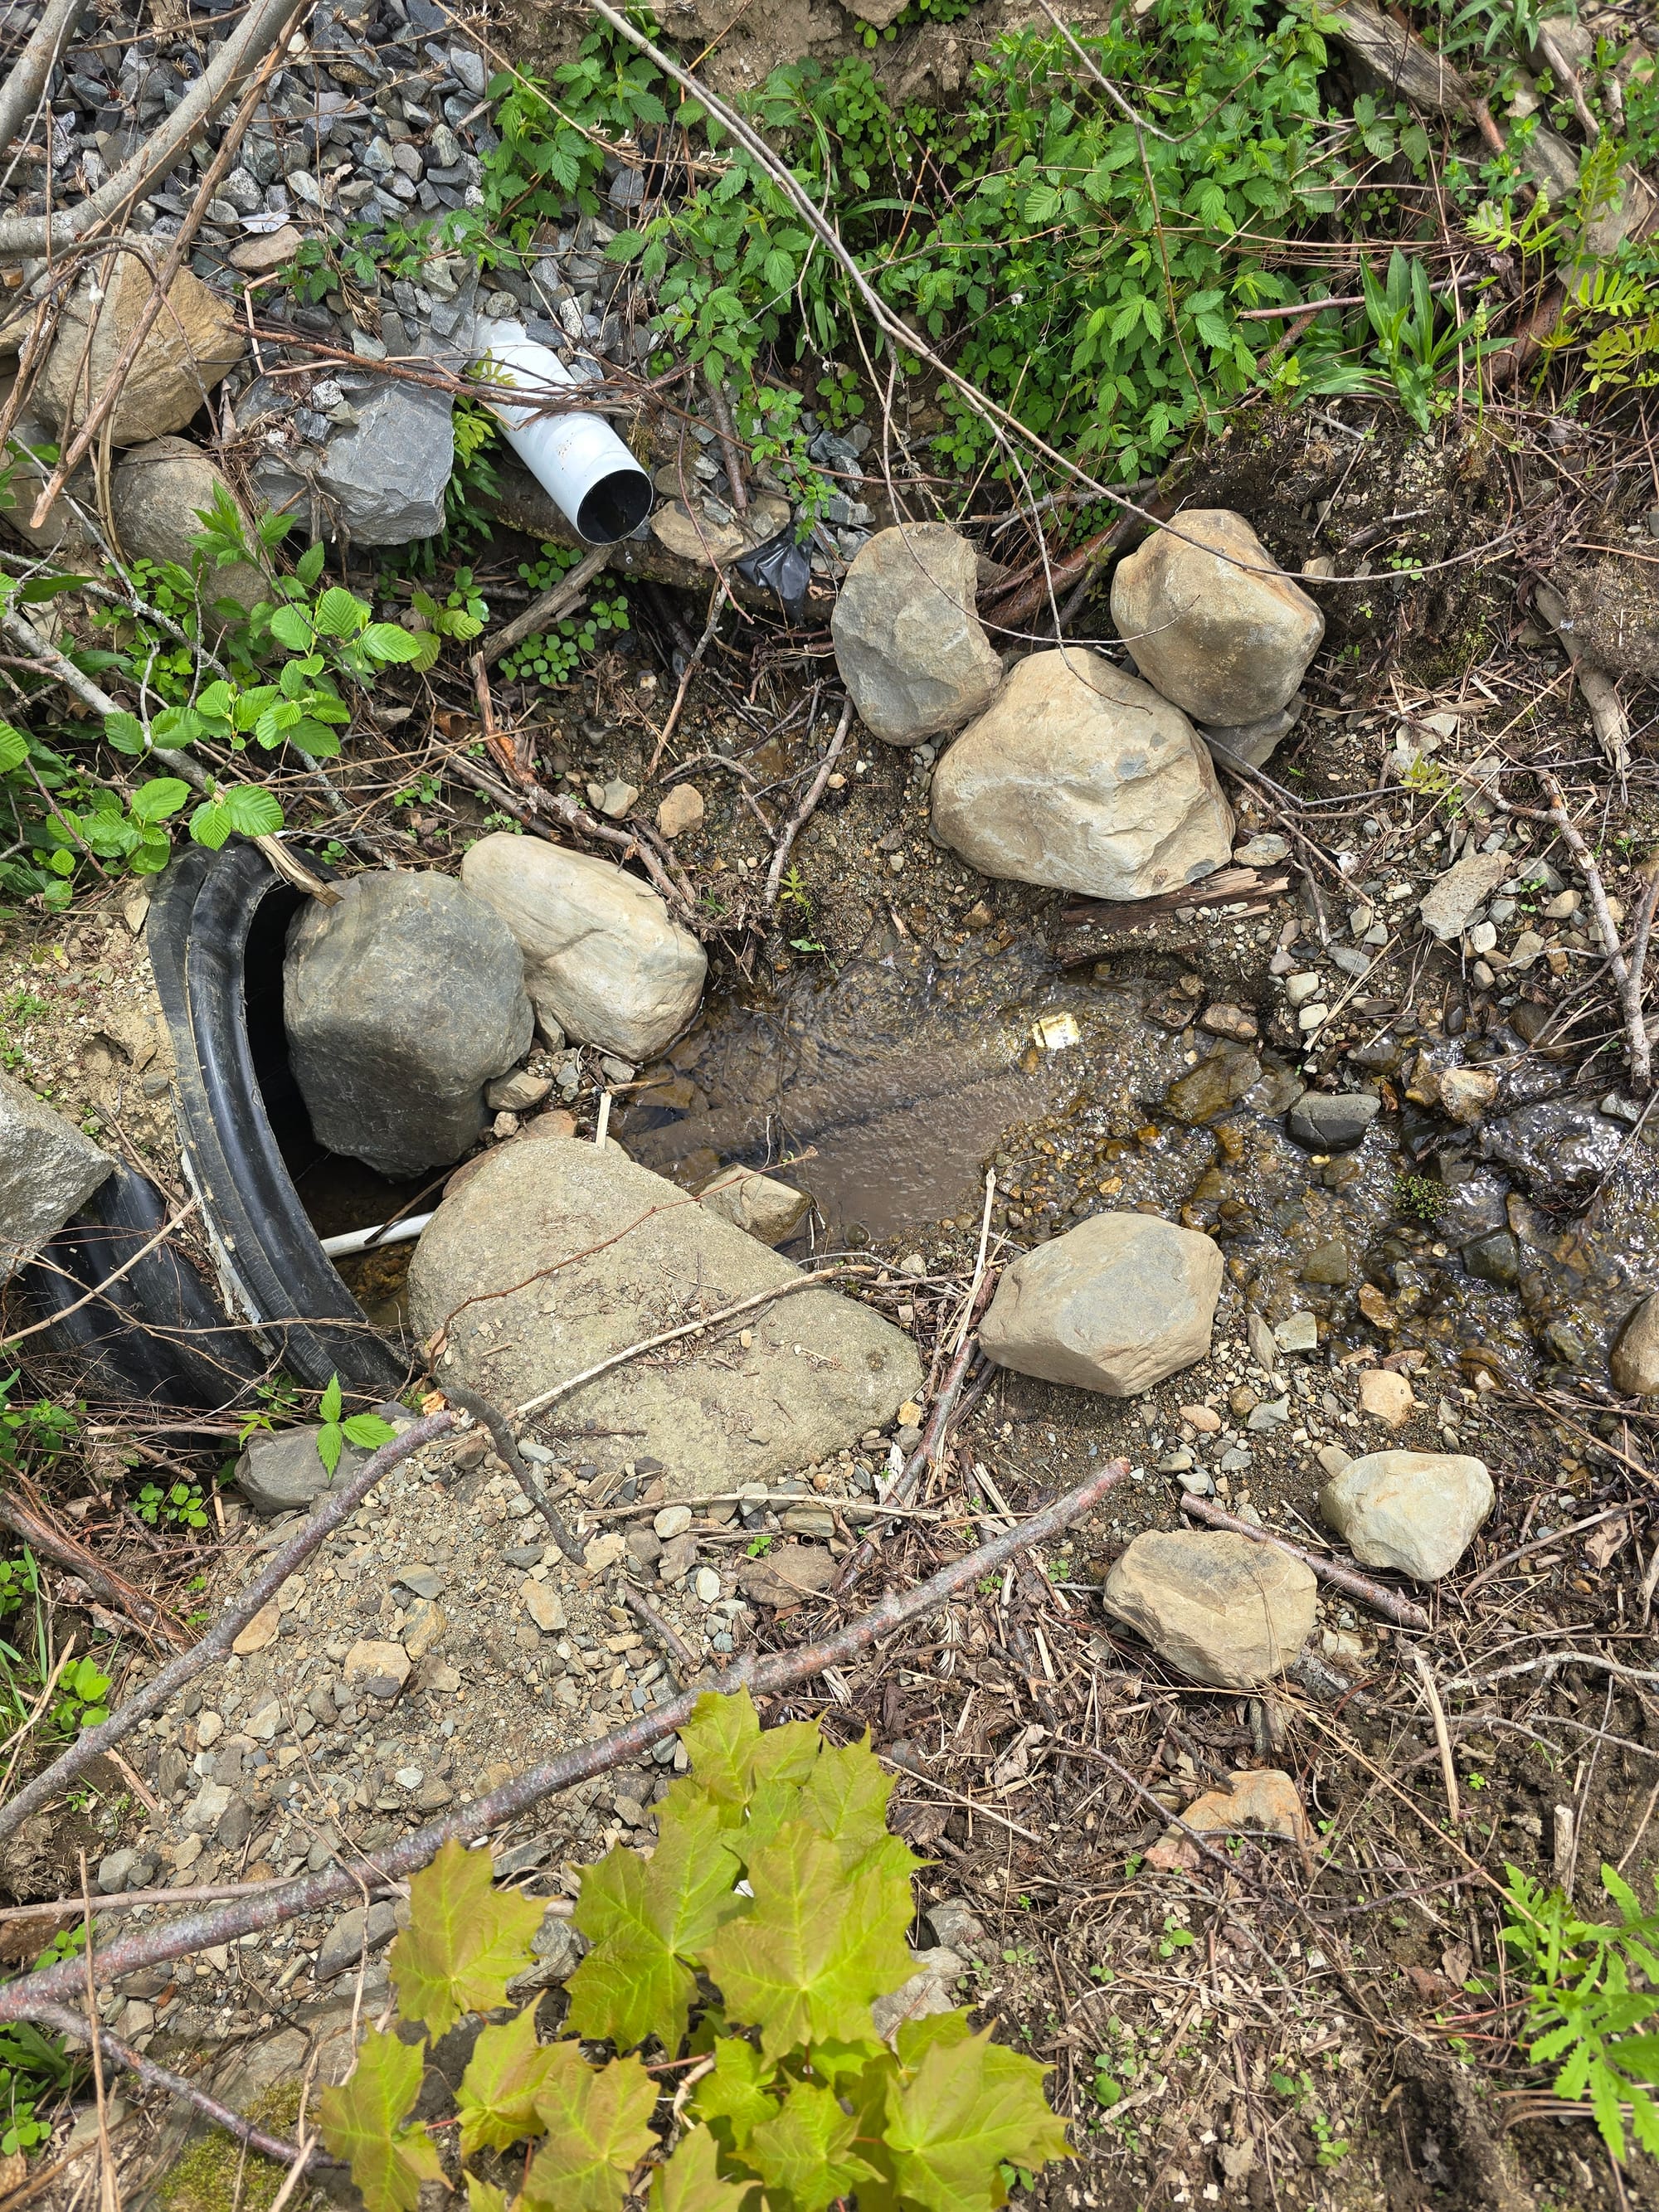
With the perimeter secured, the next important thing to figure out was irrigation. We are on a well and have a deep well pump - I hated the idea of stressing it to water both patches. To the right of the upper patch, shown above, is a 24" culvert that runs beneath our entire backyard. 2 large ravines dump into the inlet and it flows in all but the absolute worst of droughts (we are still in a pretty significant drought at the moment and have steady flow). I picked up a drinking-water-safe IBC tote a few years ago to use as an irrigation holding tank - I just had to figure out a way to fill it.
For water sources, I had both the culvert outlet and an old dug well right next to the fruit patches. There's no power readily available within 100ft of the fruit patch - I have a small electric water transfer pump and briefly considered trenching some underground feeder out and automating that somehow, but I really wanted to keep this system as passive as possible. After some research, I came across hydraulic ram pumps. These power-free pumps are a popular way to pump water off-grid - they take in a large volume of flowing water with some head pressure and output a smaller volume of water at a much higher head pressure, effectively allowing you to pump water 7 feet vertically for every 1 foot of head pressure on the inlet side. Pulling from the stream, I only had to lift the water maybe ~15 feet to get into the top of the IBC tote, so I figured this would work out great.
Rather than buy one, I built one with off the shelf components from Home Depot. I largely followed the components of the Small DIY kit from Land to House. I used 3/4 check valves and piping, with a ~2 foot 2" PVC pipe as the pressure tank. The first check valve (brass) is installed upside down, with the second in-line PVC check valve installed in the normal orientation of flow. For the drive pipe, I ran ~90 feet of 3/4" schedule 40 PVC up through the existing culvert, connecting it to the inlet of the ram pump on the low side There's probably 10 feet of head through the drive pipe. At the top side of the culvert/drive pipe, I used 2" PVC with holes drilled in it and aluminum screen wrapped around, attached with zip ties, as an intake. I dug out a low spot and dammed up the culvert a bit with some large rocks to keep the PVC inlet submerged.
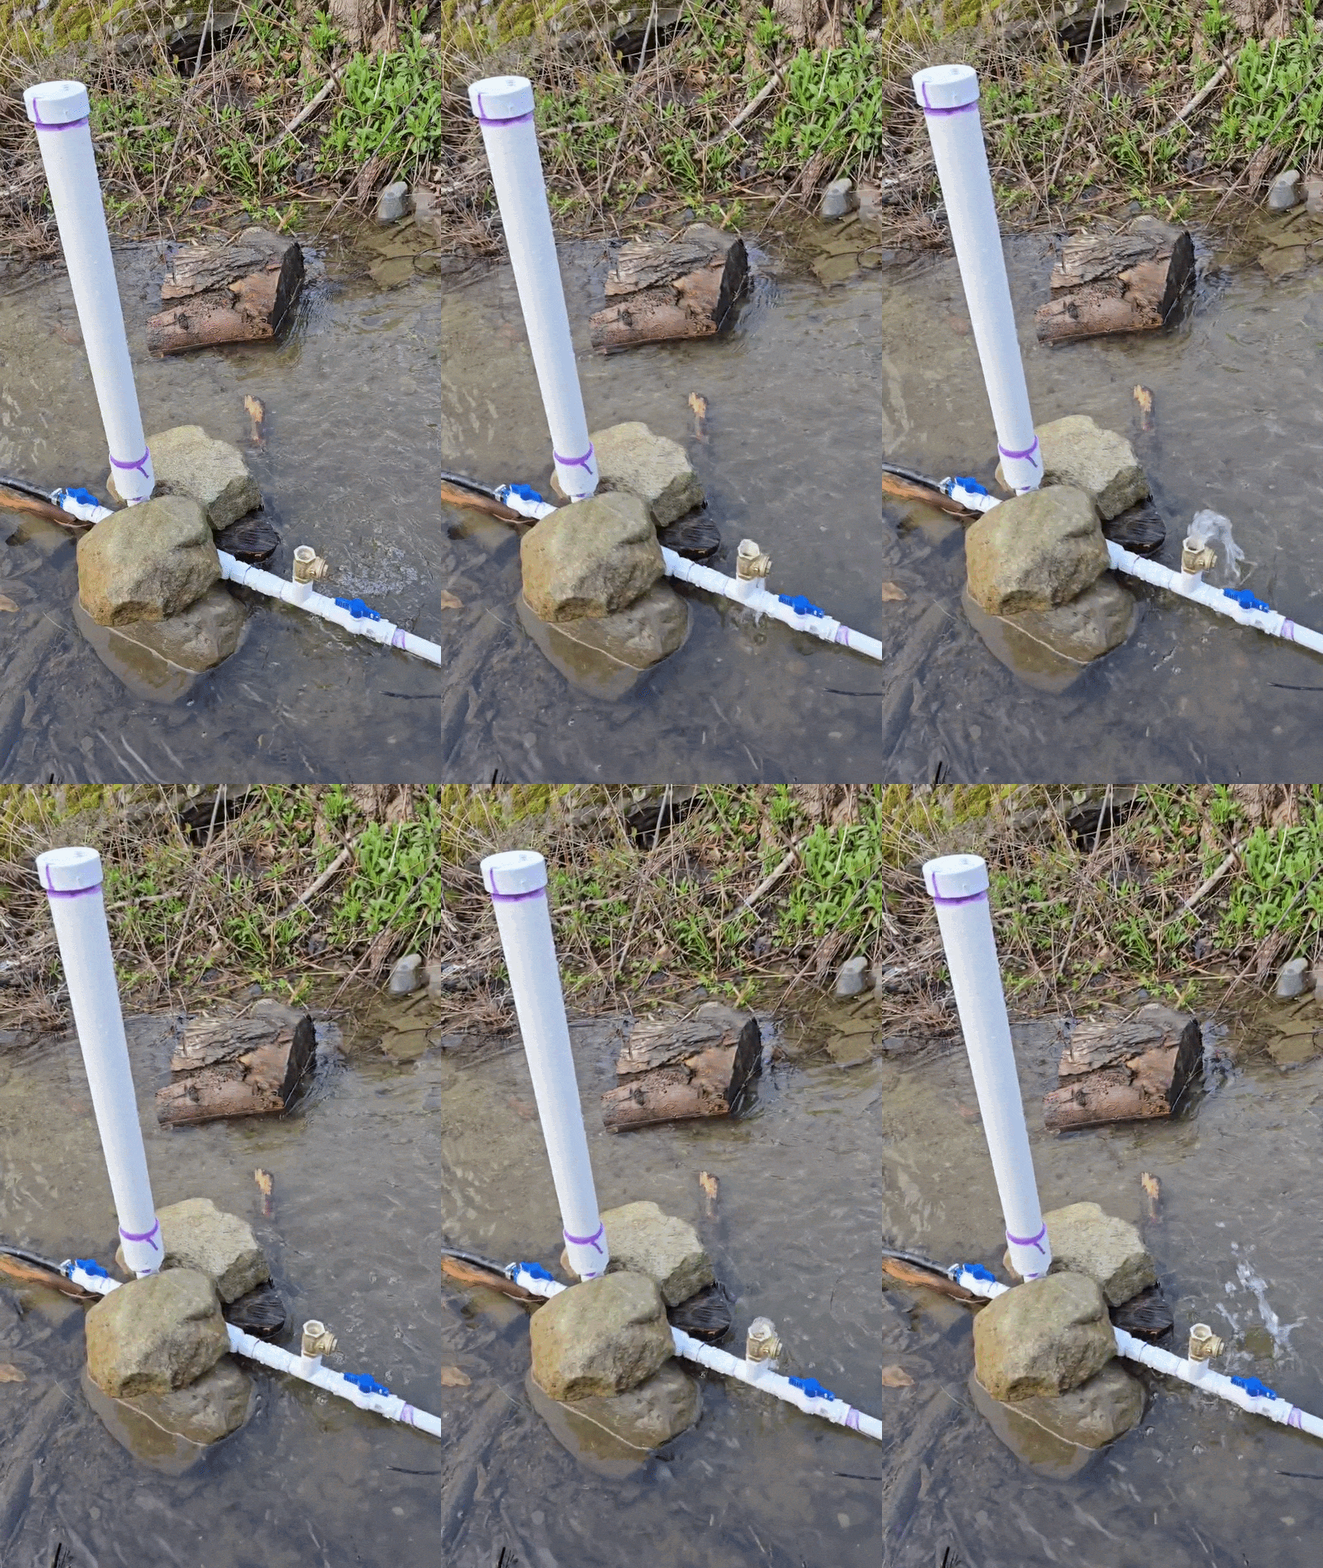
I attached some 3/4" poly water pipe to the outlet of the ram pump and ran it up to the top of the IBC tote. I initially had issues keeping the ram pump running - I primed and primed (by forcing the brass check valve down by hand) but it wouldn't keep running. I ended up having to choke the outlet valve way back - the 15 or so feet (vertically) I was pumping up to the IBC tote wasn't providing enough back pressure. With the outlet valve almost entirely shut, it ran great.
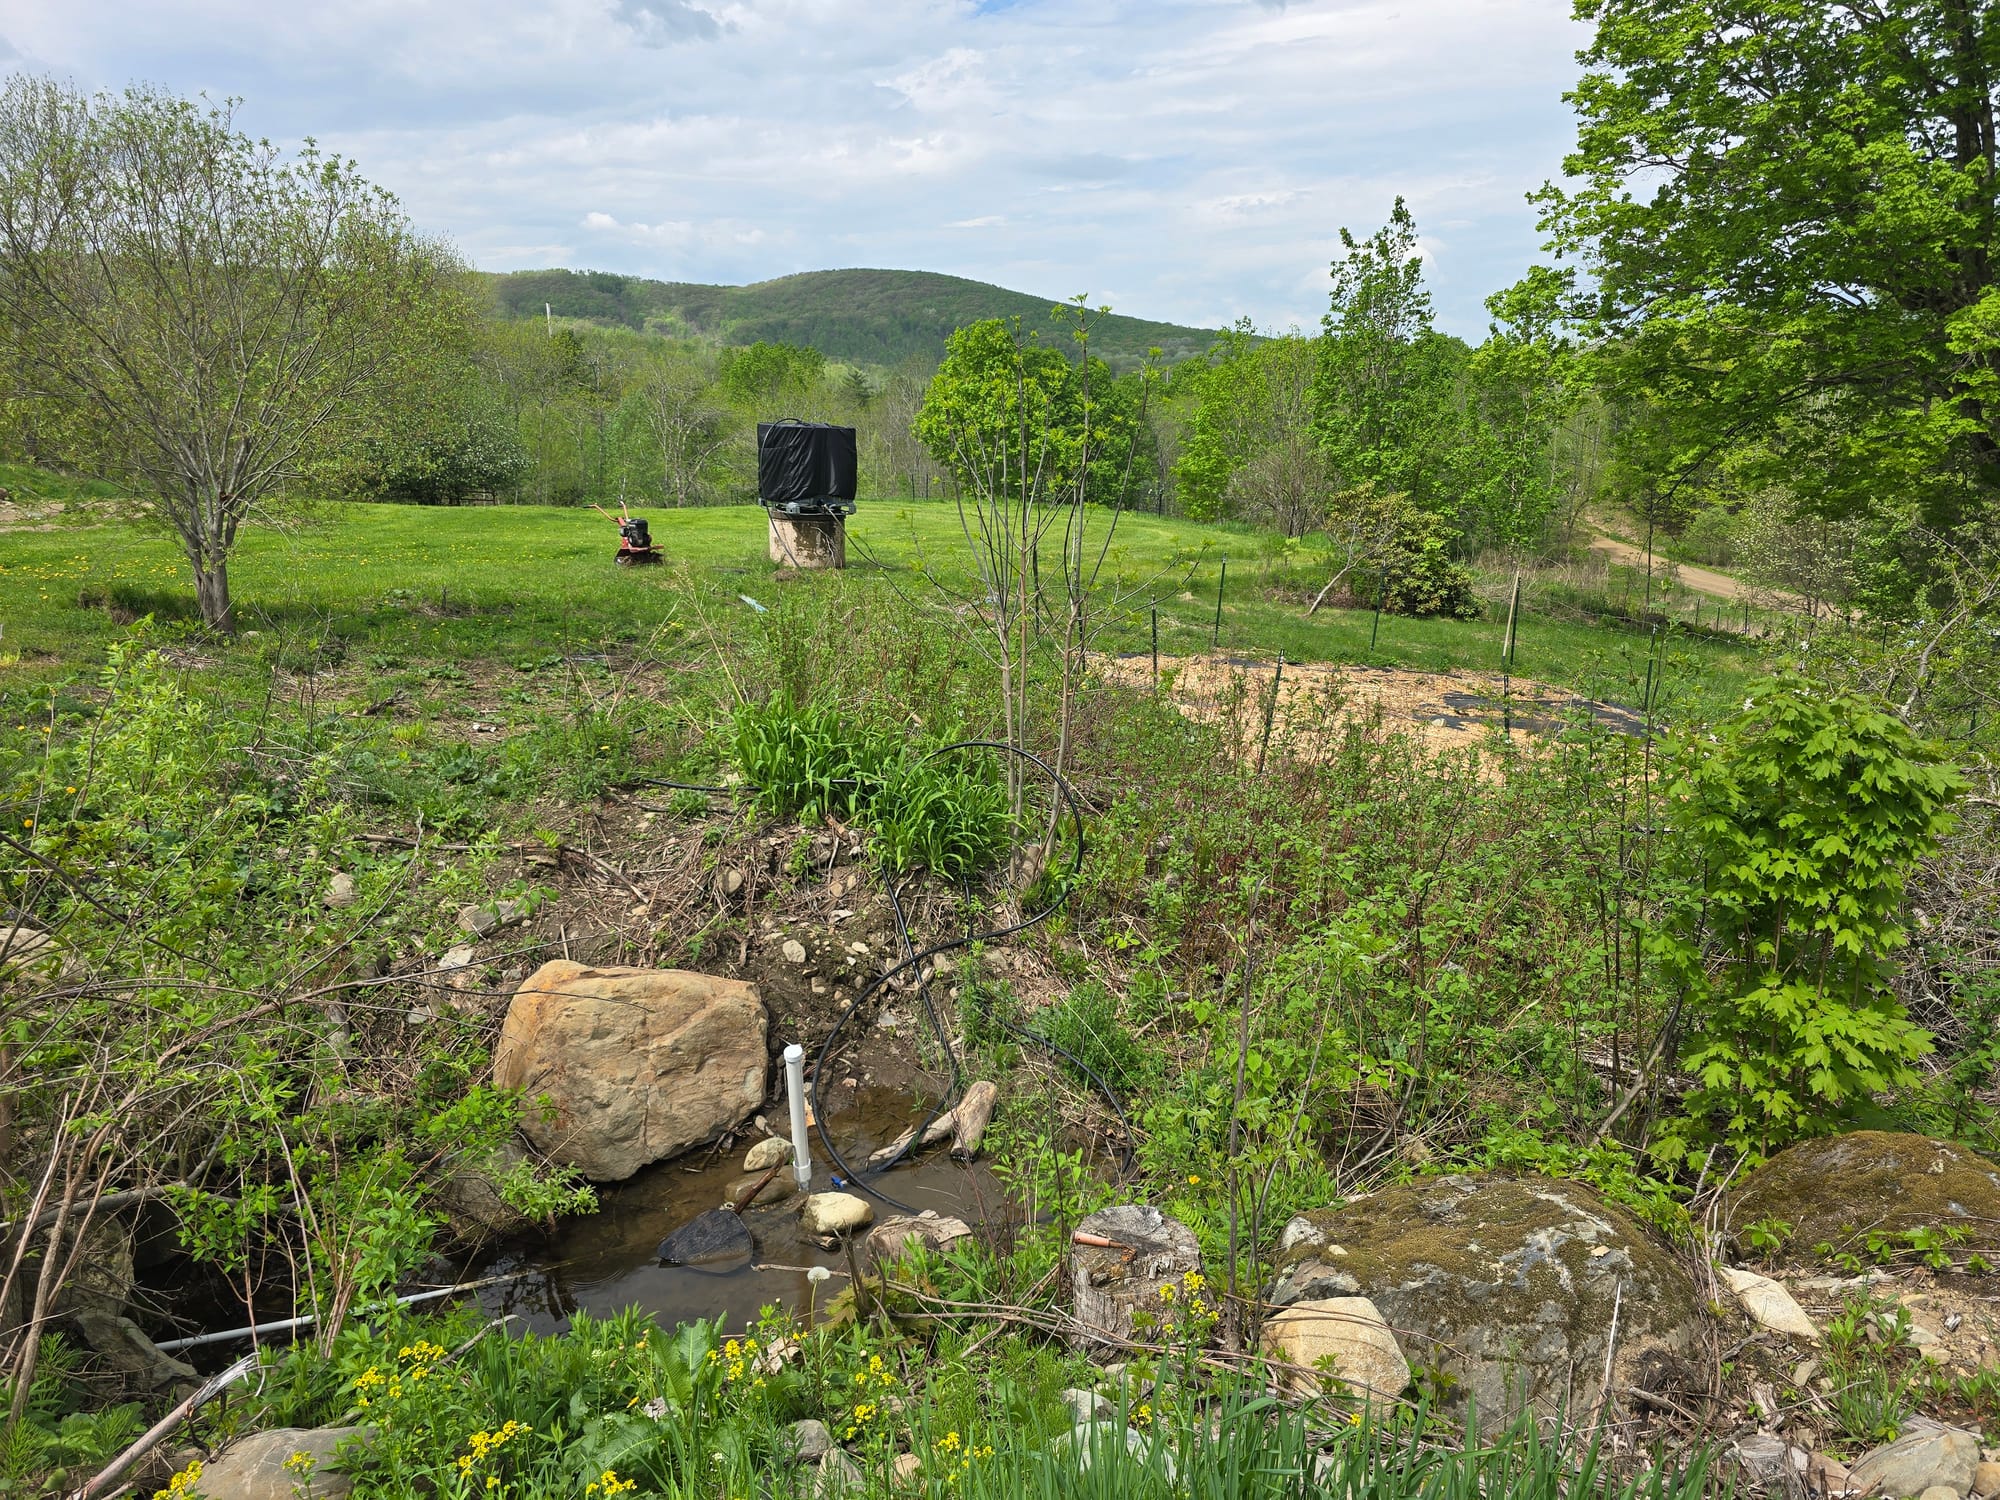
To get a little more head pressure, I lifted the tank onto my old dug well casing. I bought a black tank cover to keep sunlight out and reduce algae growth. I have yet to reduce the length of my 3/4" poly pipe or come up with a good way to permanently affix the feed pipe to the IBC tote - for now it is just wedged through the tank cap. When the tank fills, the ram pump automatically stops running. When I draw it down, I've had to go start the ram pump manually by pressing the check valve flapper down a few times. I believe I can setup a siphon system to automatically start the ram pump but have yet to implement that - this has worked well so far.
To get water out of the IBC tote, I bought a cam-lock IBC tote adapter. This attaches to the standard cam-lock outlet of the IBC tote and provides a male hose thread fitting. We attached a long hose and hand-watered the patch for a few weeks - this worked great. There was enough pressure to water the upper patch without a nozzle at the upper patch, and plenty of pressure to water the lower patch with a nozzle (I'd guess 30psi - it's a steep drop to the lower raspberry patch).
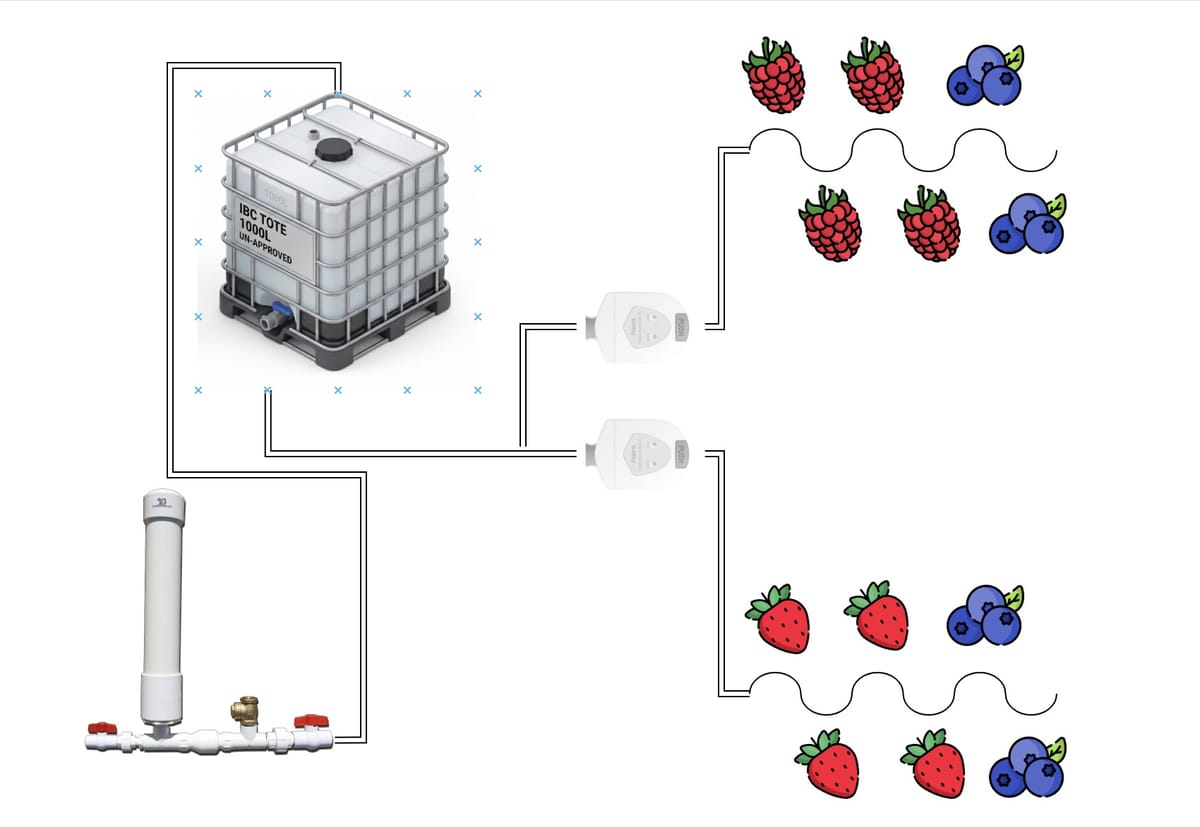
The next step was setting up drip irrigation. I ran an extensive drip setup in SC in our raised beds - it uses minimal water and delivers the water directly to the root of the plants. From DripDepot, a vendor I'd used in the past, I ordered emitters, 1/2" feed line, 1/4" emitter line, and adjustable flow, low pressure emitters. For the top patch, I ordered a simple filter, and for the bottom patch I ordered a 13psi pressure regulator. I also bought various connectors, both to go from standard hose thread to the poly pipe and to make turns in both the big feeder pipe and the small drip emitter feed lines themselves. Each patch took about an hour to pipe up - I ran half inch line in between pairs of rows and ran smaller line with emitters to each individual plant.
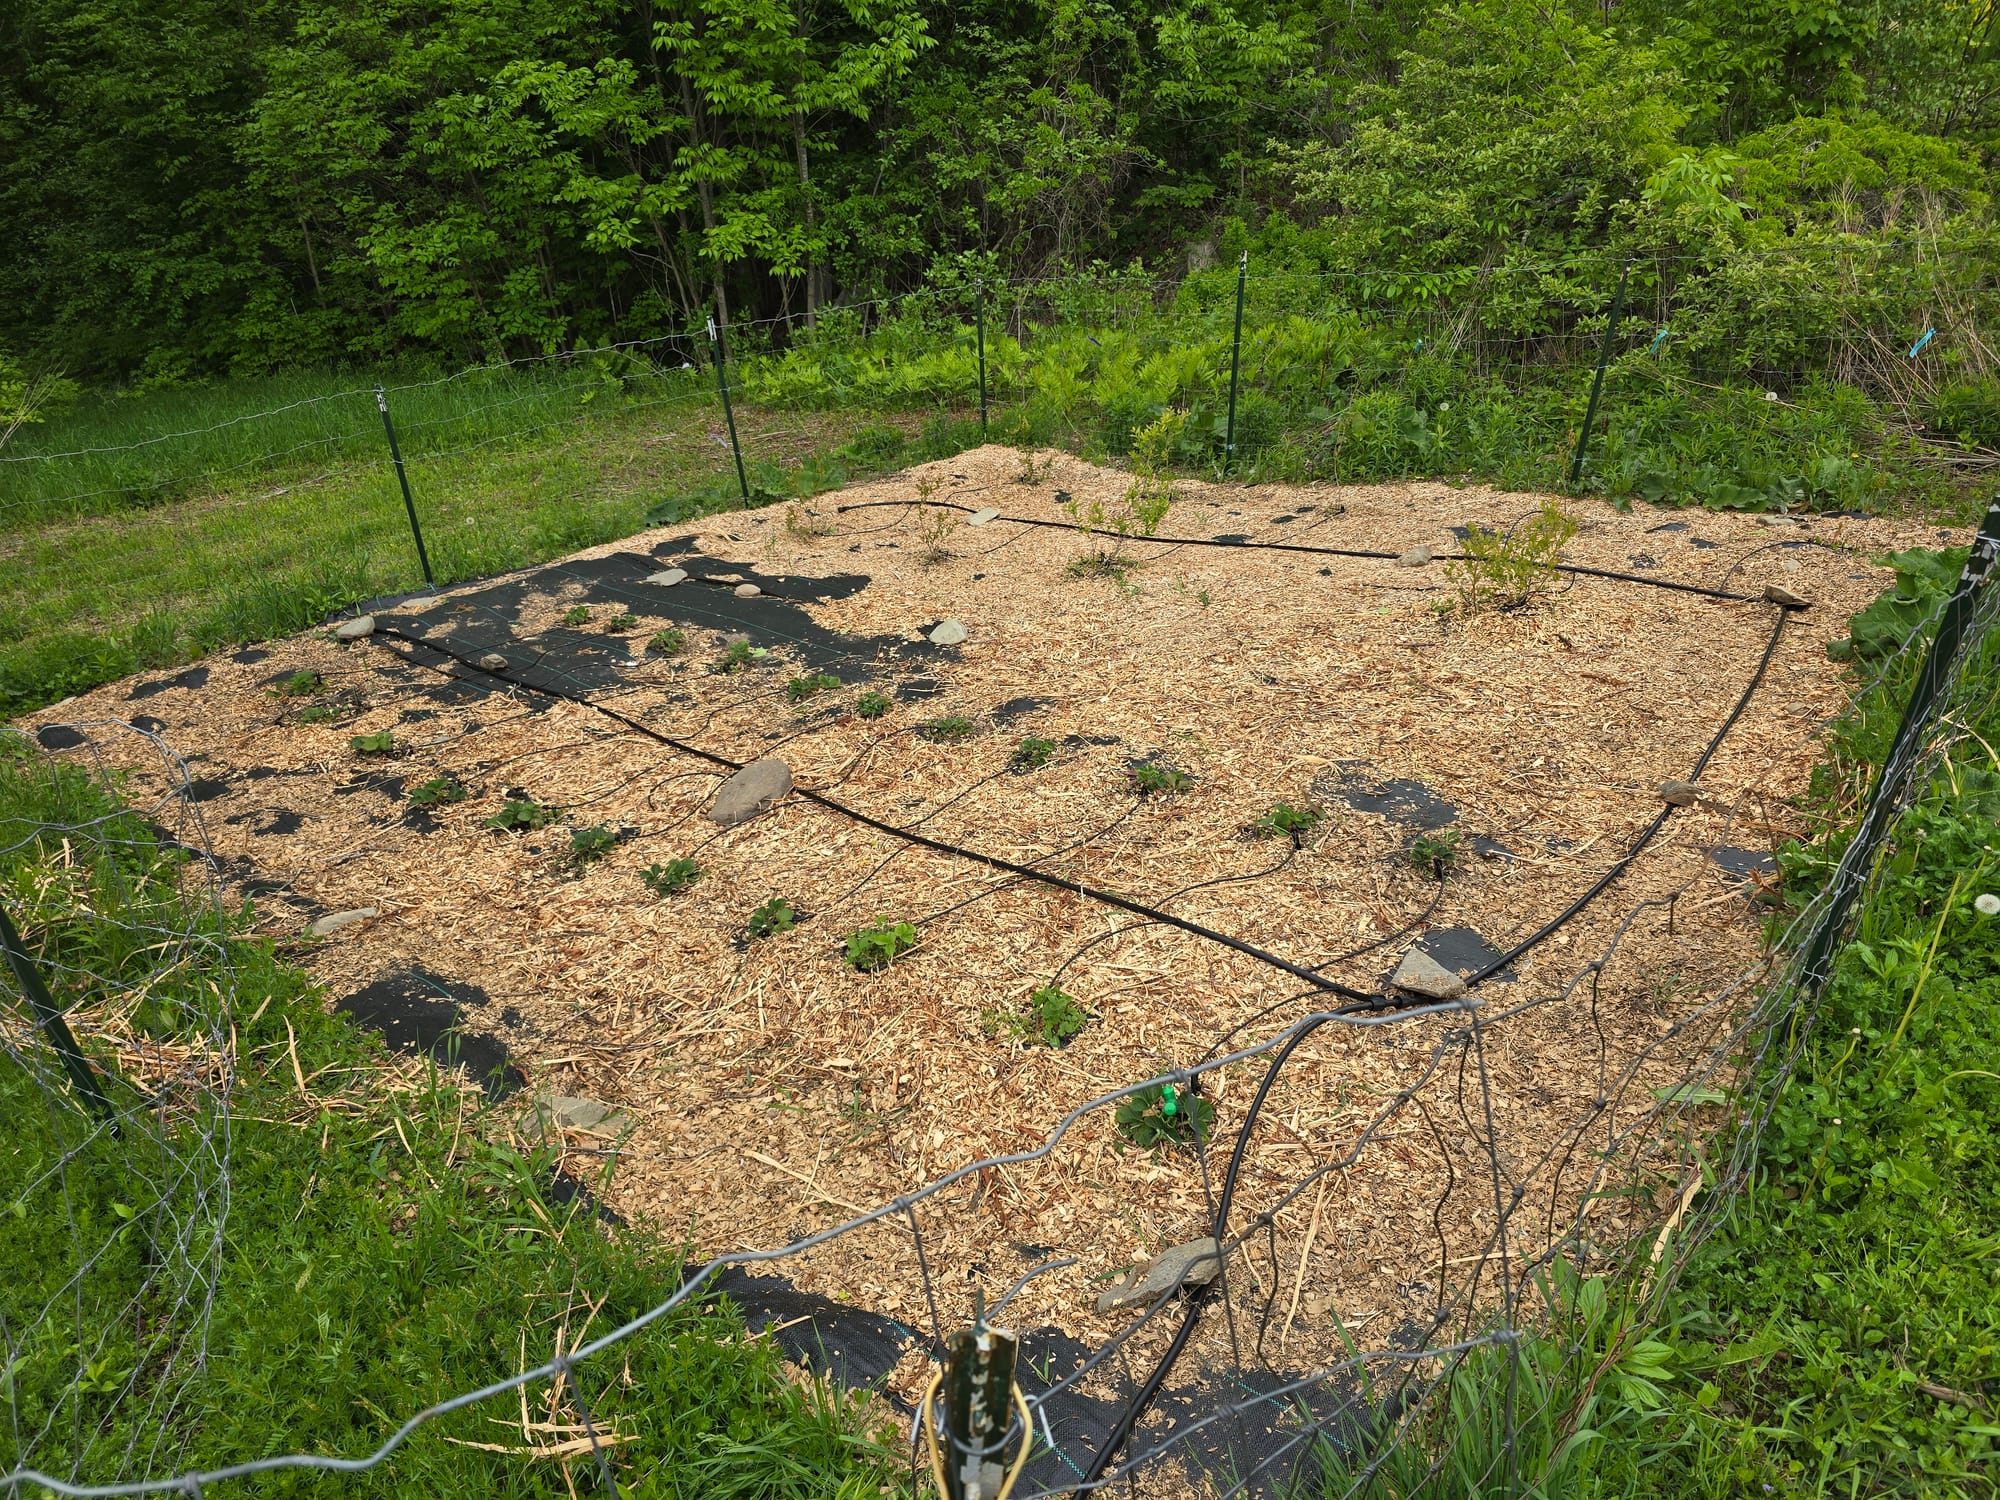
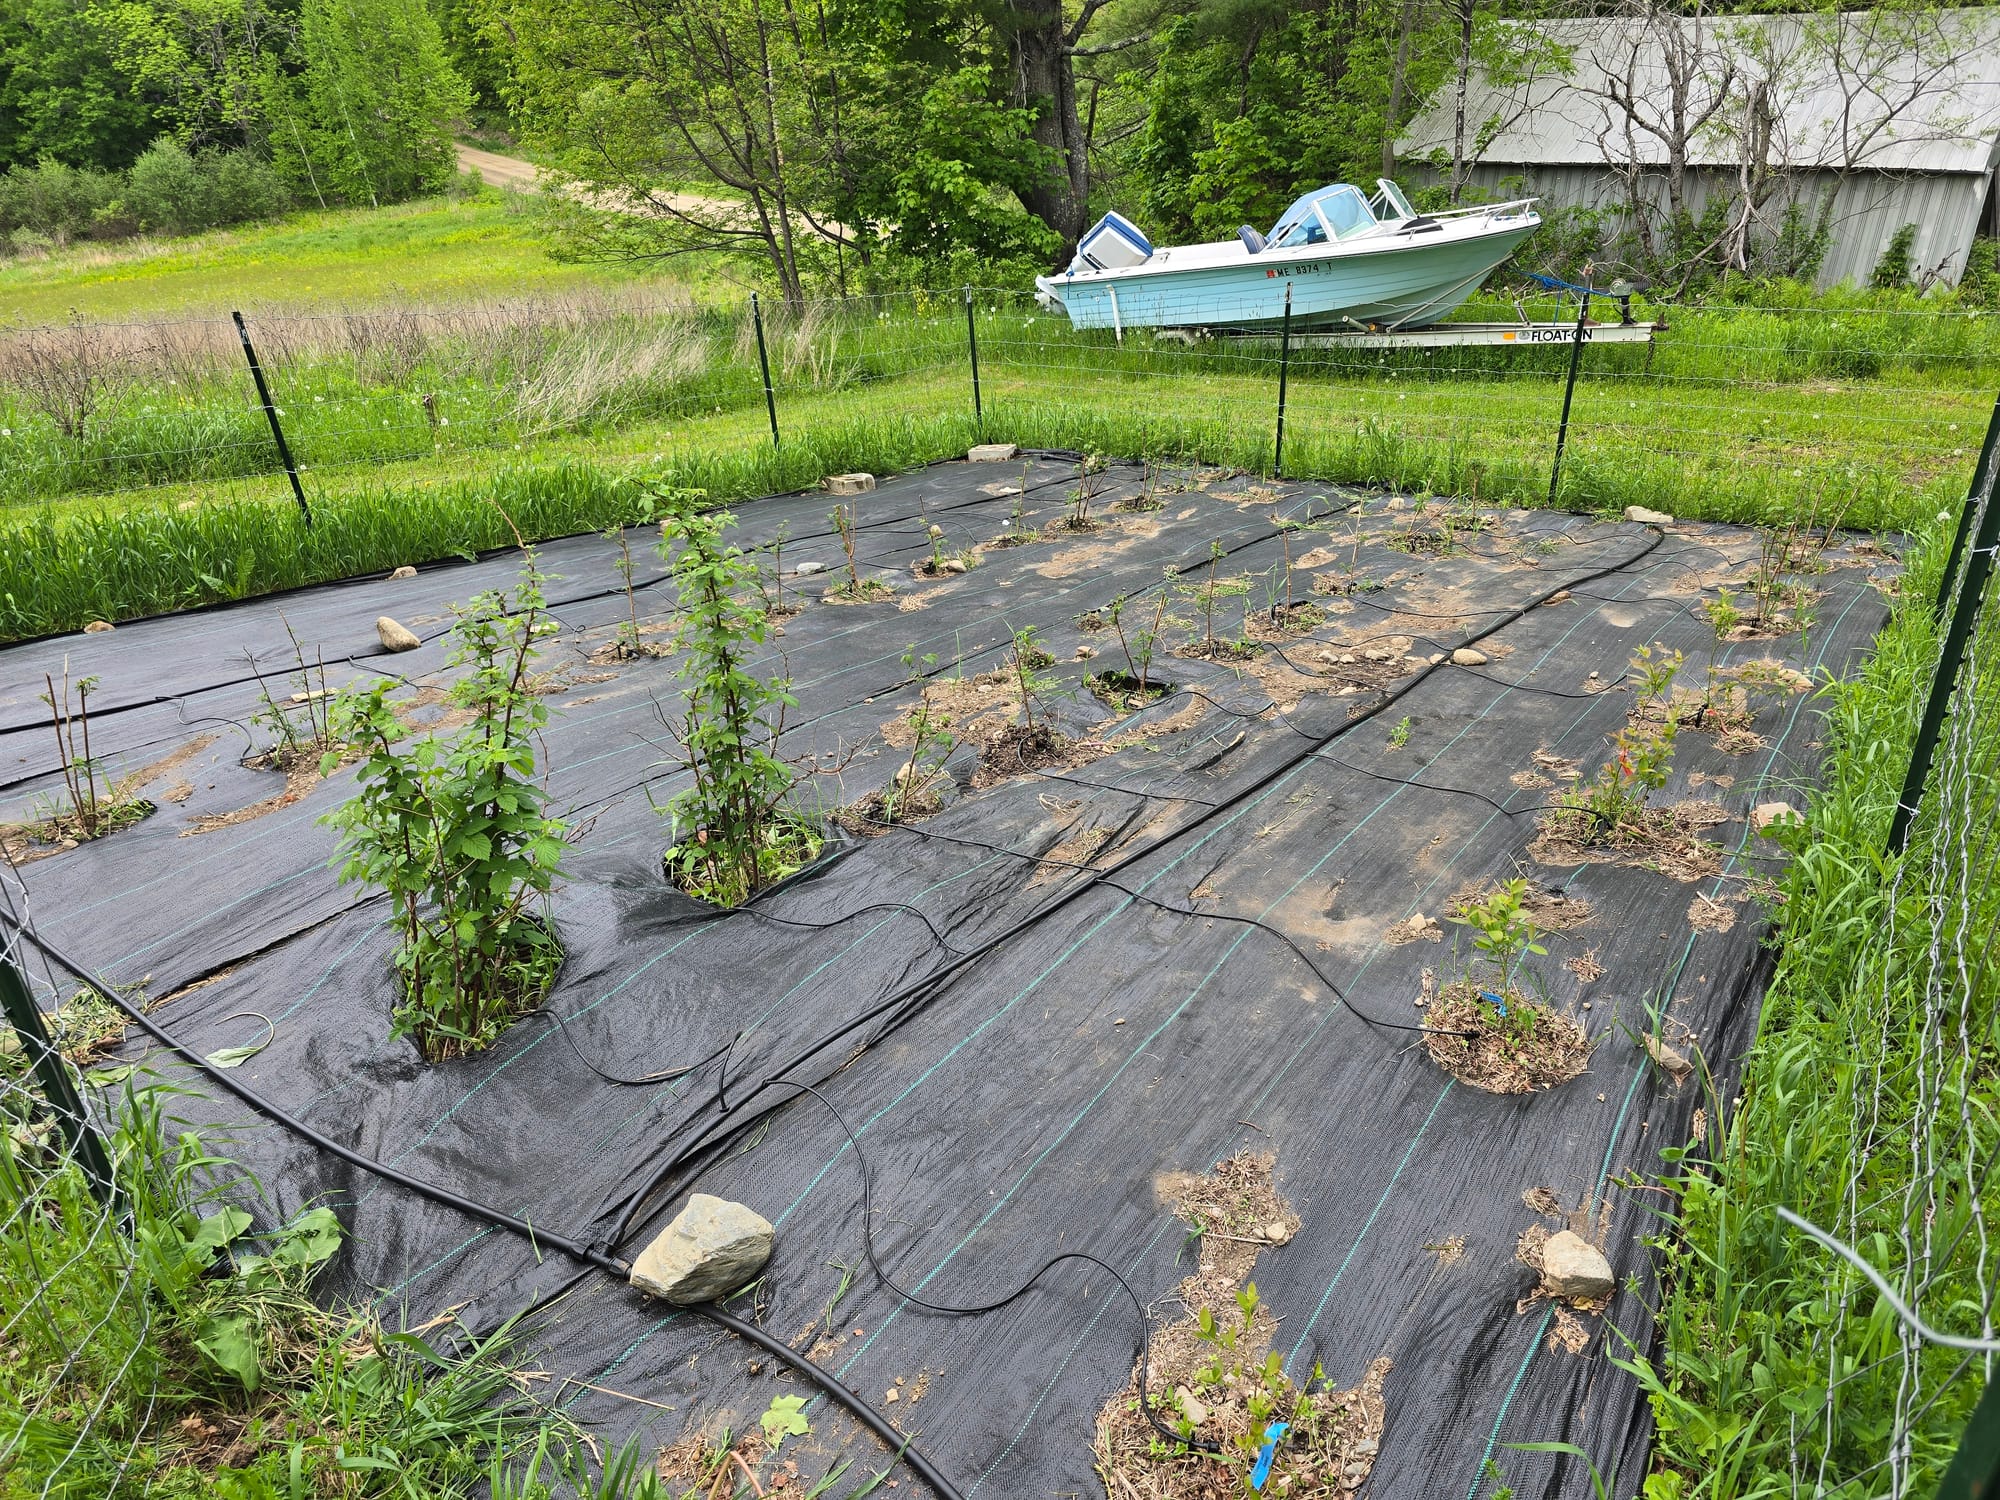
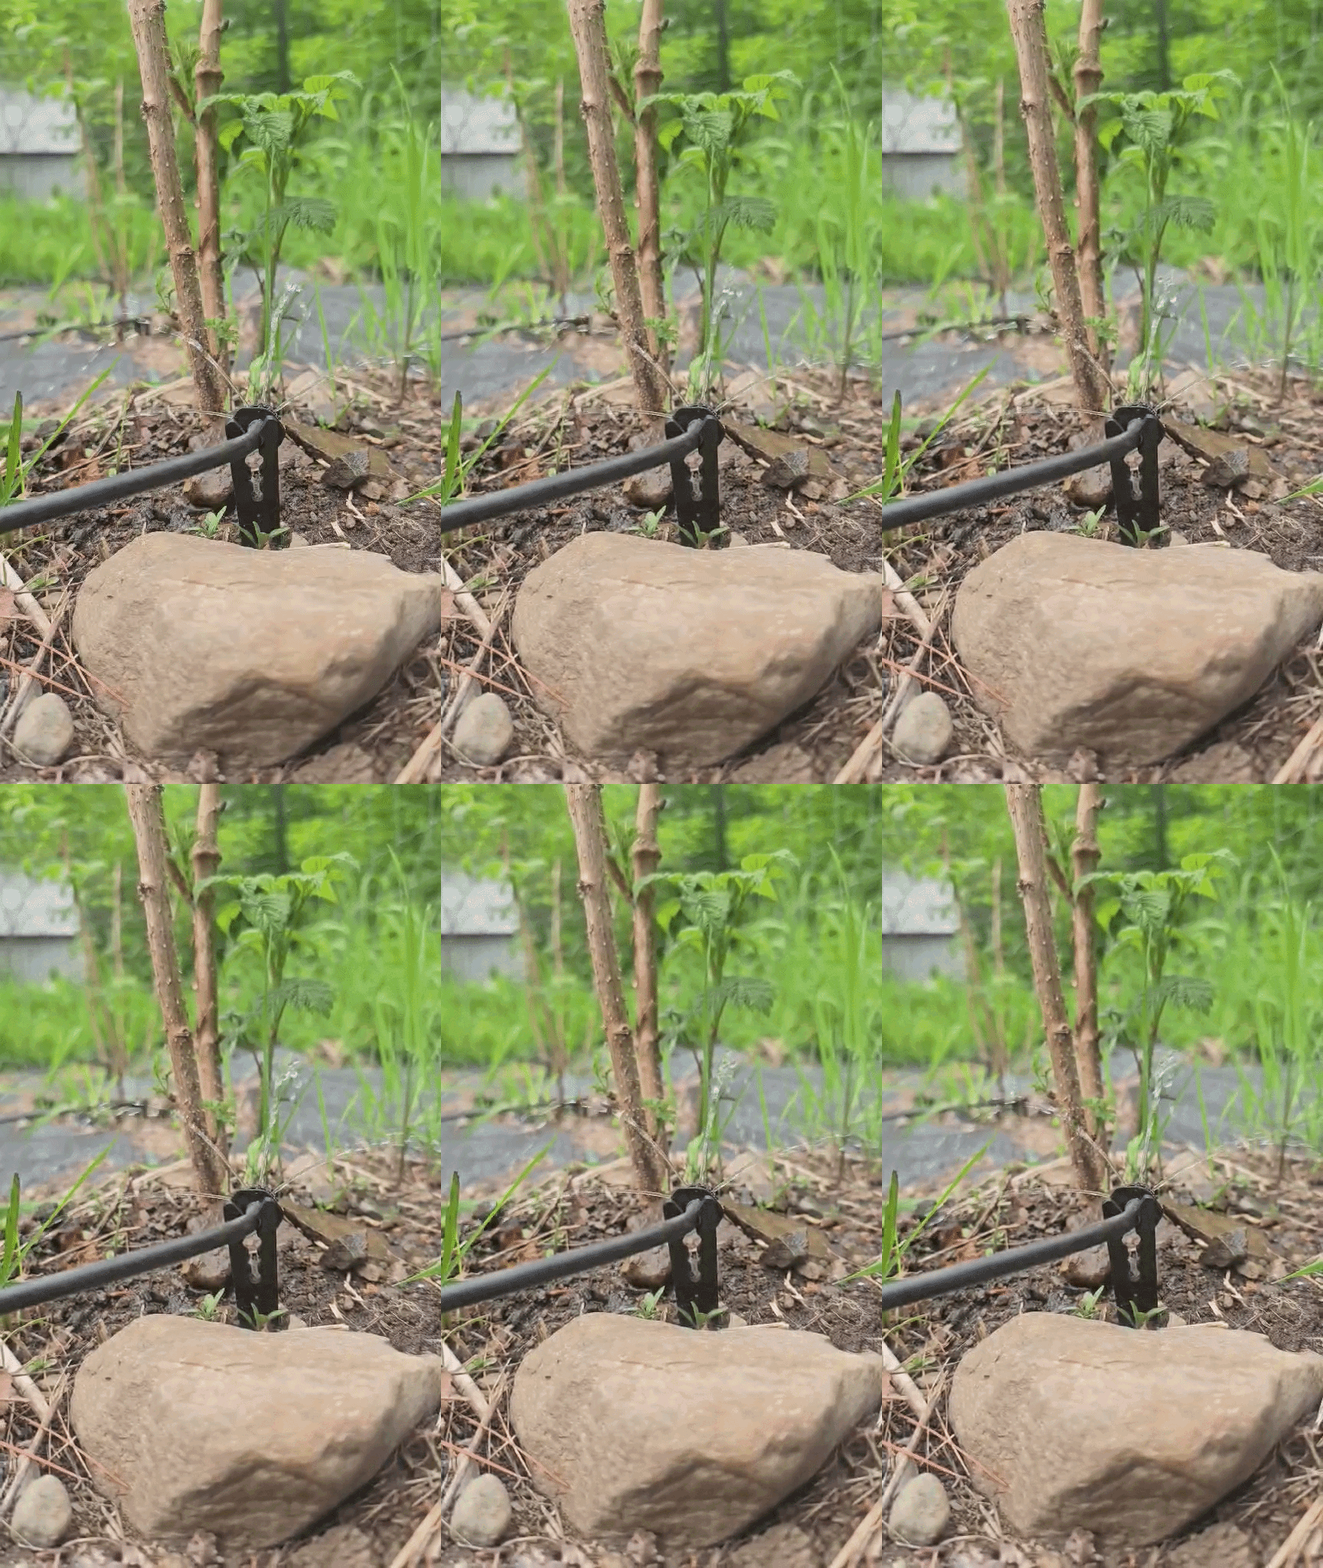
I tested both drip systems connected directly to the cam-lock IBC tote adapter and both systems worked well. The last step was to fully automate drawing from the tote. In my previous raised bed drip system, I used an ESP32 flashed with ESPhome and an external relay board + 24VAC transformer to run off the shelf Orbit sprinkler valves, with the schedule all setup and controlled by Home Assistant. When I originally set that up, I didn't think the valves worked, as I couldn't get them to open while I was bench testing. Come to find out, all the solenoid valves require pressure on the feed side to reliably open and close - when I installed them off my hose spigot, they worked great. We were on town water and I had plenty of pressure there, but I didn't have that luxury here. Furthermore, I didn't have any local source of power to drive 24VAC to the sprinkler valves - the orbit valves were out of contention.
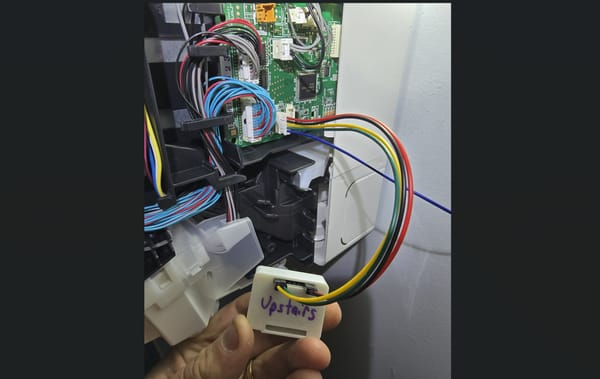
Orbit makes some simple timers that are battery powered and may have worked, but most of them looked like solenoid valves too and I was hell bent on having it all tied into home assistant. I have about every wireless communication protocol one could think of on the property, with sensors integrated over 433/915mhz RF, zigbee, wifi, etc. I found a cheap sonoff zigbee valve that looked promising, but it also was solenoid style and appeared to require more pressure than I had available from the tote. Finally, I stumbled upon the Aqara T1 Zigbee valve controller. This unit mounts on any standard quarter turn or butterfly valve and turns the handle, eliminating the feed pressure requirement - it's battery powered and talks zigbee. I have a large zigbee network (many hue bulbs, contact sensors, etc) and figured I'd have have enough signal range to control them from the house.
I purchased 2 of them and got to work building a manifold that would accept standard hose fittings for the inlet and outlet to each fruit patch. I sourced all the components again at Home Depot, using 3/4" black iron pipe nipples and quarter turn 3/4" valves. I bought some standoffs so I could mount them to a board.
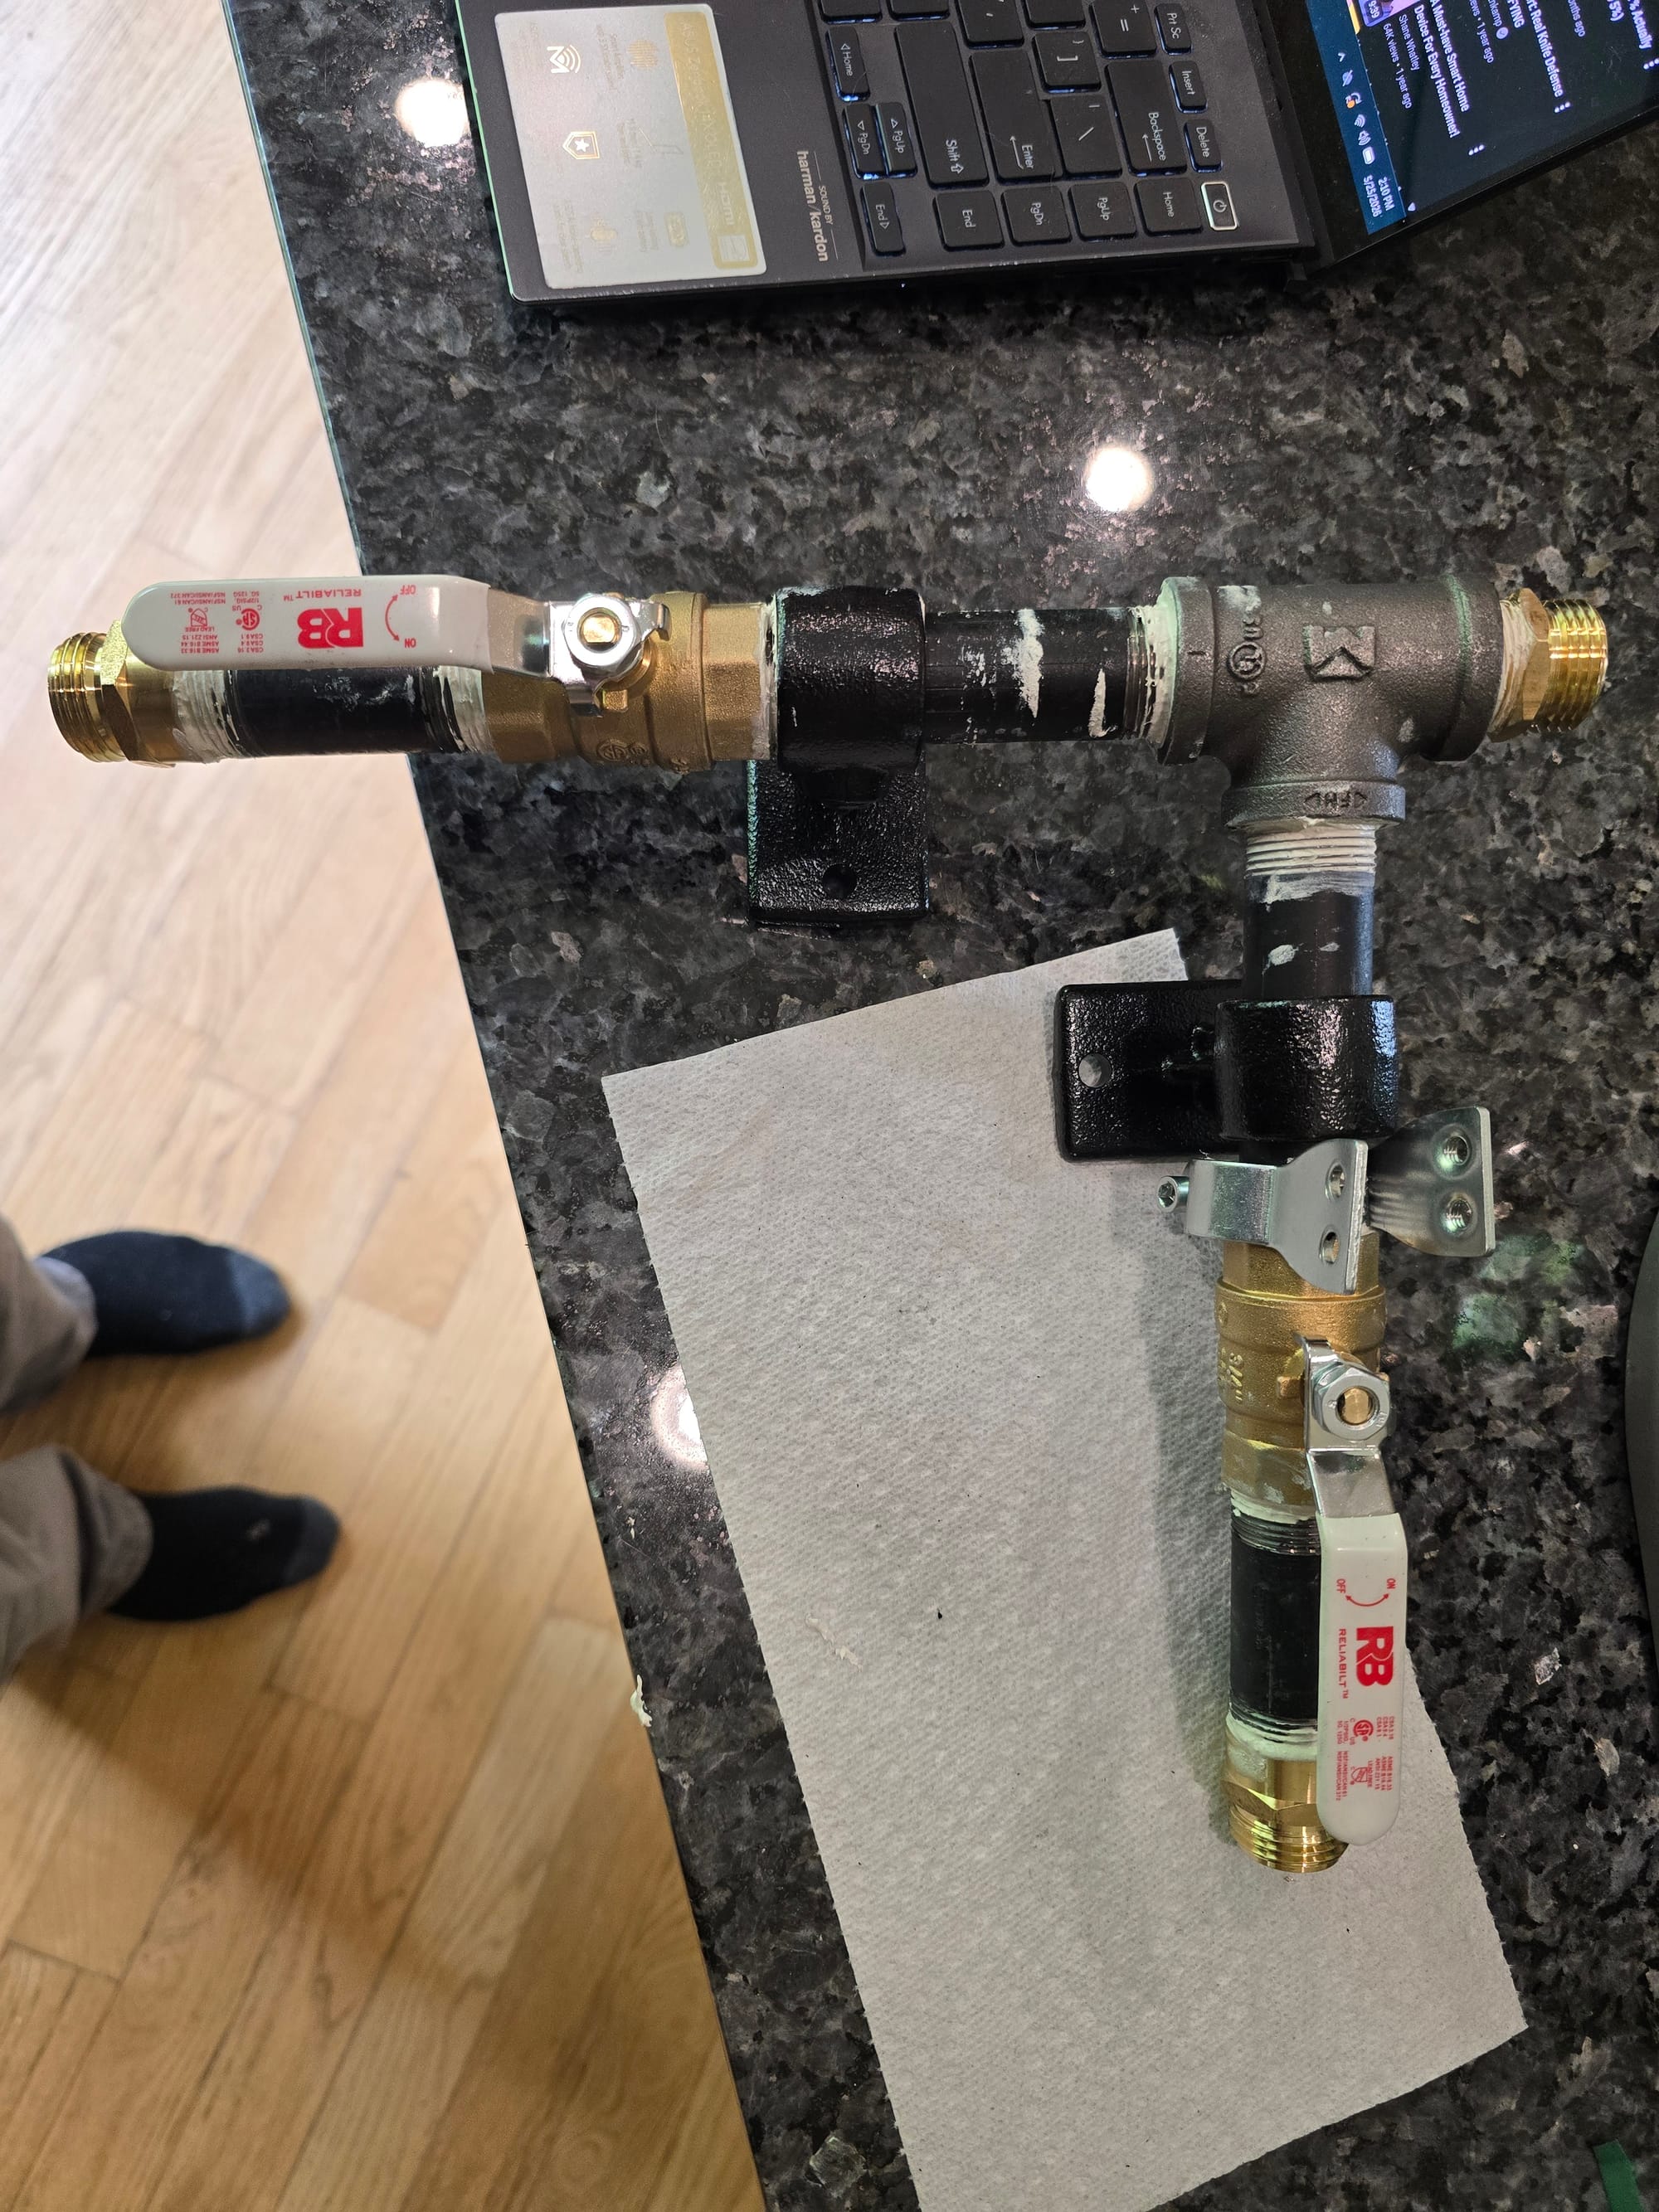
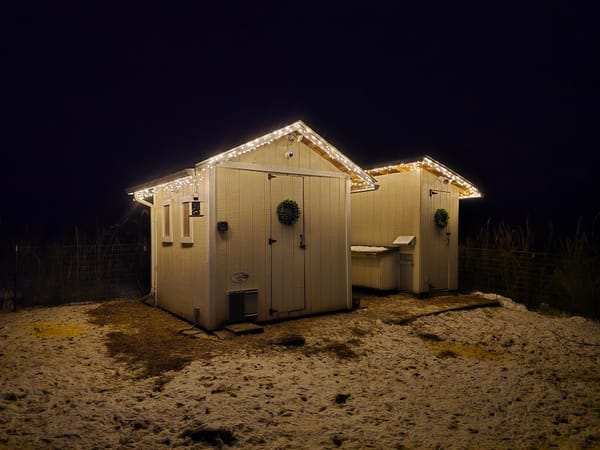
Unfortunately, the Aqara valve turners are not waterproof, so I built a small house for them with some spare materials I had hanging around. I probably could've gotten away with a plastic box or something less elaborate but I had leftover wood/shingles from many other projects. I mounted the manifold to the floor of the valve house and installed both Aqara units - they turned the valves with ease despite the valves being rather stiff.
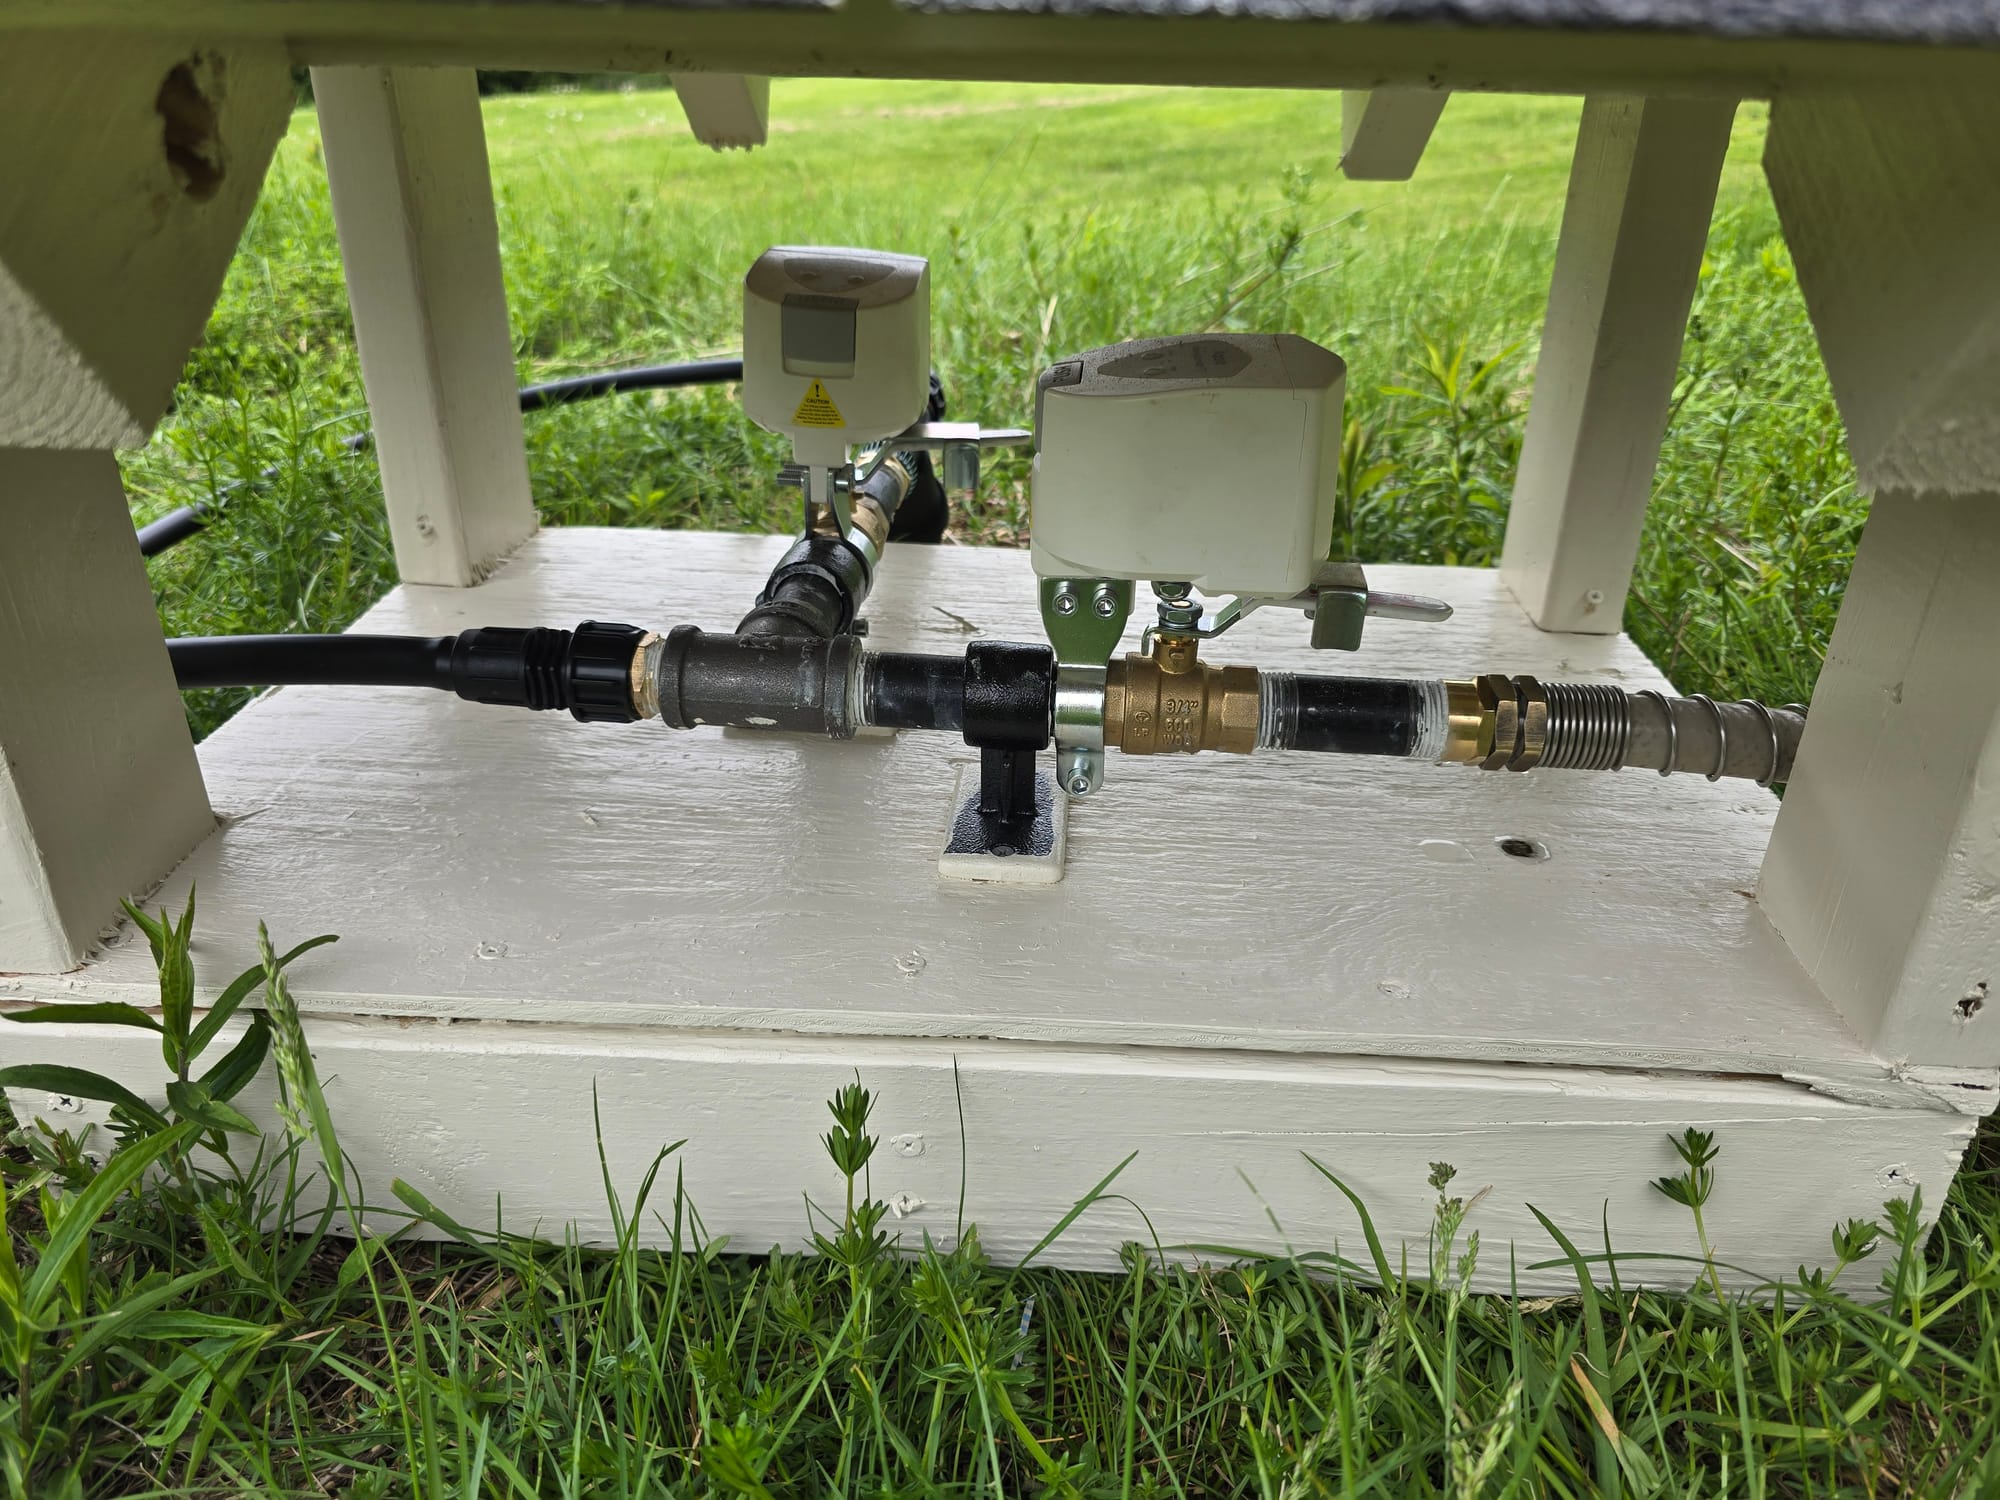
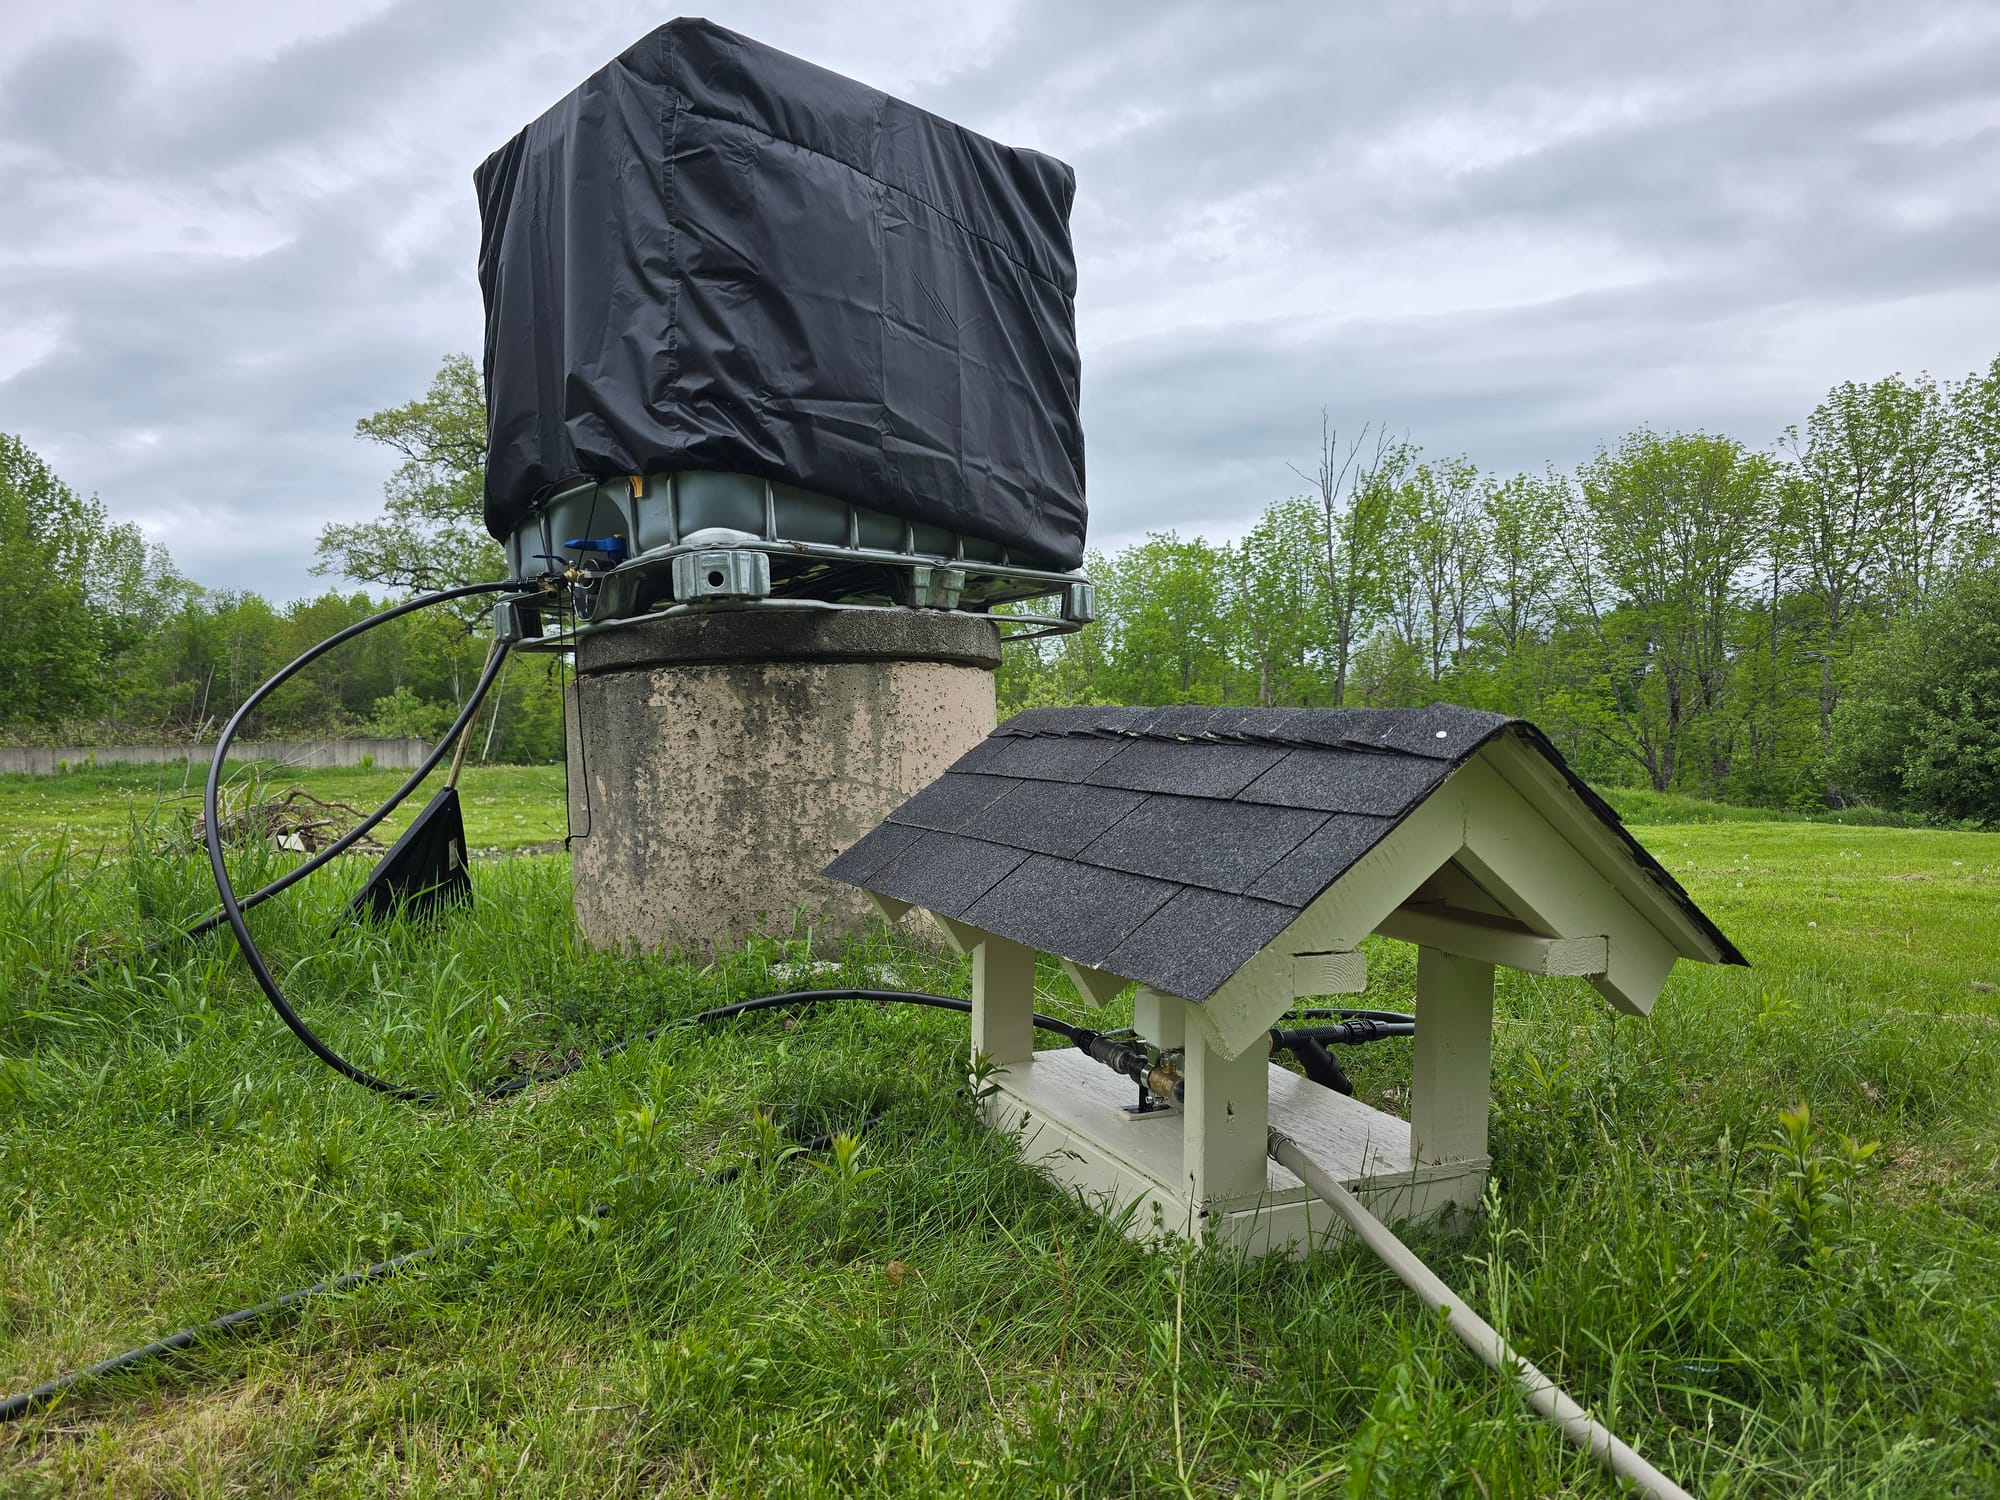
I test fired the valves over my zigbee network via home assistant and the signal reached - both valves turned a few seconds after the command was issued. I purchased a couple of ecowitt soil moisture sensors to get real time feedback on soil conditions - I've got 3 of them in house plants inside. I'm not sure if the 915mhz sensor will make it to the ecowitt hub in my basement from here - I've yet to receive an update from either sensor. If those don't end up working, I will probably pivot to a zigbee solution and repurpose the 915mhz sensors.
For automations, I've setup a simple water the plants for X period of time if it hasn't rained today. This will limp us along for the time being until I get accurate soil conditions from a sensor. I'm using an ecowitt wittboy as a weather station to determine if it's rained - it provides light levels, wind speed, precipitation amounts, etc.
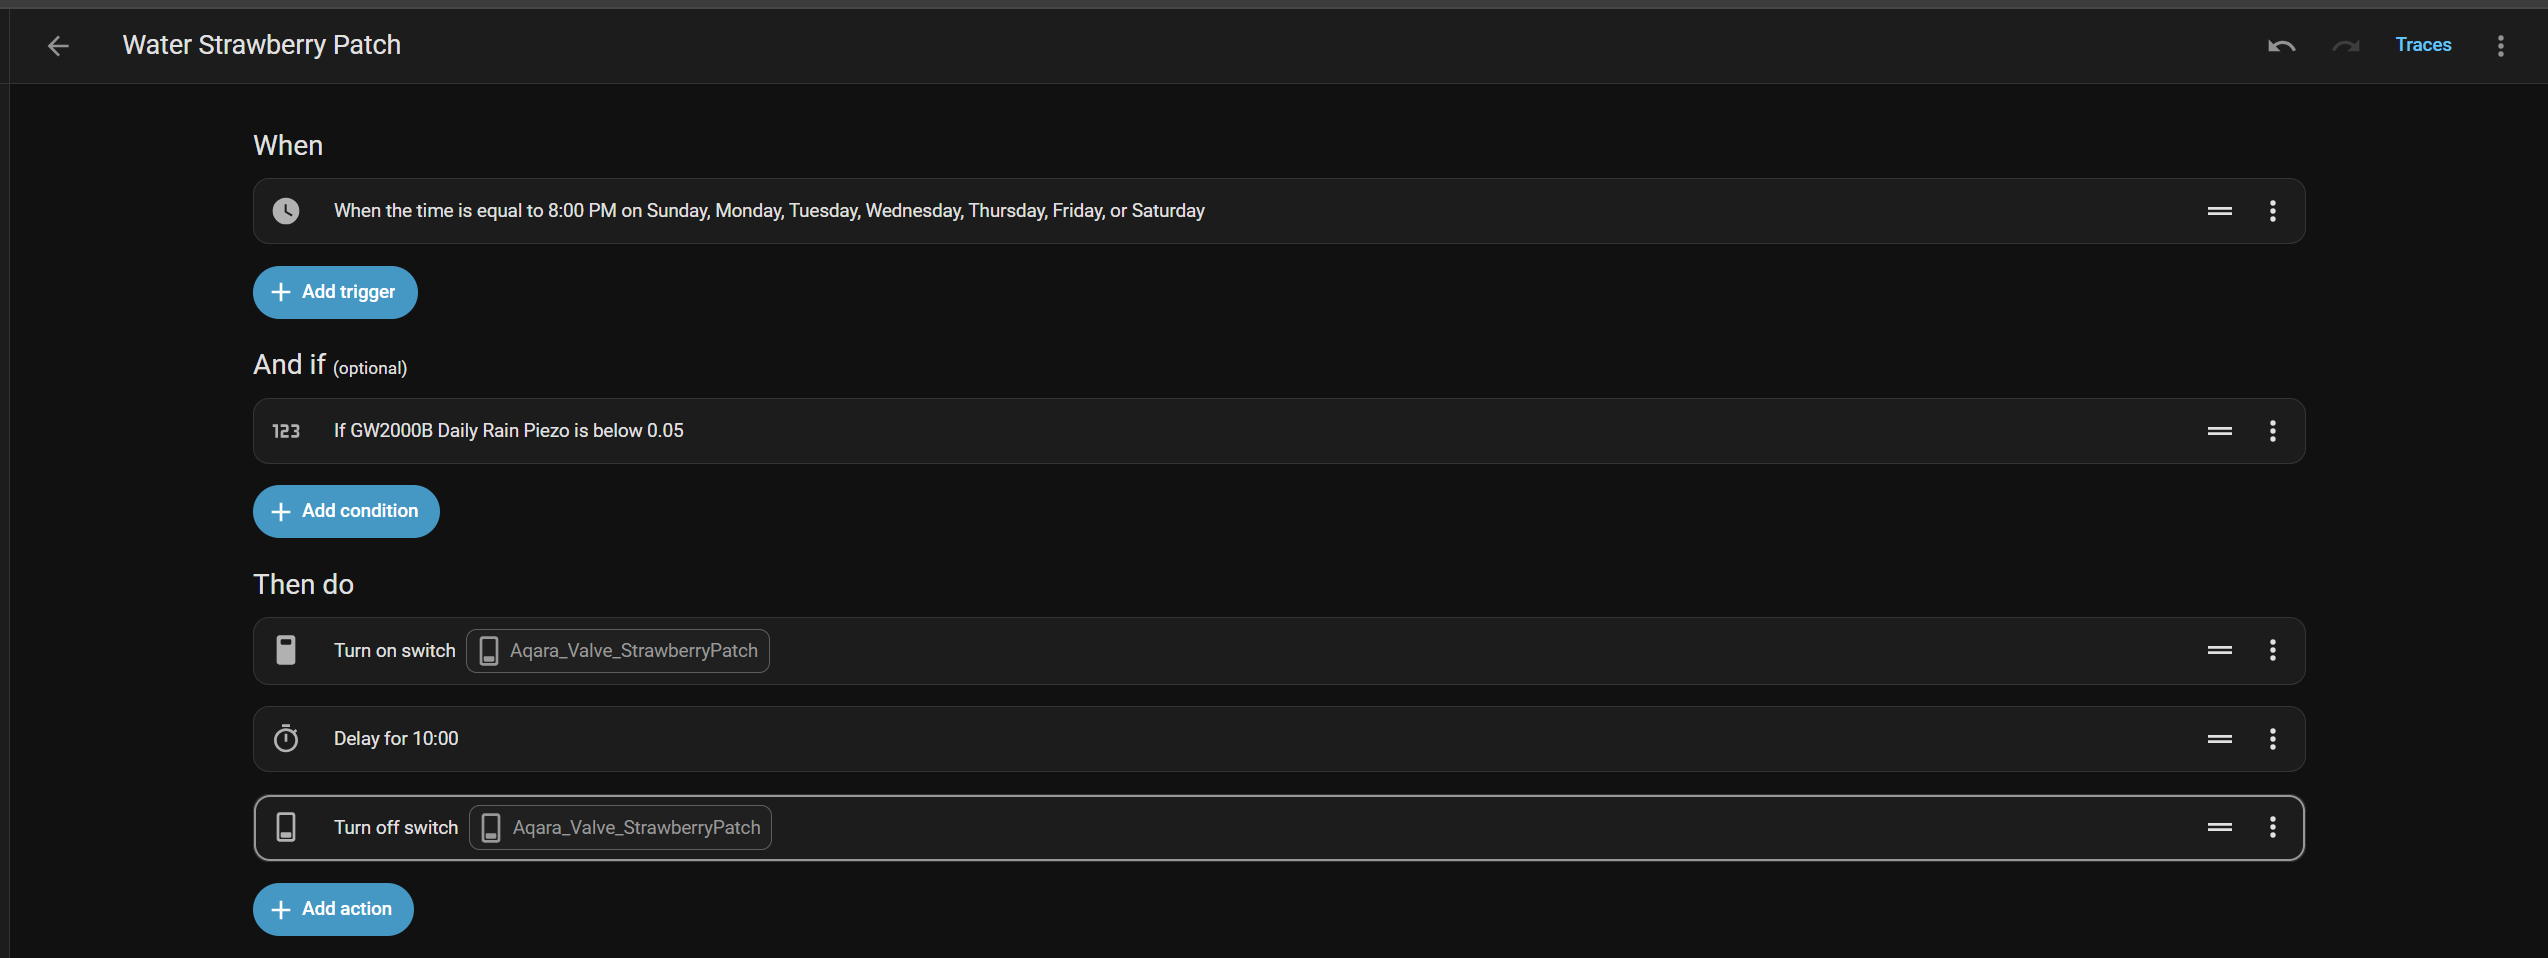
After we get the drip emitters dialed back to slower flow rates and get a feel for soil moisture in general, I'll probably greatly extend these run times. There are some more elaborate integrations, like plant monitor, that I may setup in the future once we have soil moisture feedback working reliably.
Once I figure out a way to auto-start the ram pump (likely a siphon mechanism), we will have an entirely hands off, home assistant friendly way to keep our fruit patches optimally watered. We planted a number of fruit trees around this same area that I will likely tie into the drip system long-term. I'd like to acquire a couple more totes and build a bigger water reserve to ride through even the worst of droughts - this would also let me stack the totes and drop the one tote I have sitting on top of the well casing down to ground level, which would be far less sketchy.