Woodstove Temperature Monitoring
Wood burning season is in full swing and I have been on a quest to burn as efficiently as possible, both to conserve wood and prevent creosote buildup in the chimney flue. Our home has a 2008 era Hearthstone Heritage pre-catalyst EPA stove.

The common approach to measuring wood stove temperature is a stove top thermometer. These give a indication of how hot you're burning, but in the case of a stove filled with soapstone or other kinds of heat brick, lag significantly behind the action in the burn chamber. When you first light the stove, it takes quite awhile to get the entire assembly up to temperature and as the fire is cooling down, the stove assembly stays hot even as the fire begins to cool. From what I read, you want the entire chimney flue to be above 250F to prevent creosote formation. It seems like most people shoot for 400-500F in the pipe above the stove.
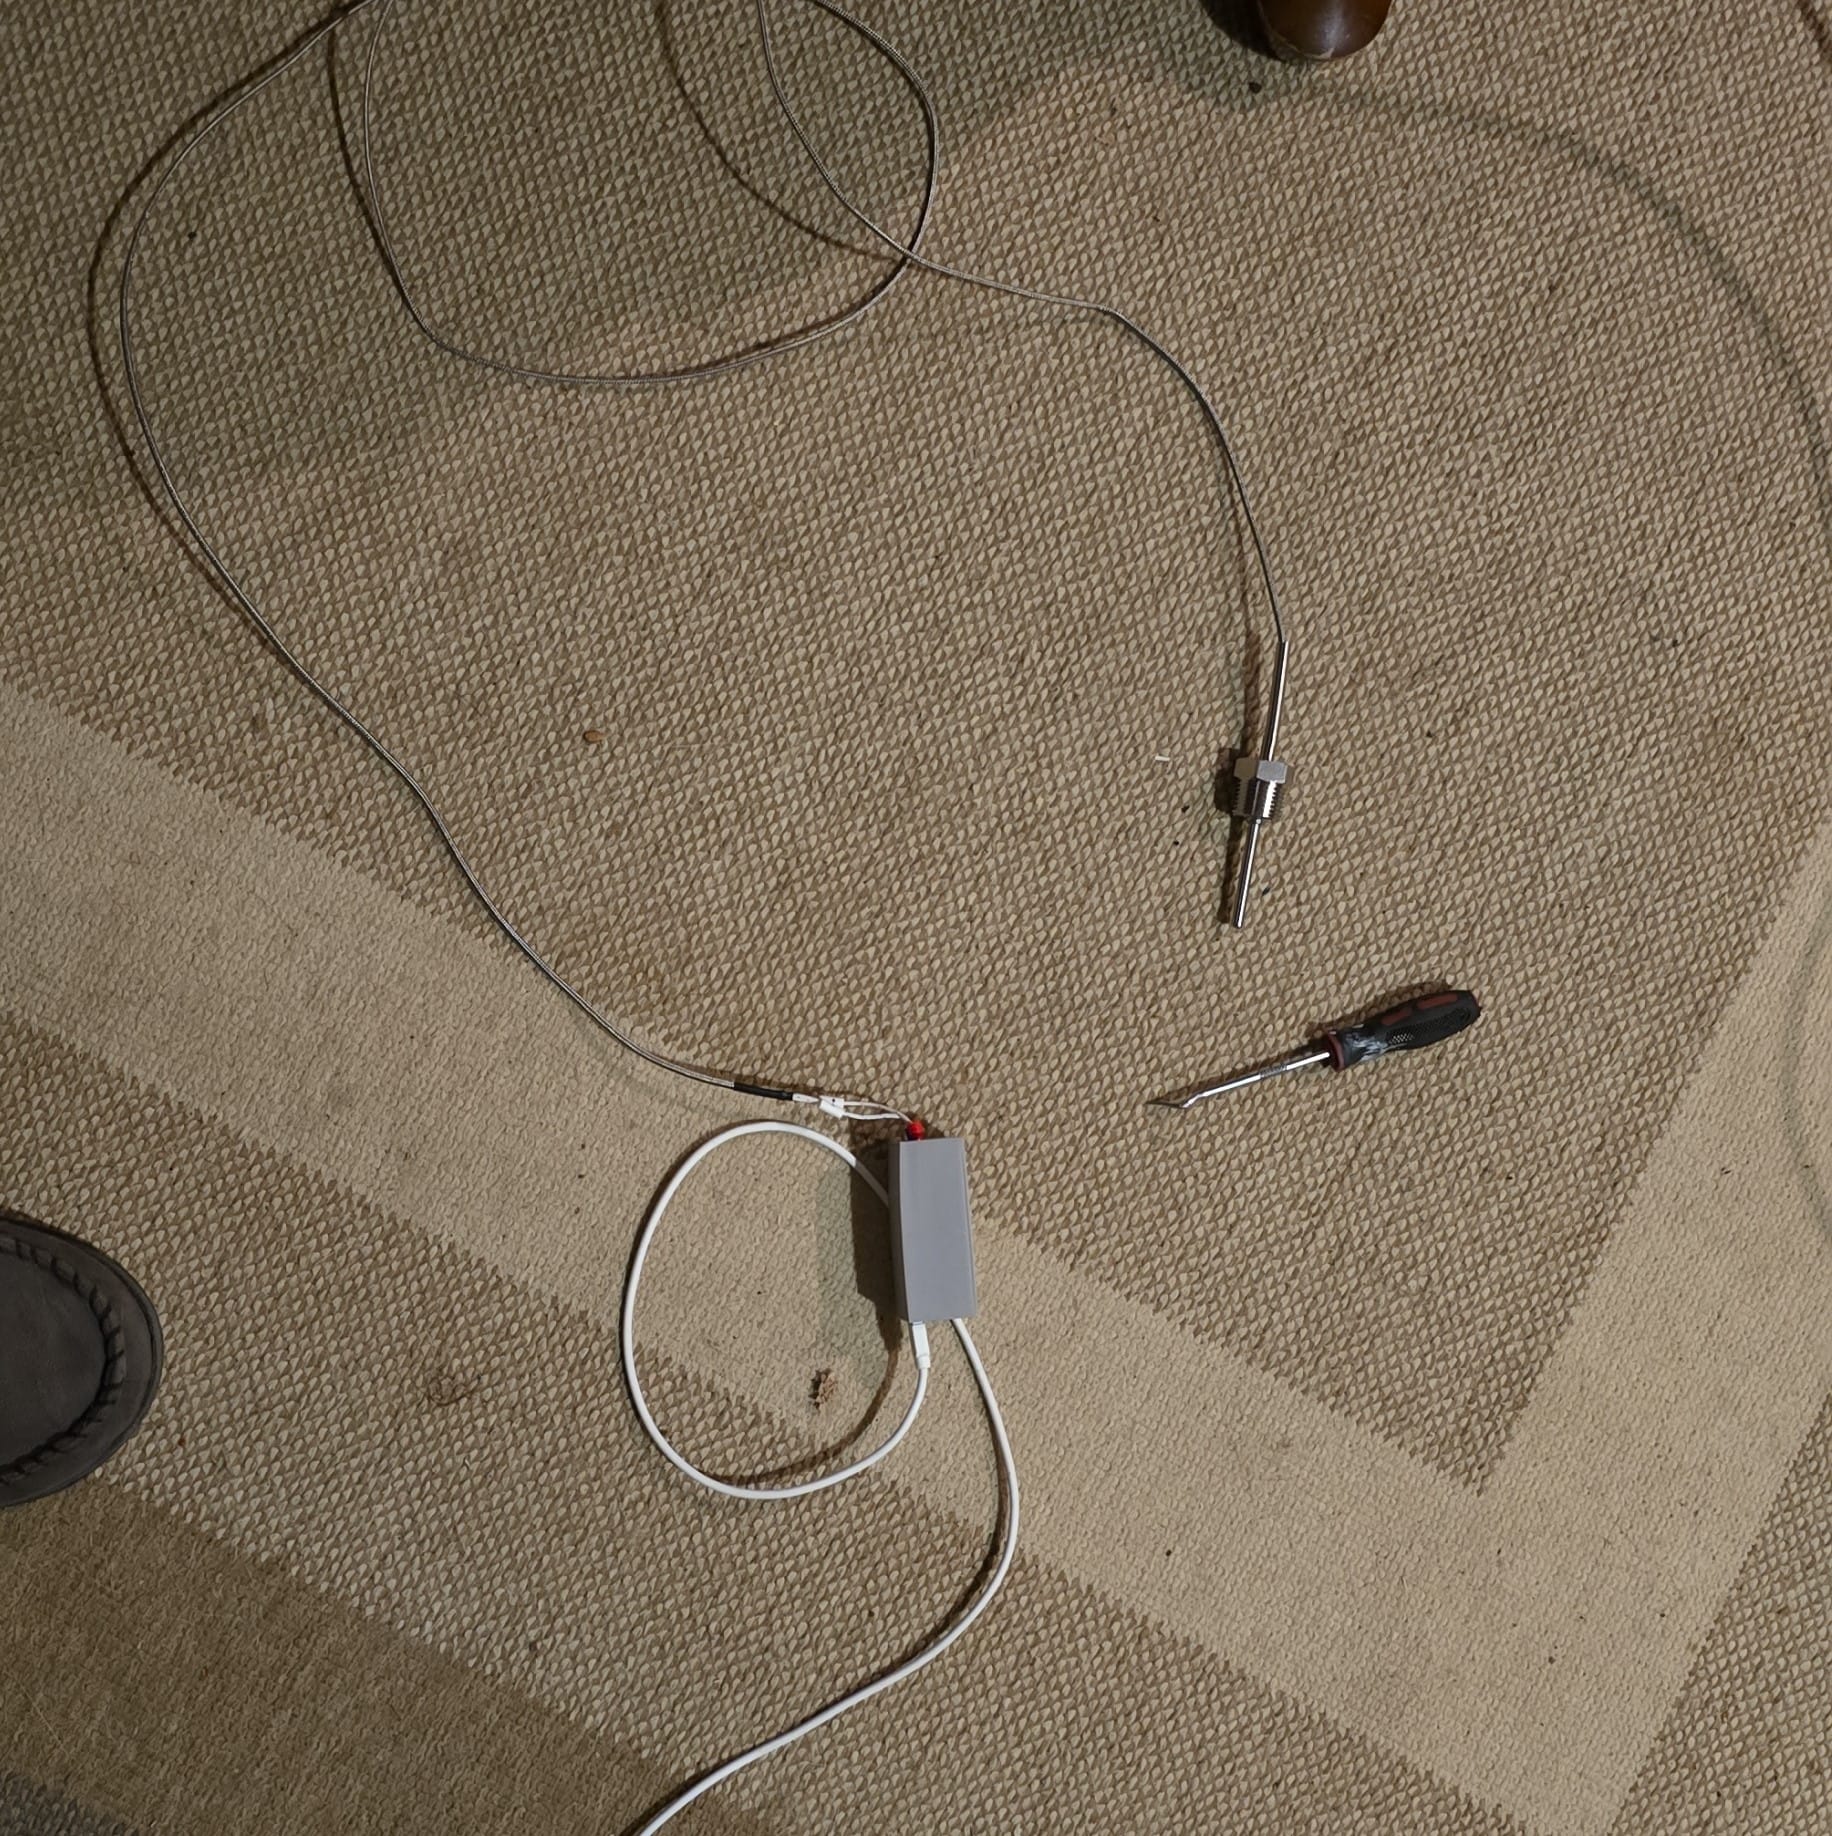
I wanted to directly measure two things as best I could - the firebox temperature and flue temperature at its coldest spot (top of the chimney). I haven't yet figured out a great way to get any kind of temperature sensing gear up on the roof (and my roof is very steep and icy right now) so I figured I'd start with the easy one - firebox temperature. I didn't want to drill any holes or otherwise modify my hearthstone, so I opted to install a thermocouple in the flue pipe as close to the top of the stove as I could reasonably get.
Home assistant is the natural place to land this data. For parts for this project, I ordered...
- K Type thermocouple
- MAX6675 amplifier for the thermocouple
- ESP8266 in WeMos D1 mini form factor
- Rutland Stove Cement
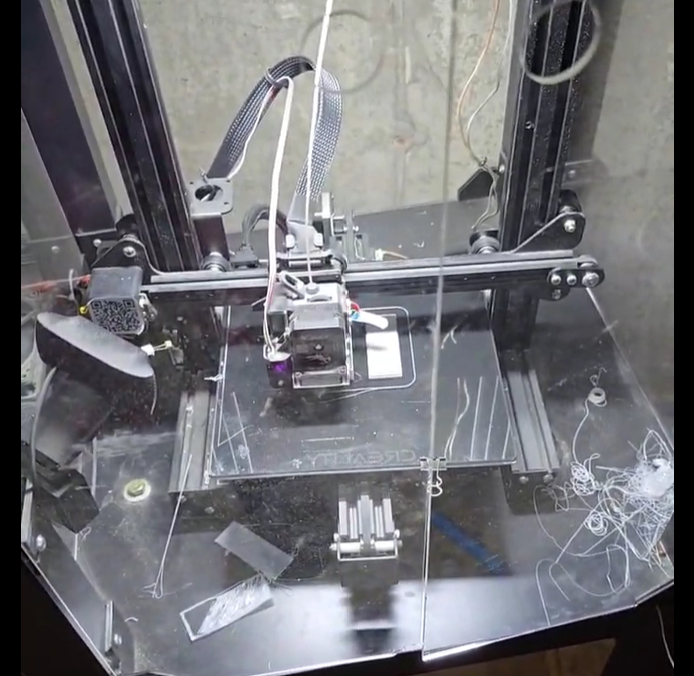
I had some PLA 3d printer filament and my modified Creality Ender 3 on hand to print an enclosure. I found a great model on thingiverse that neatly contains the Wemos + max6675.
The first order of business was to assemble the D1 mini and test the max6675 + thermocouple setup. The max6675 reads temperature from the thermocouple and relays it to the ESP8266 via SPI. I soldered pins onto the ESP8266 board and wired up the max6675 with some jumpers.
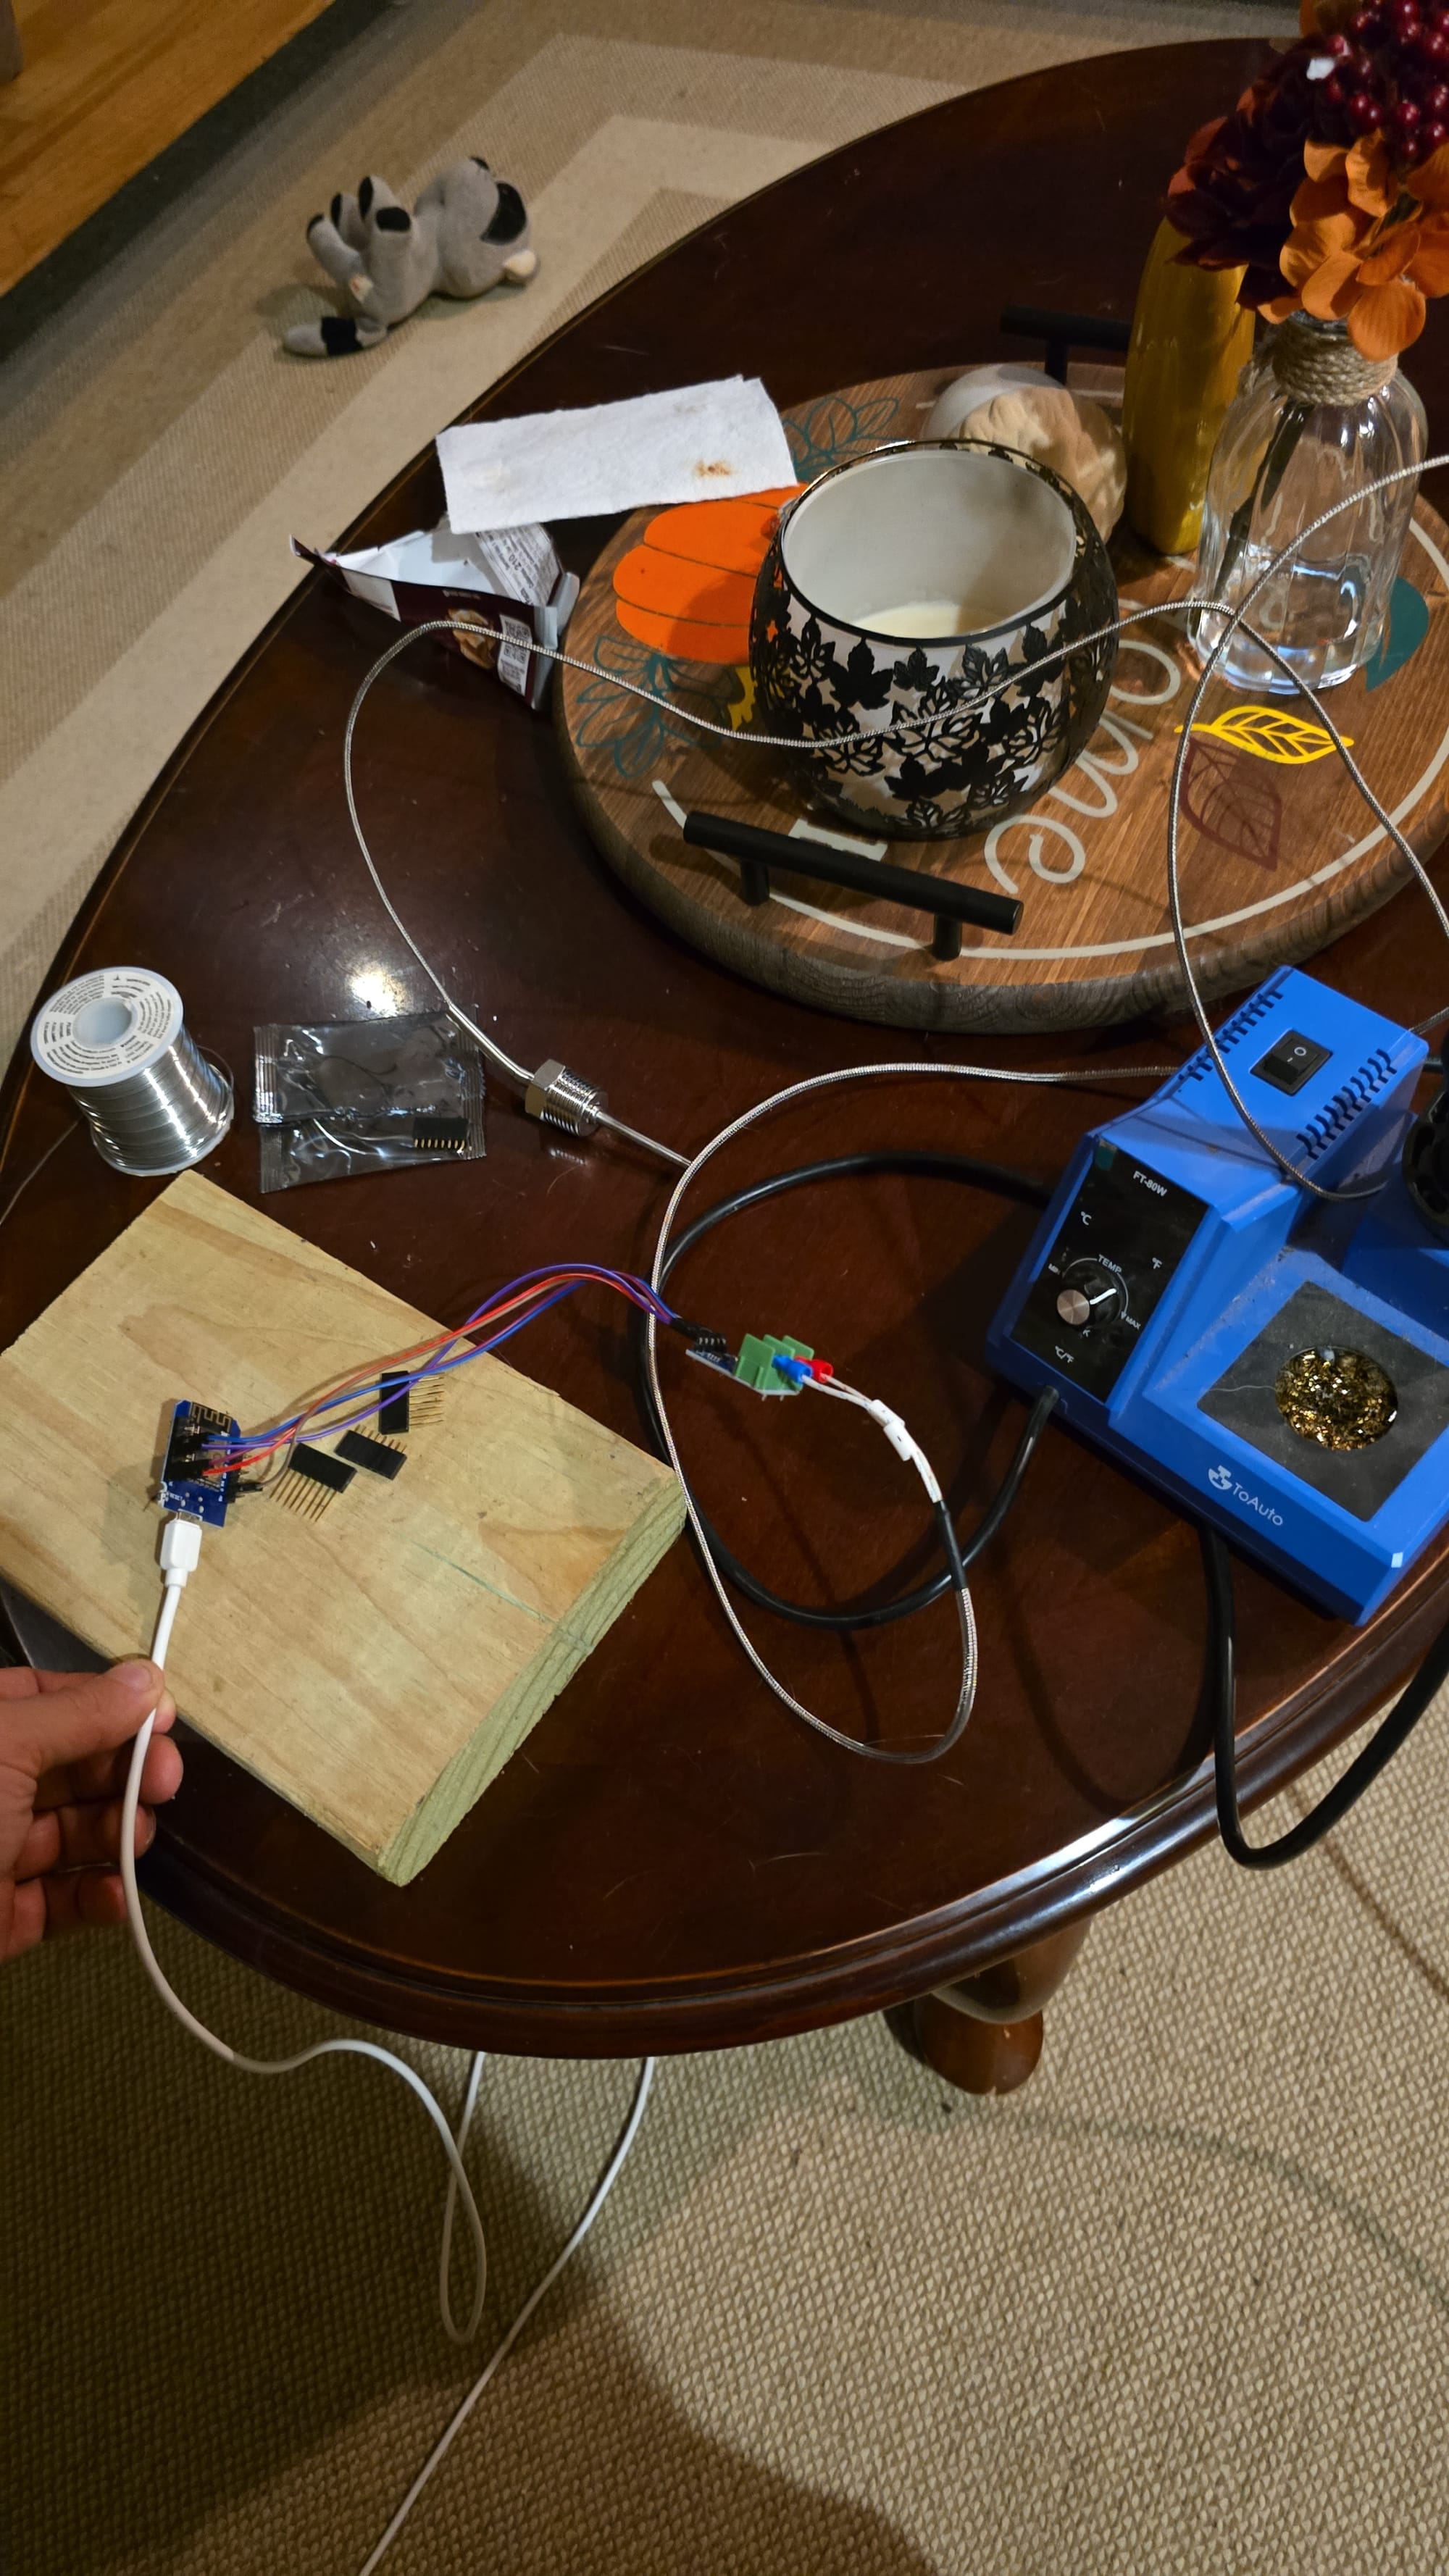
The max6675 has 5 pins that need to be connected - VCC (+3.3V), GND (ground), and 3 SPI pins (SCK, CS, and SO). I connected CS (chip select) to D8/GPIO15, SCK (clock) to D5/GPIO14, and SO to D6/GPIO12.


Here's my entire esphome config for this board:
esphome:
name: woodstove-temp
friendly_name: woodstove_temp
esp8266:
board: d1_mini
# Enable logging
logger:
# Enable Home Assistant API
api:
encryption:
key: "#####"
ota:
- platform: esphome
password: "#######"
wifi:
ssid: !secret wifi_ssid
password: !secret wifi_password
# Enable fallback hotspot (captive portal) in case wifi connection fails
ap:
ssid: "Woodstove-Temp Fallback Hotspot"
password: "######"
captive_portal:
spi:
miso_pin: D6
clk_pin: D5
sensor:
- platform: max6675
name: "Wood Stove Flue Temperature"
cs_pin: D8
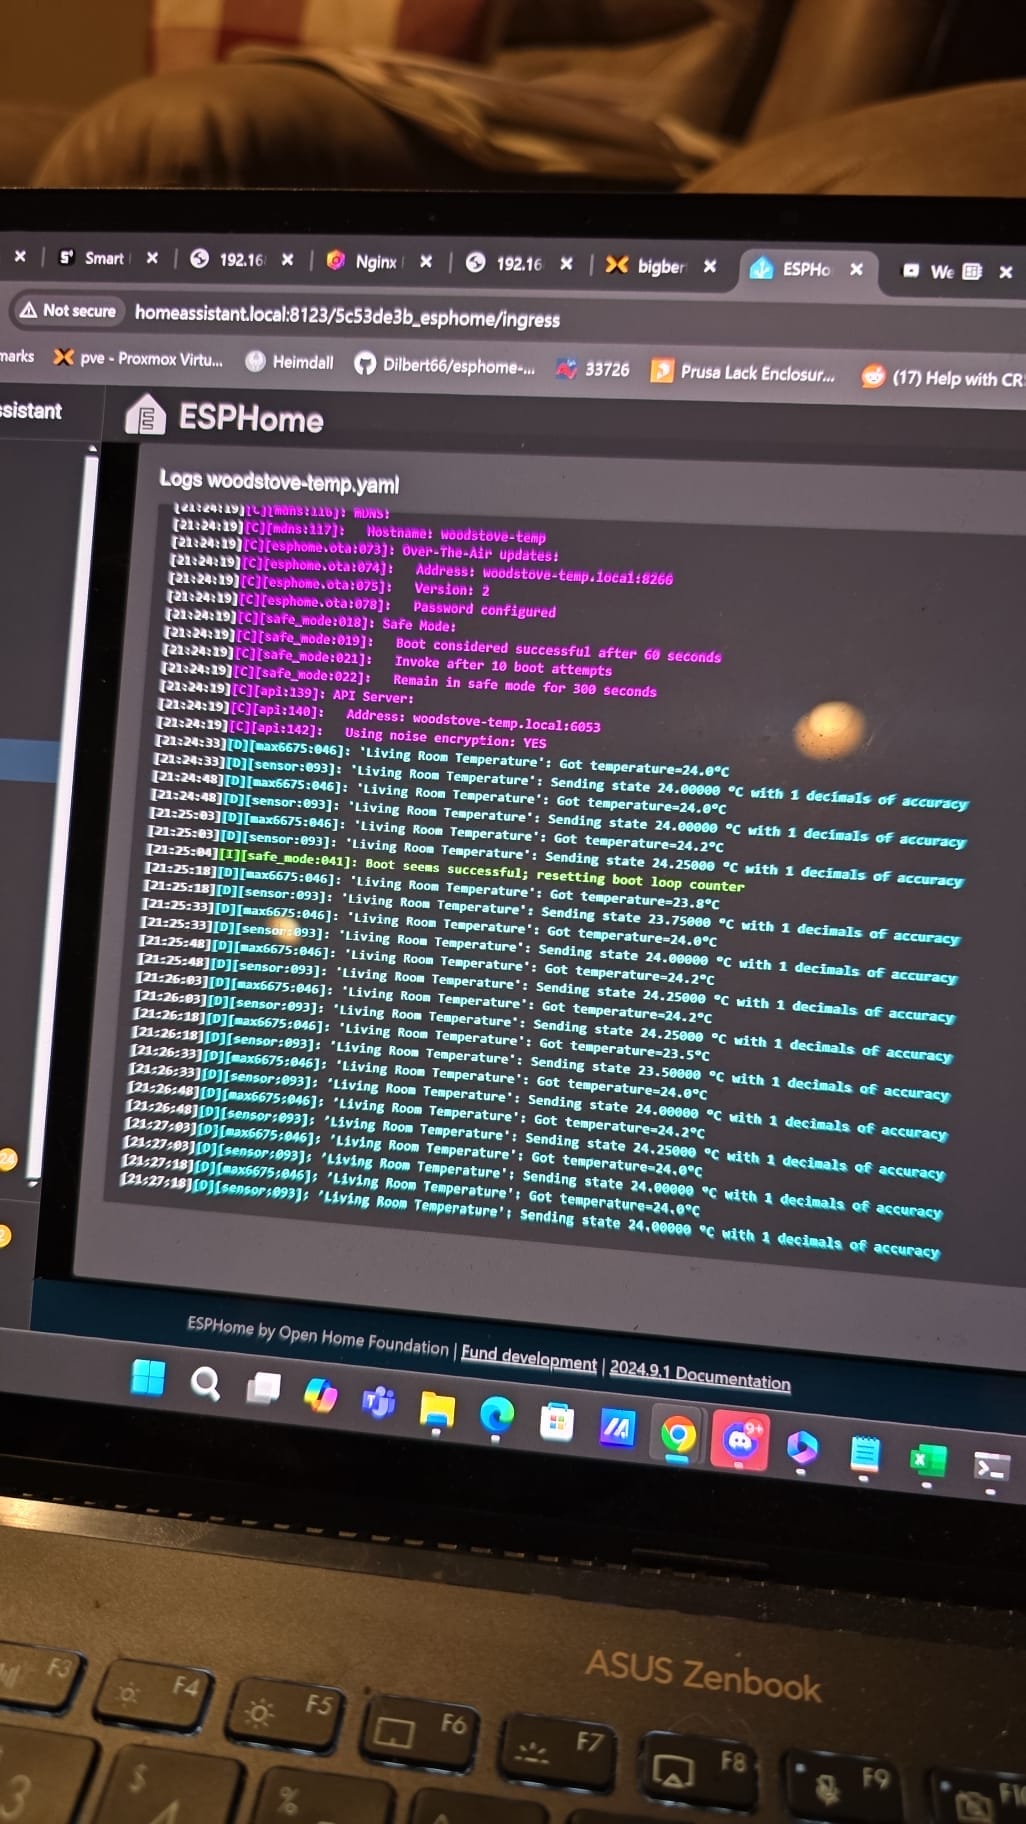
update_interval: 15sWith the board configured, flashed, and wired up, I fired up the esphome logs in home assistant to make sure I was getting valid values - all looked good.
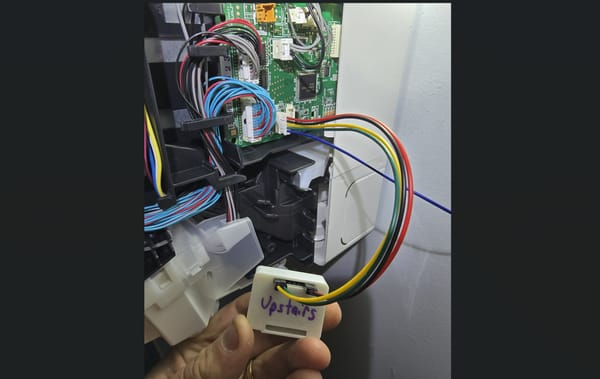
Next, I dusted off my ender 3 and printed this model. I put the wemos d1 mini and max6675 in the box and left it wired with jumpers - everything fit nicely.
With all of the fun stuff out of the way, I removed the flue pipe right above my wood stove. I drilled a hole in the pipe, as close to the bottom as I could reasonably get, that I thought was the right size but ended up being a bit too big. In order to get the thermocouple to stay in place, I spot welded it to the flue pipe. I then sealed up around the penetration with Rutland stove cement.
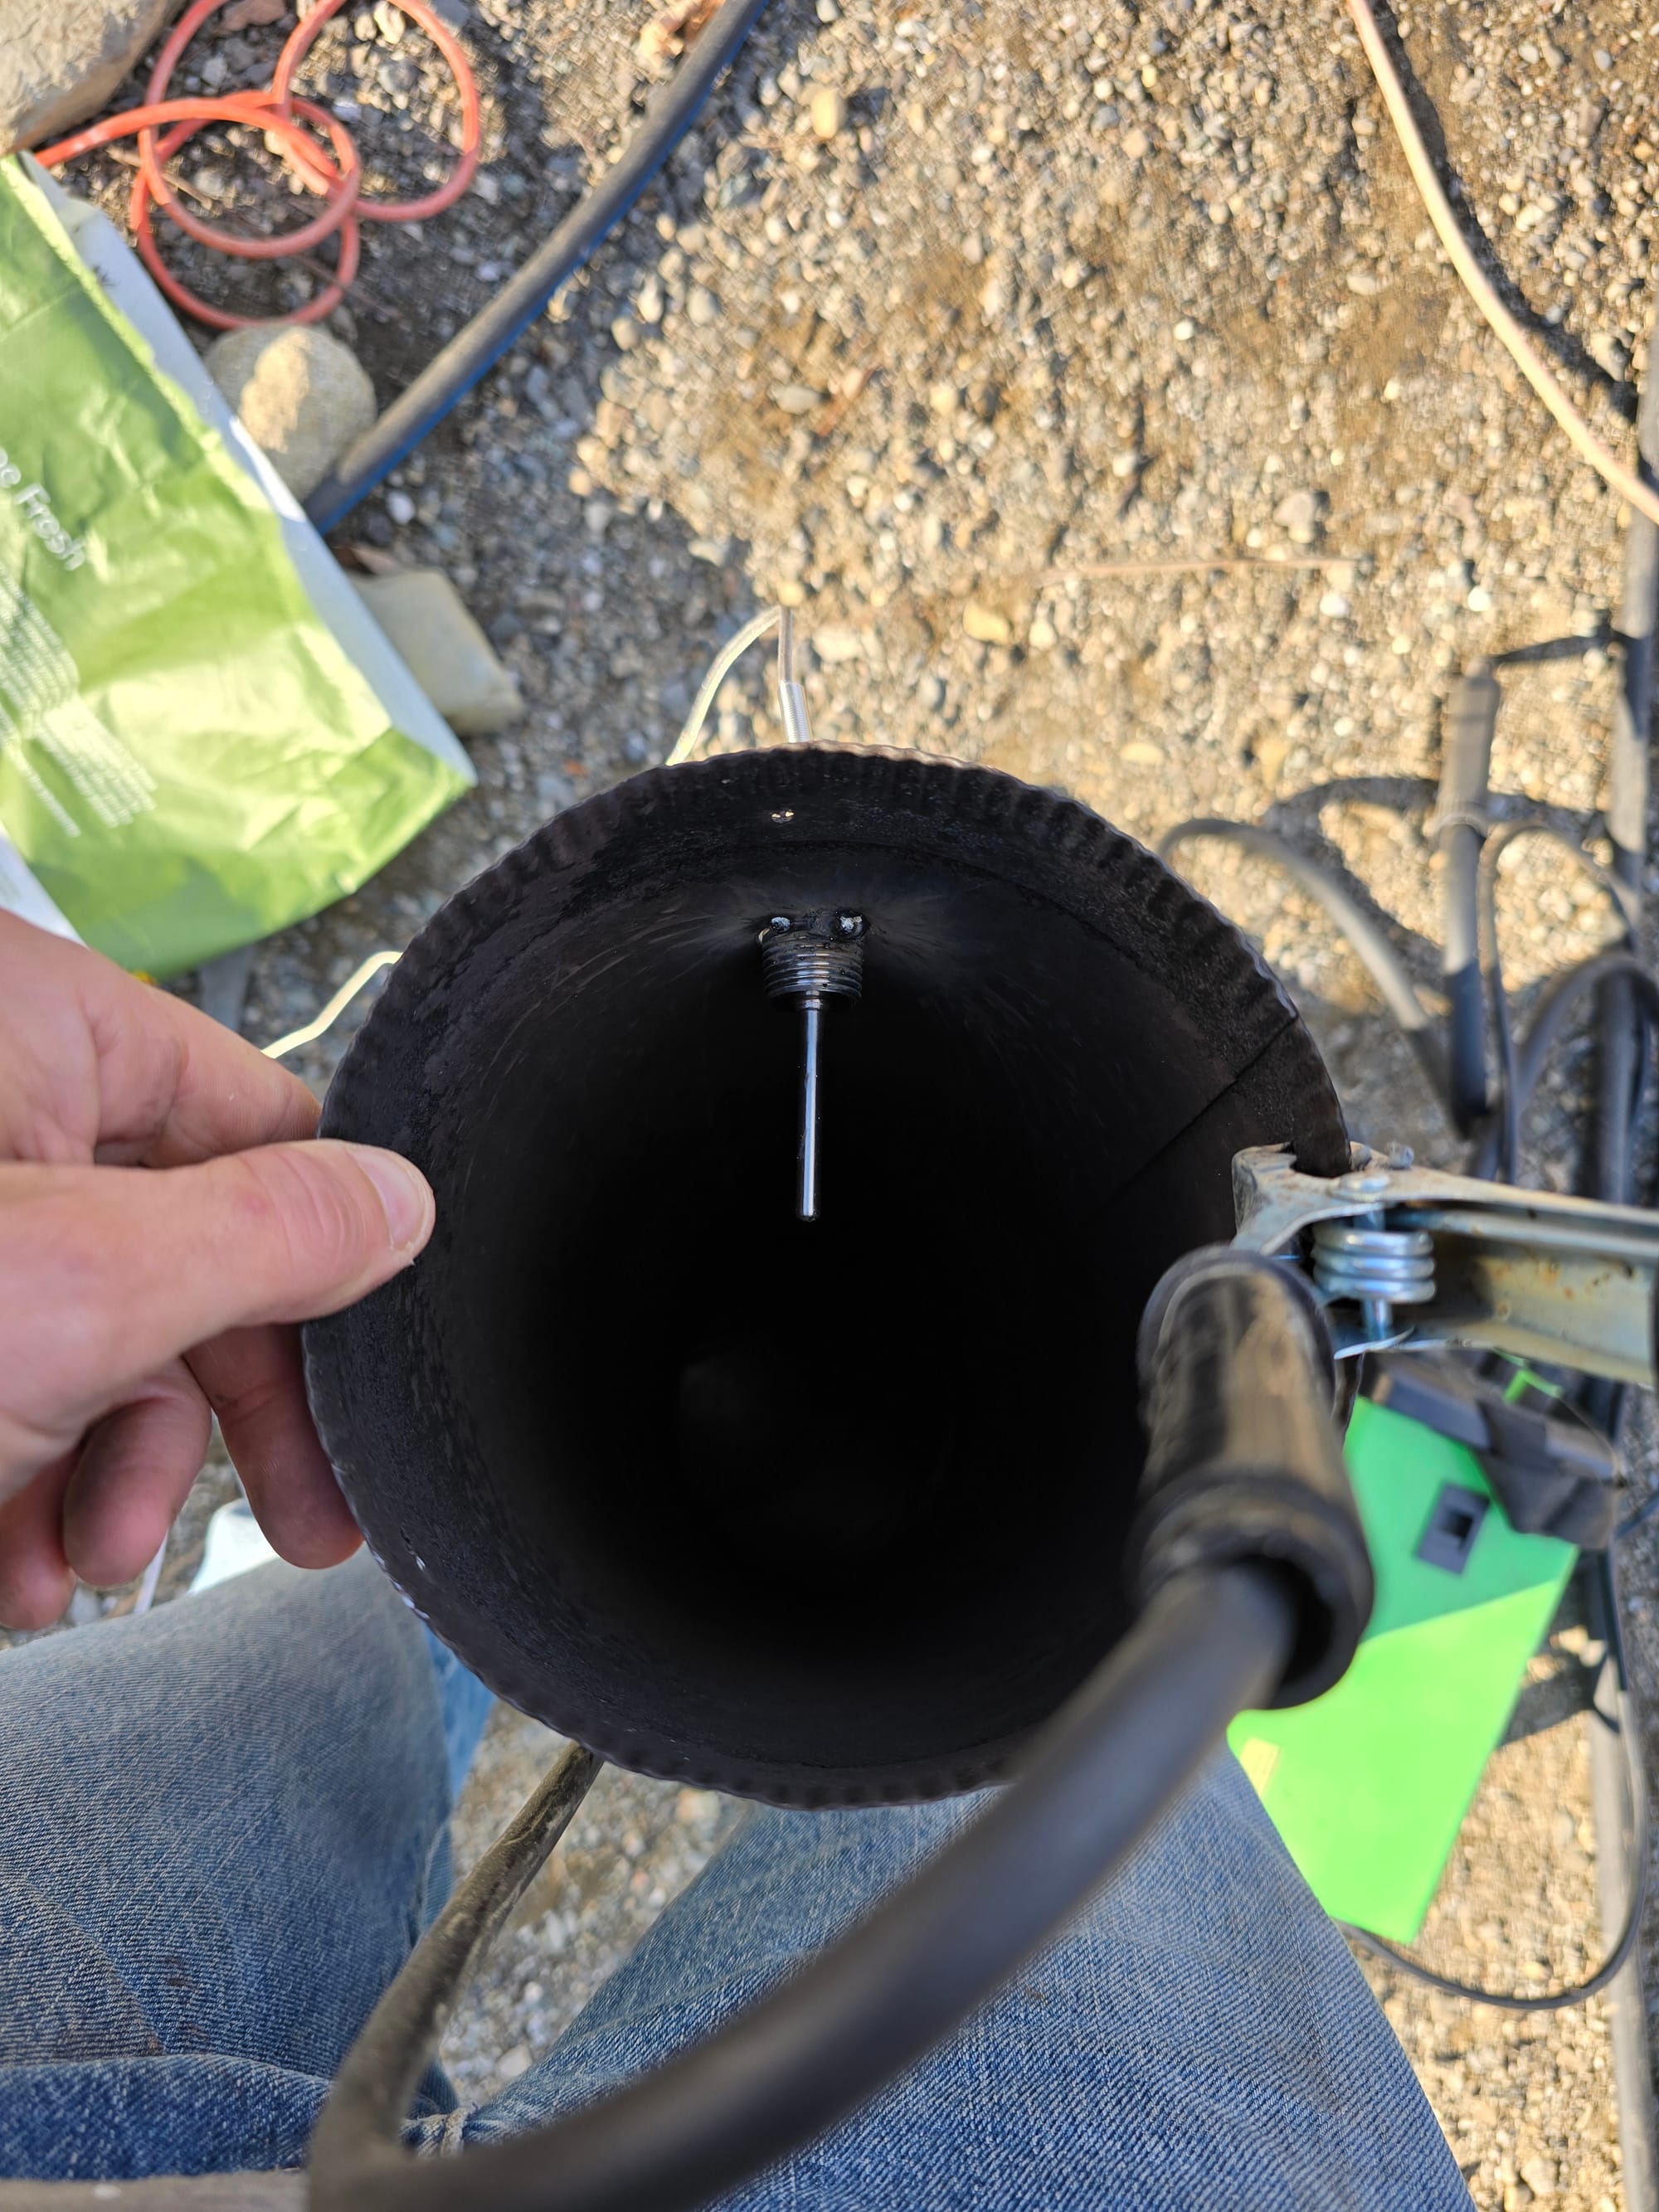
I reinstalled the modified stove pipe in the wood stove. In the picture below, you can see I only left a couple of inches between the top of the stove and the thermocouple.

I chose this thermocouple with a long cable specifically so I could hide the 3d printed box out behind the chimney in the space between the chimney and the wall. I wanted to keep the control components as far from the stove as possible to protect them and the 3d printed case. From all angles but standing beside the stove and looking behind it, this is hidden, keeping WAF (wife approval factor) high.
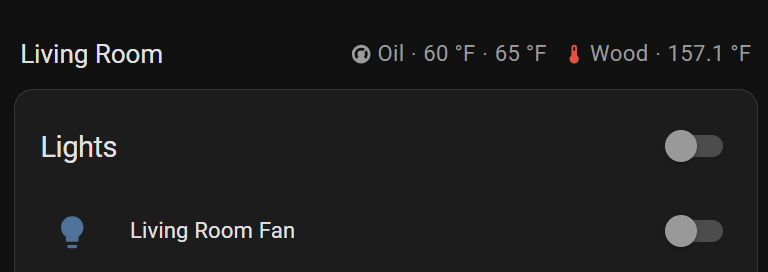
In Home Assistant, I added wood stove temperature as a badge above my living room card, next to my oil furnace set point and current temperature for the living room zone.
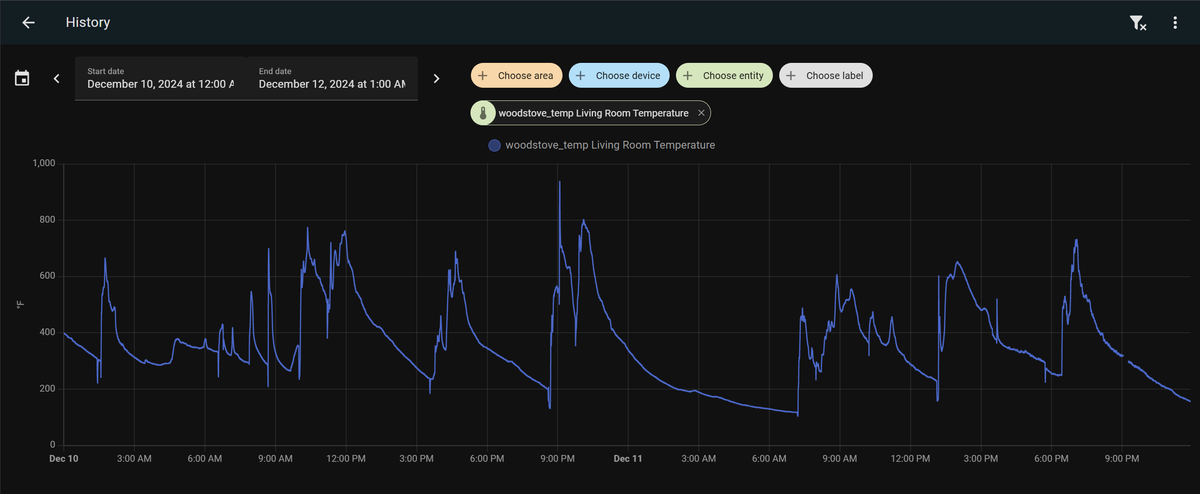
Here's a trend from the last couple days of burning:

In practice, I usually let the stove get up to 500-550F degrees before shutting the primary air. It tends to rise up into the 600-700F range before slowly tapering off (although sometimes with very small, dry pieces of wood it'll reach ~800F briefly). This would be way too hot a few feet up in the stove pipe, but as I'm effectively measuring firebox temperature, I think its fine. Visually the fires look no different than I've been burning for a couple of years and my stove has suffered no damage.
I have a couple of notifications setup - one for stove reloading (temperature below 350F for 5 minutes) and one for overfire condition (temperature above 800F for 30s). I may tweak these as time goes on and I get a better feel for absolute temperature values.


Here's the overfire notification in its entirety:
alias: Woodstove over fire
description: ""
triggers:
  - trigger: numeric_state
    entity_id:
      - sensor.woodstove_temp_living_room_temperature
    for:
      hours: 0
      minutes: 0
      seconds: 18
    above: 799.9
conditions: []
actions:
  - action: notify.mobile_app_jay_s24
    metadata: {}
    data:
      message: Overfire! - Wood stove over 800F
  - action: notify.mobile_app_sm_s928u
    metadata: {}
    data:
      message: Overfire! - Wood stove over 800F
mode: single
Moving forward, I'd like to fab up a bracket to fix a linear actuator to the primary air controls below the front of the stove. That way, I could fully automate all but physically loading the stove.