Wooden Boat Cradle Sheets – Sewing Pattern
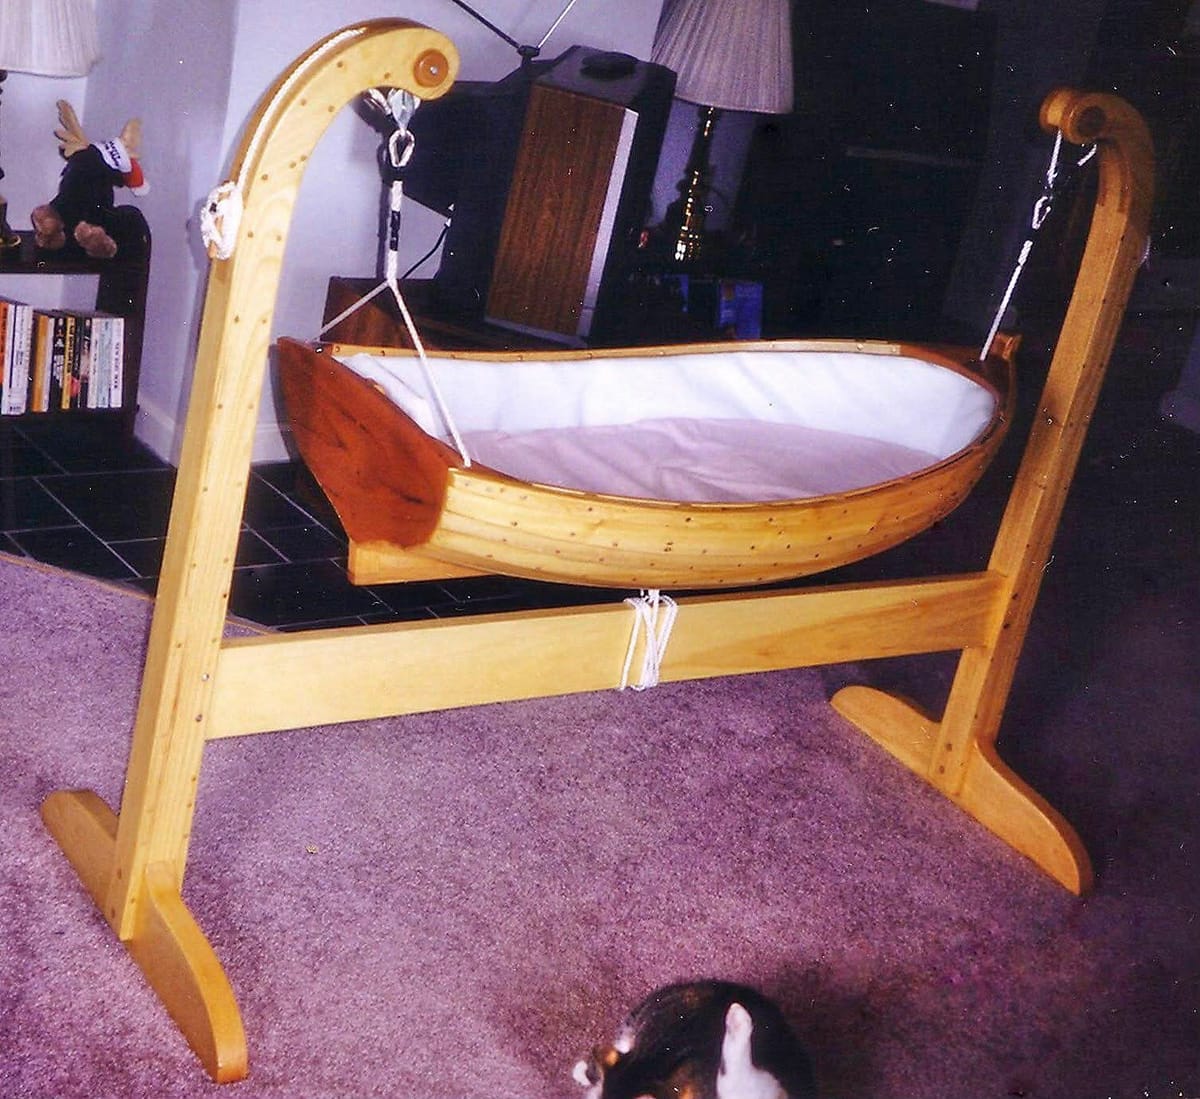
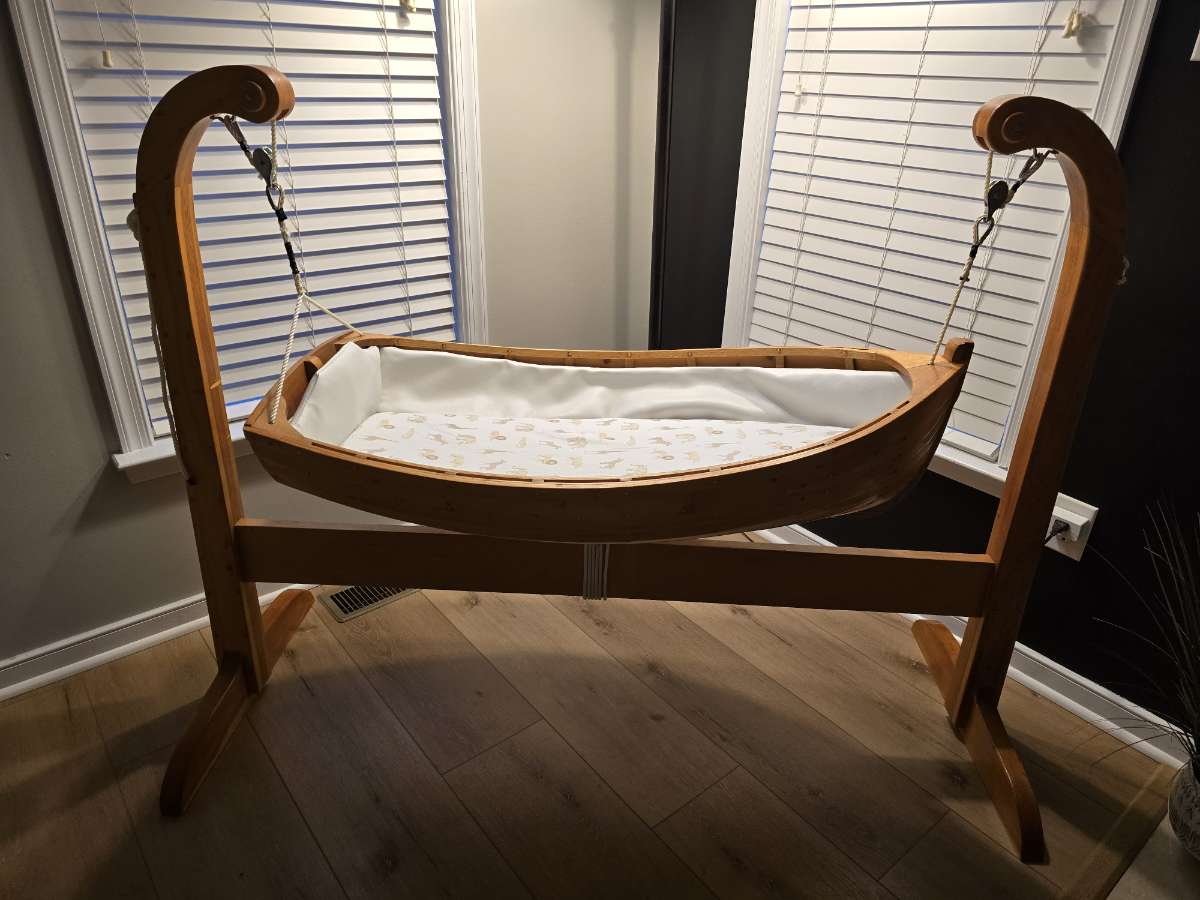
Jay's grandfather handmade a wooden boat cradle for him when he was born which has been passed down through a few children in the family. Our extended family is expecting their first little addition in the spring & will get passed the wooden boat cradle. The original sheets which were custom made locally are old so new ones were needed.
The mattress includes two curved side edges with a tapered side all the way around, so a standard sheet pattern wasn’t useful here. The tricky part is the curved edges and getting the rolled hem to set flat. Below is the pattern I used to make these sheets and tips I found useful. I am new to sewing so this pattern is probably not the most technical.
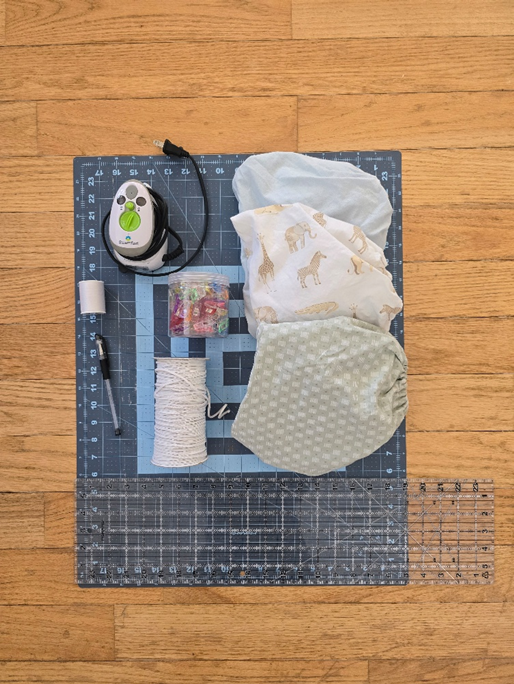
Items:
- Fabric** – I ended up buying standard size crib sheets and reusing the fabric. 1 standard sheet will make 1 boat sheet with a little left over. Otherwise, I think 2 yards of fabric would probably do it.
- Sewing Machine
- Iron
- Ruler
- Cutting Mat
- Rotary Cutter or a good pair of scissors
- Thread
- Clips or pins
- Elastic – I used 1/8” but you can use any size if you plan your seam allowance accordingly.
- Other helpful items: Heat erasable pen & flexible drawstring threader tool
** always prewash your fabric to account for any shrinking
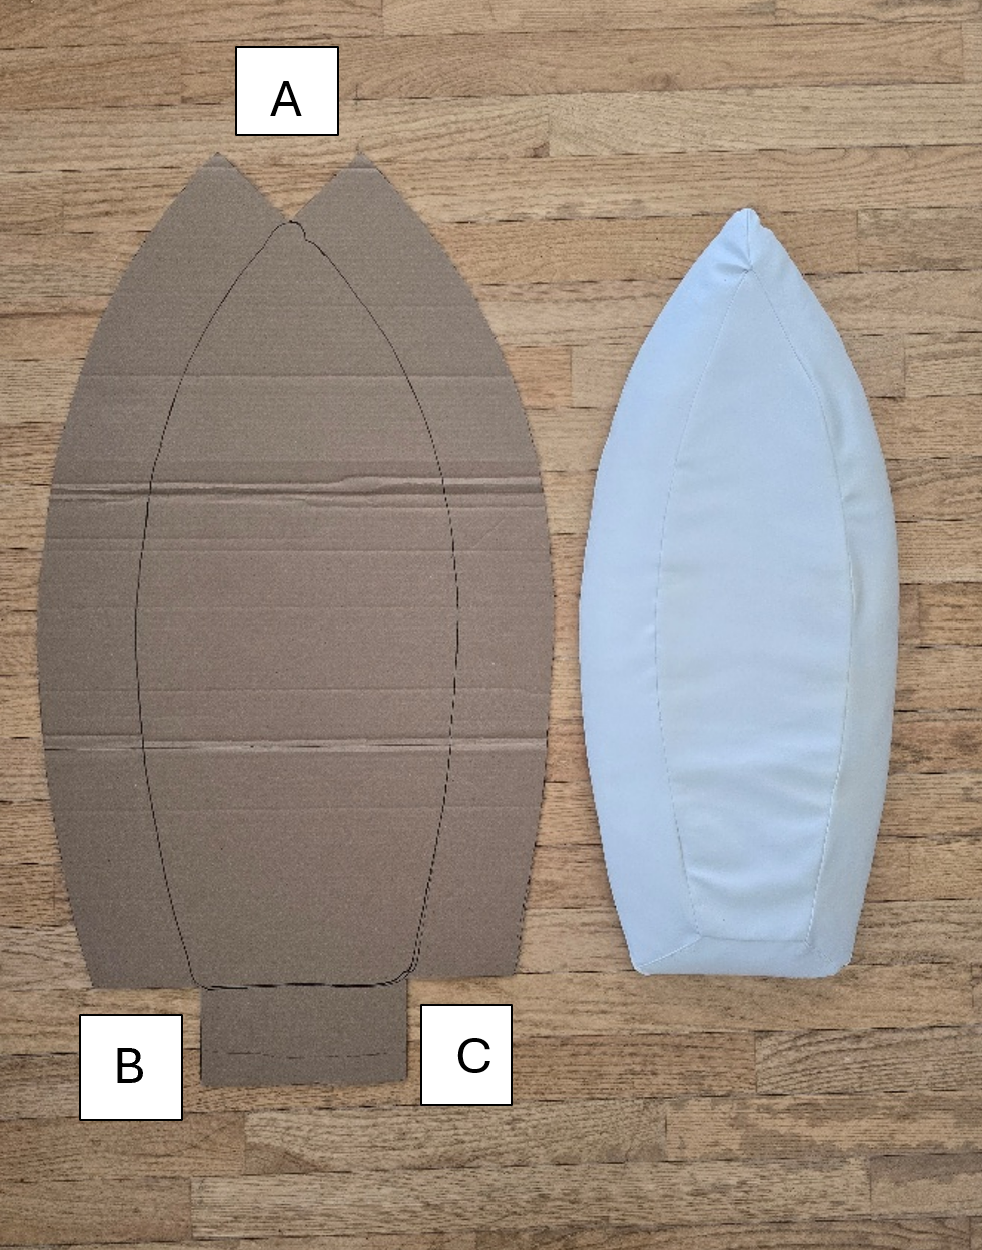
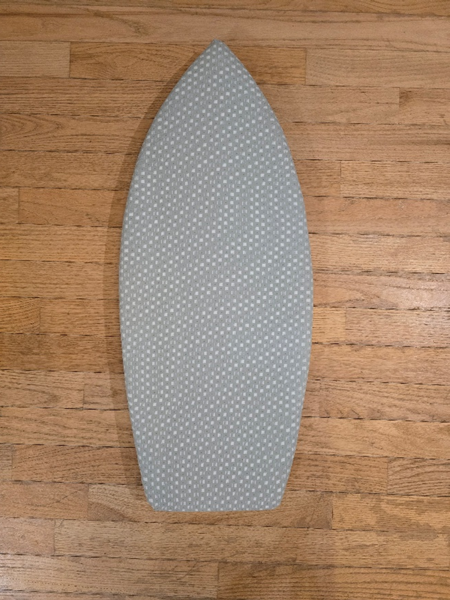
Step 1 – I made this cardboard cutout template to have in the family & for future additions! You can make your own by tracing an outline of the mattress you need sheets for (top of mattress side down) then measure 5in around the whole mattress, mark, & cut out a template. You could also do this on fabric, but I had to make a few, so it was easier to have a template ready in advance.
Step 2 - Once you have your fabric cut, sew all three corners (A, B, & C) together by matching up the right sides of the fabric. Use a 1/4in seam, then finish with a zigzag stitch to avoid fraying.
Step 3 - Sew a gathering or basting stitch which is just a regular stitch without any back stitching along both sides of the boat where it’s curved (do not include the straight bottom section) about where you want to roll or fold the hem, I did mine at 3/8ths inch due to my elastic size.
Fold your hem over twice but make sure you have access to your gathering stitch. Pull the gathering stitch so that it lays nice and flat you may need to move the fabric around a bit to get it gathered in the right spot.
Once flat, iron & sew along the inner edge leaving about a 2- or 3-inch gap so you can insert the elastic. (I left my gap on the straight end piece).
Step 4 – Using a safety pin or flexible drawstring threader tool feed the elastic through the rolled hem. This small elastic I just tested on the mattress pulled it, so it was tight but loose enough to still get off the mattress & tied it in a double knot.
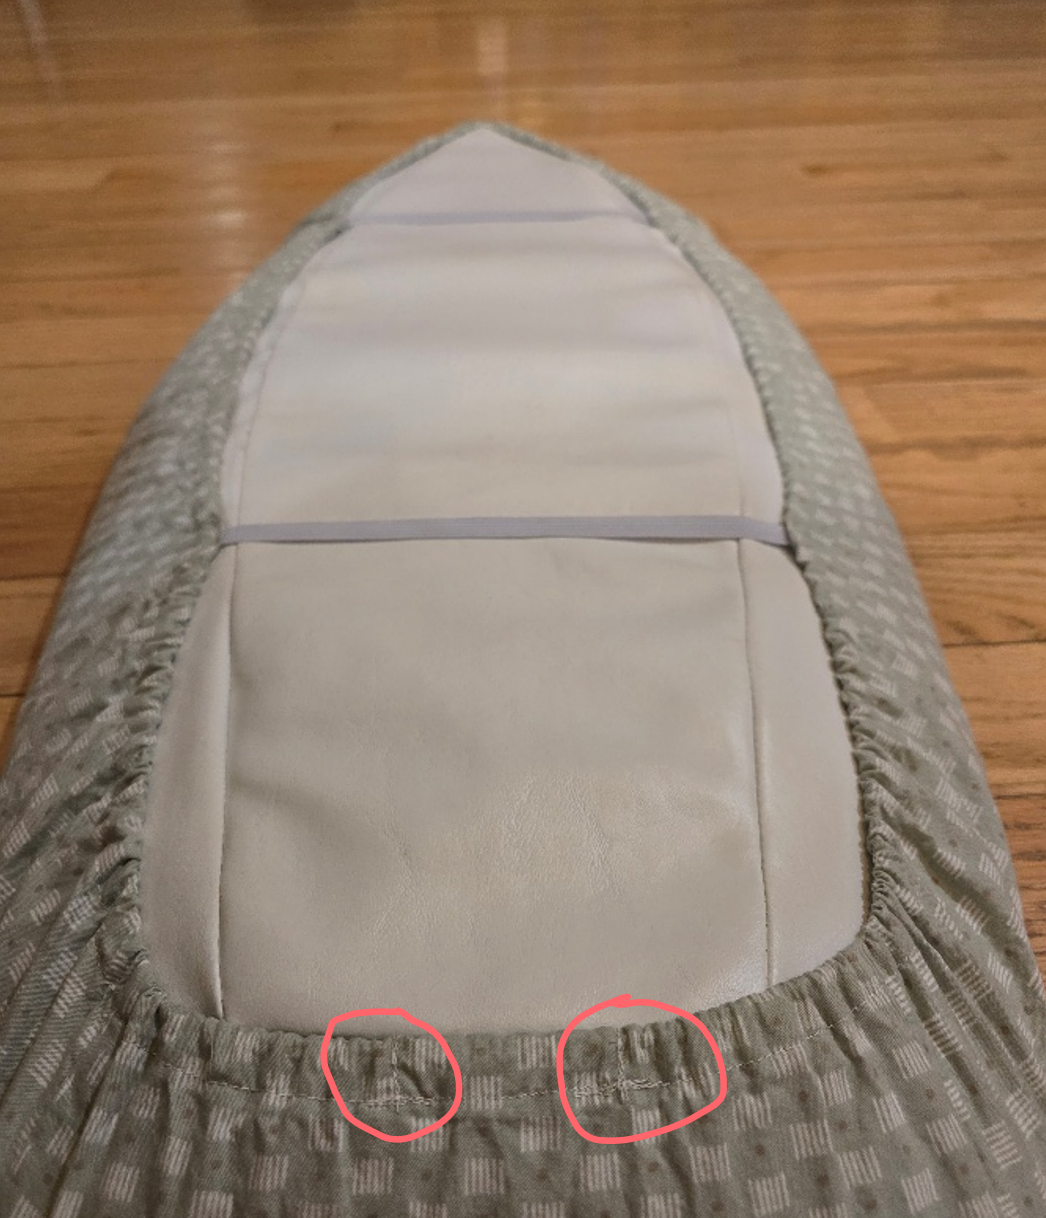
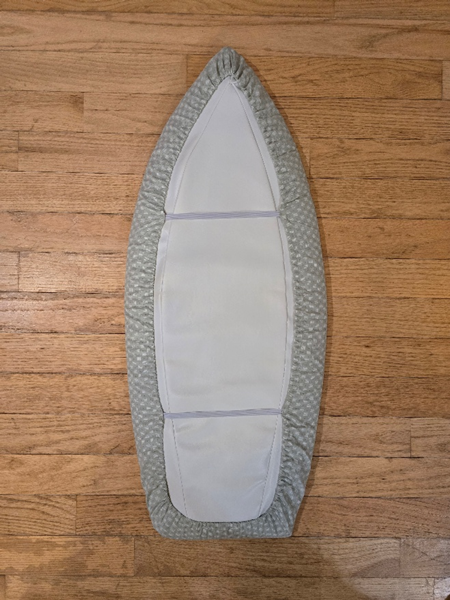
Step 5 – Sew up that gap edge. I also sewed two cross sections to hold the elastic in place in case my tie didn’t hold. See picture above.
Step 6 – I also added two bigger elastic pieces crosswise on the back side of the mattress to make sure it stayed in place & didn’t pop off. This is optional but recommended due to safety concerns.
Finished product: