Kitchen entryway remodel
This past weekend (or 4), we made some significant improvements to our kitchen entryway.
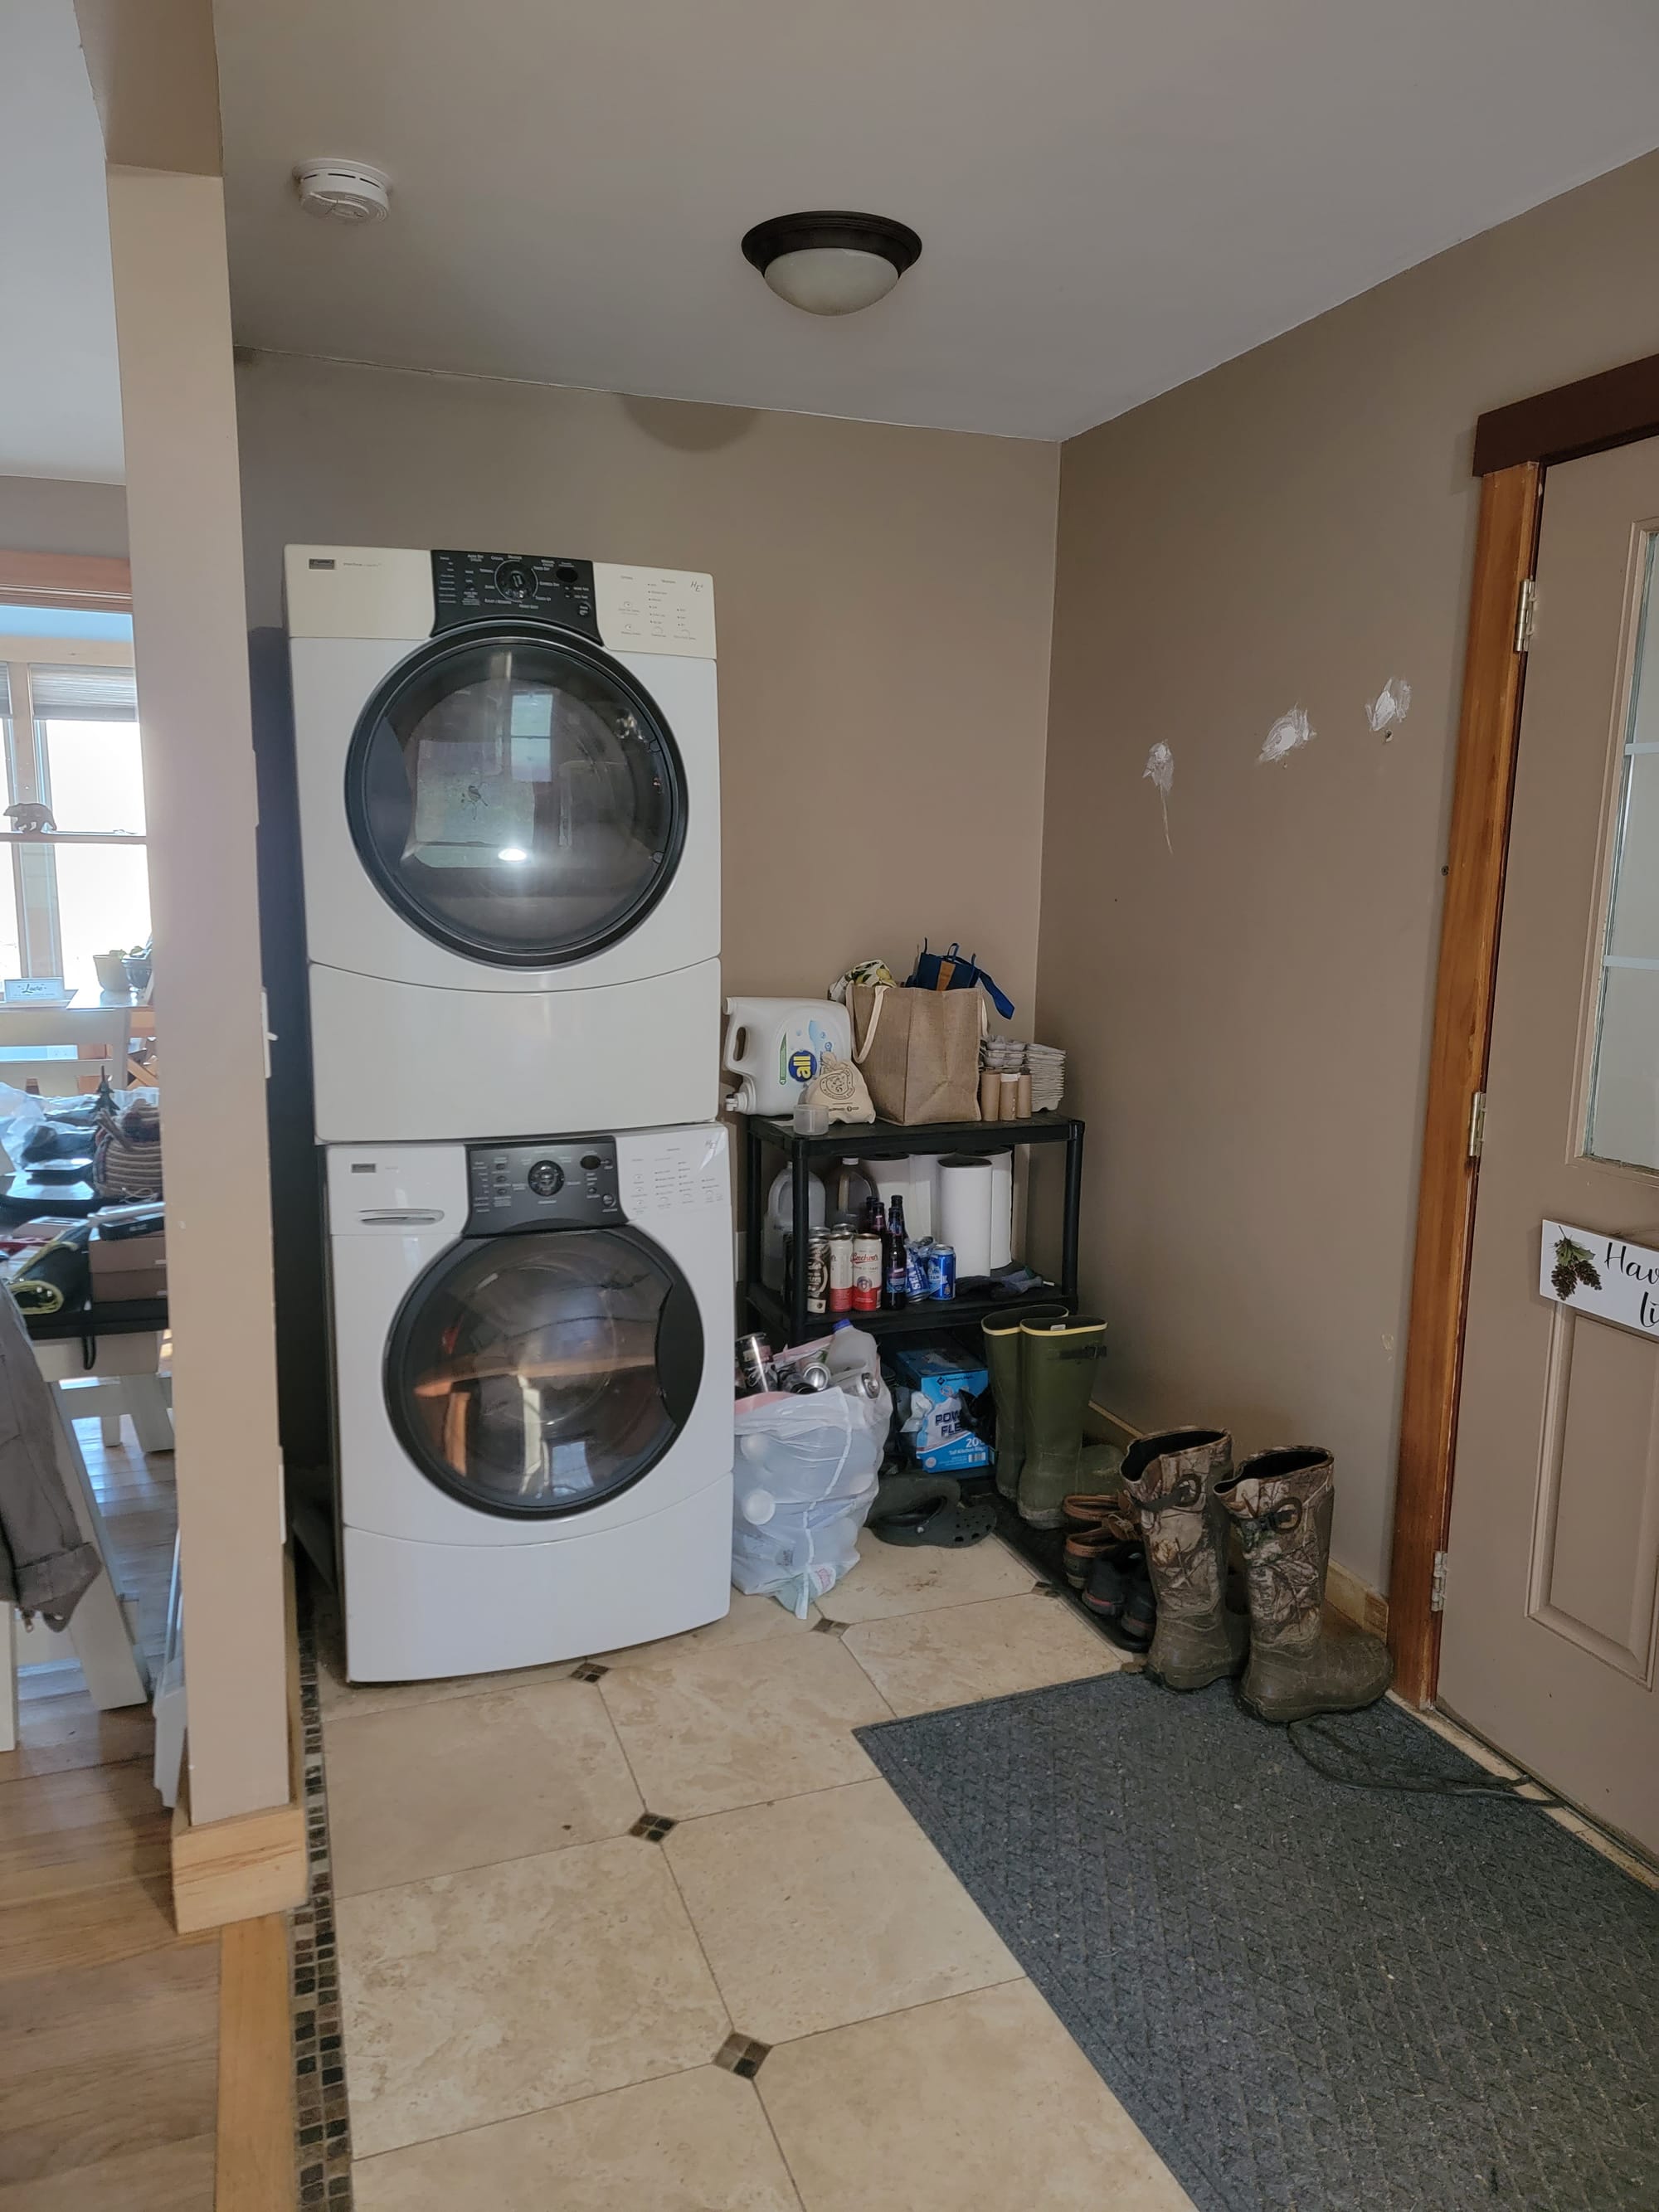
We were looking to gain storage space, have a place to keep shoes/boots, and move our washer and dryer to a less visible place - having them on the first floor was nice from a convenience standpoint loading and unloading, but the noise was a huge drawback with our open floor plan. The dryer setup had some major issues too - this area is far from an external wall. The dryer vent pipe went down into the basement roughly 25' horizontally until it reached the exterior wall. It dried poorly and I didn't like this opportunity for lint build up.
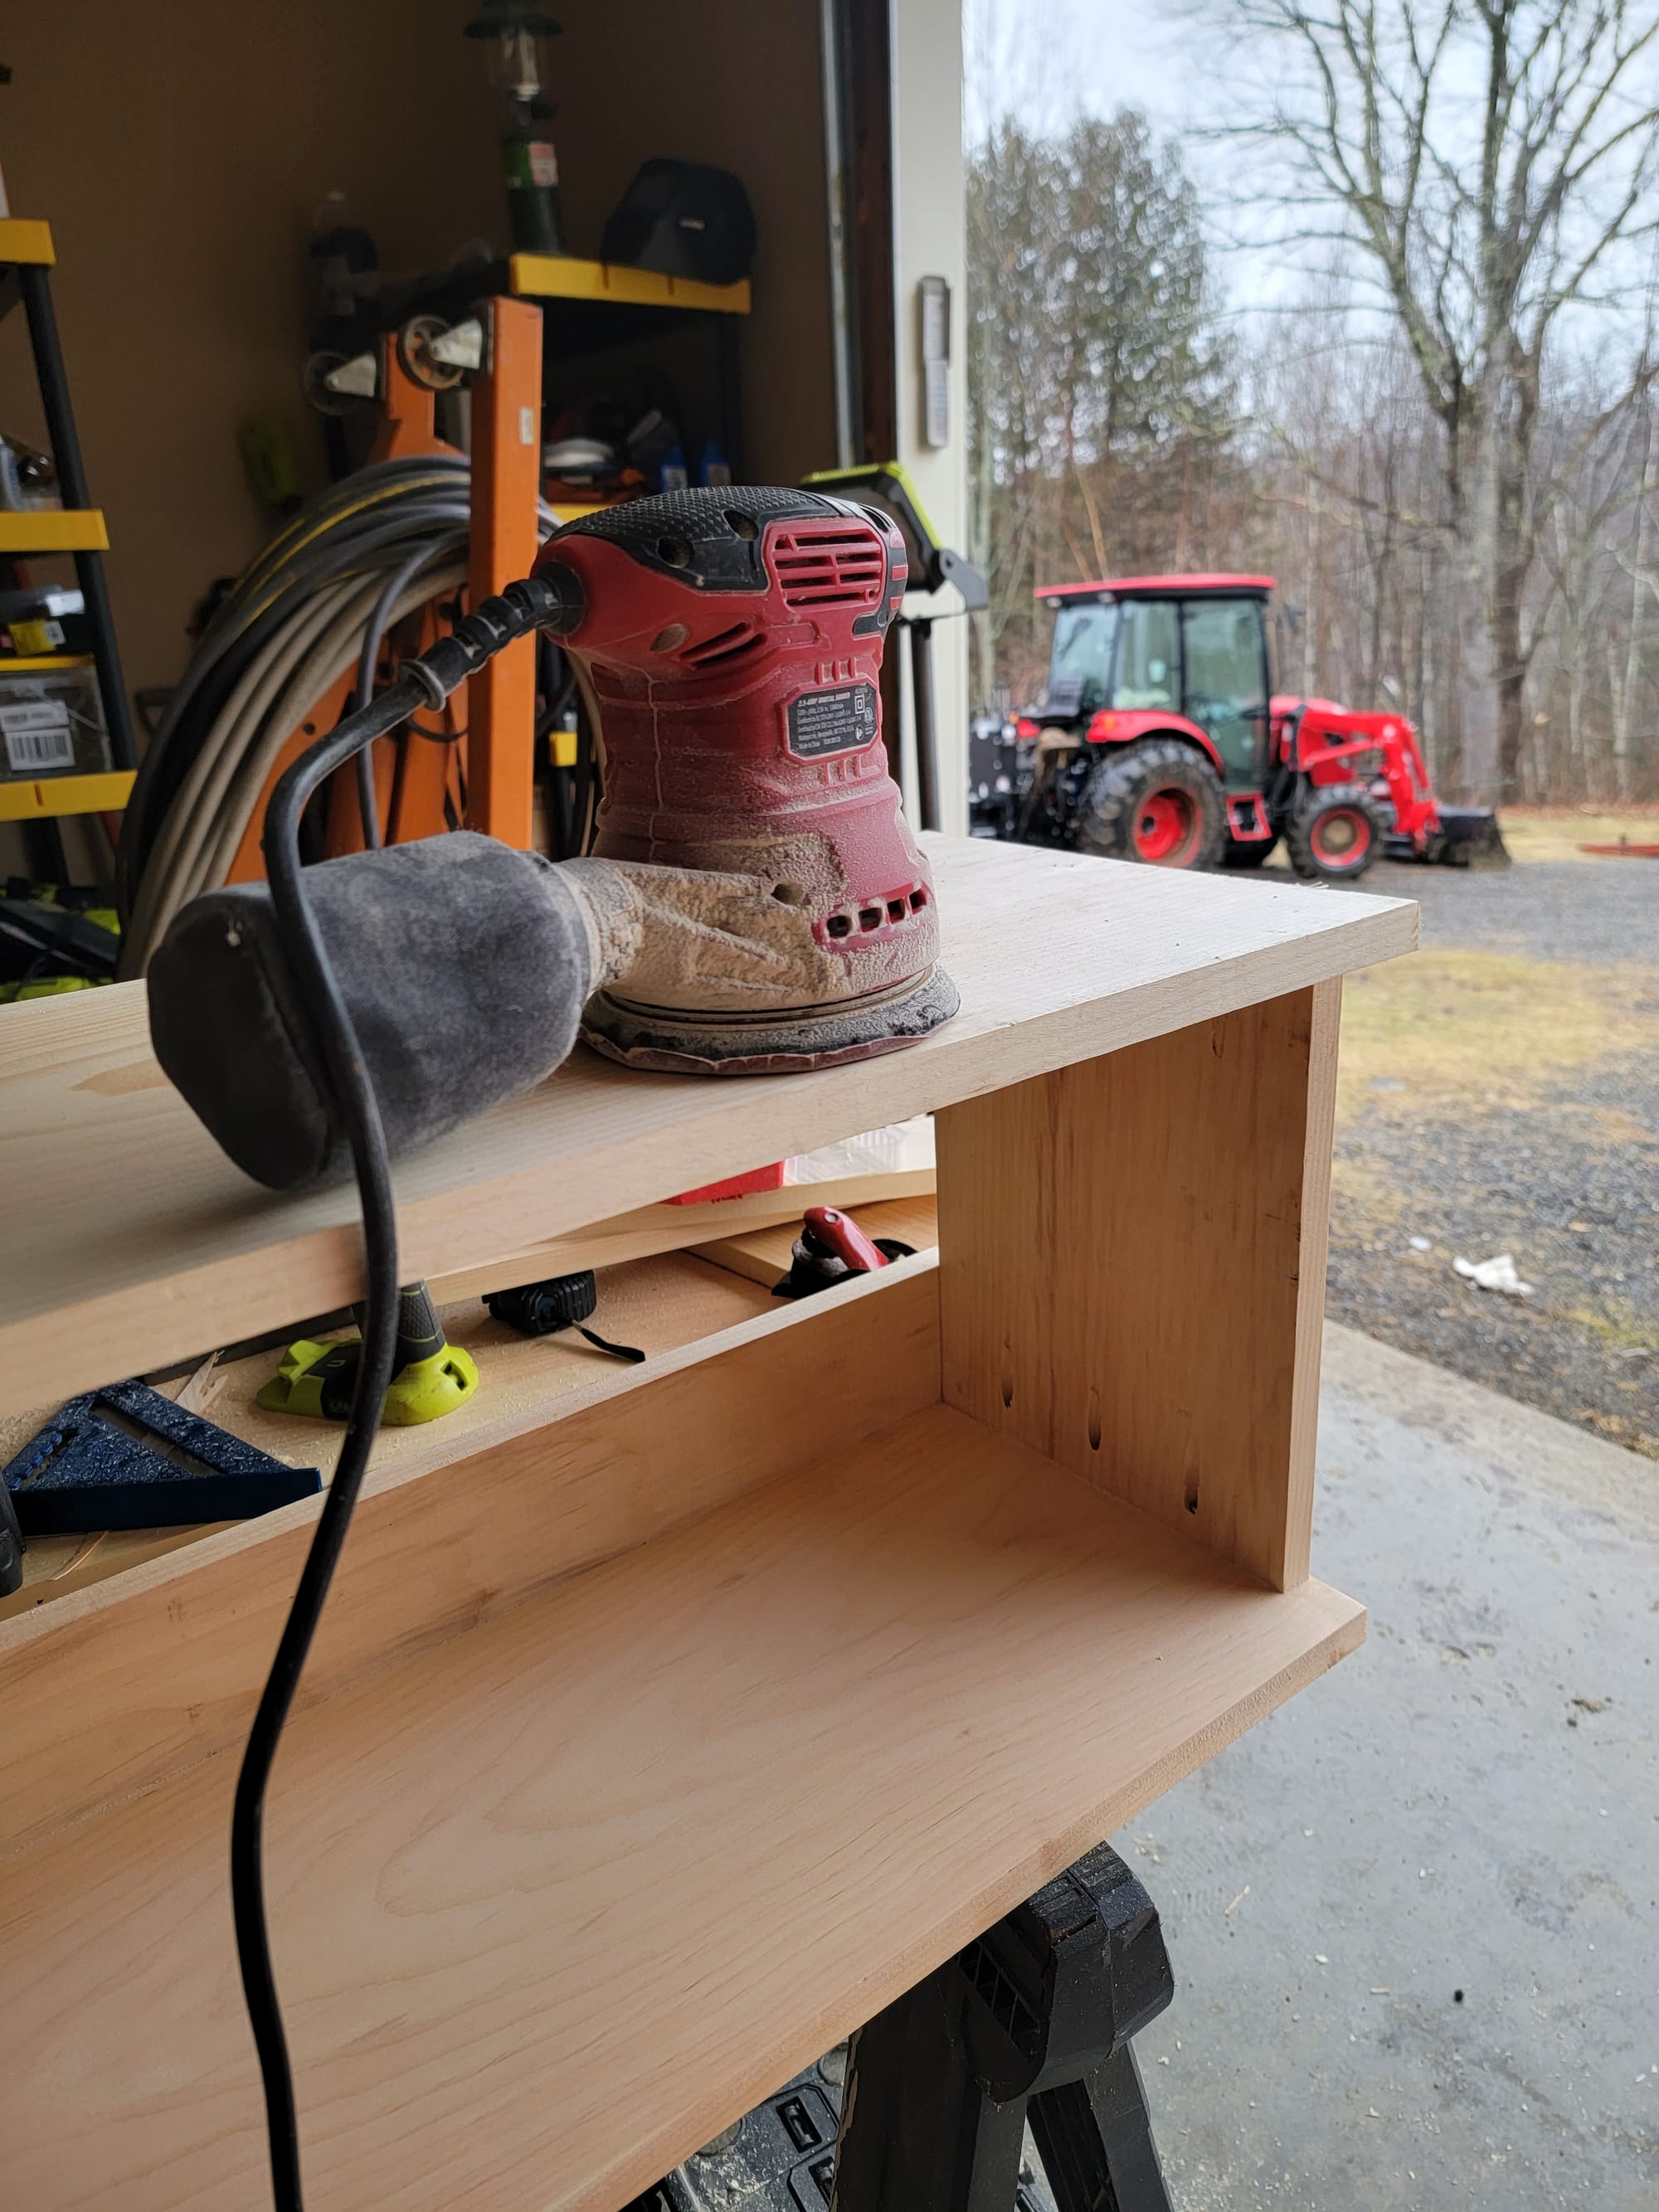
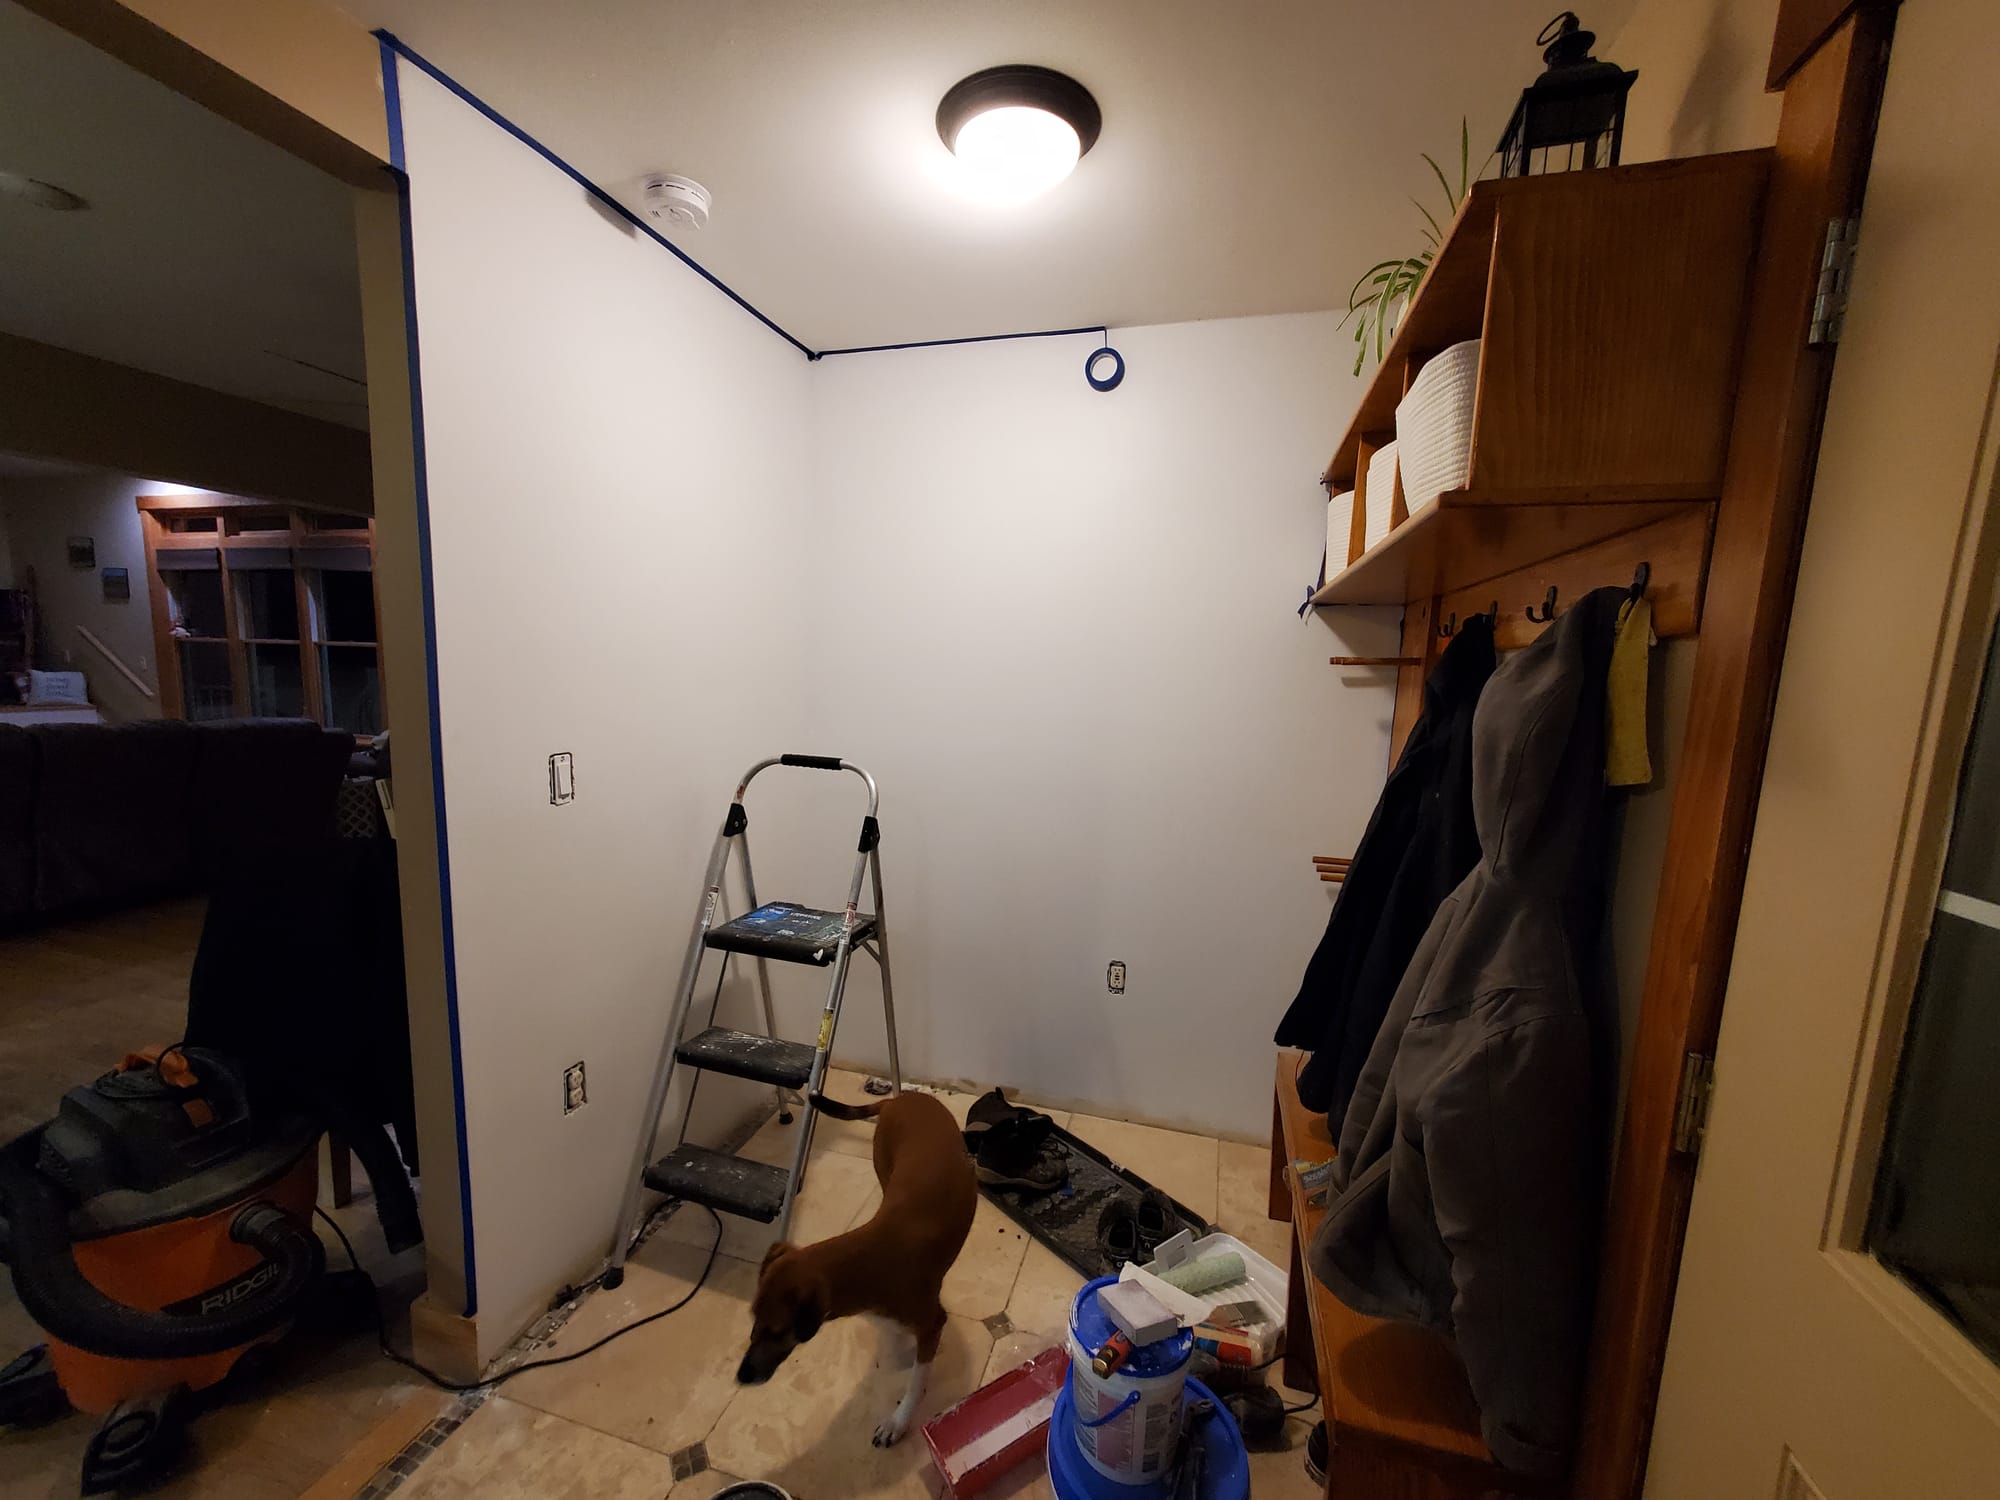
Our first step was to build a boot rack and shelving unit for up against the wall. I found some decent looking boards on sale at home depot and roughly followed these plans, customized for our space.
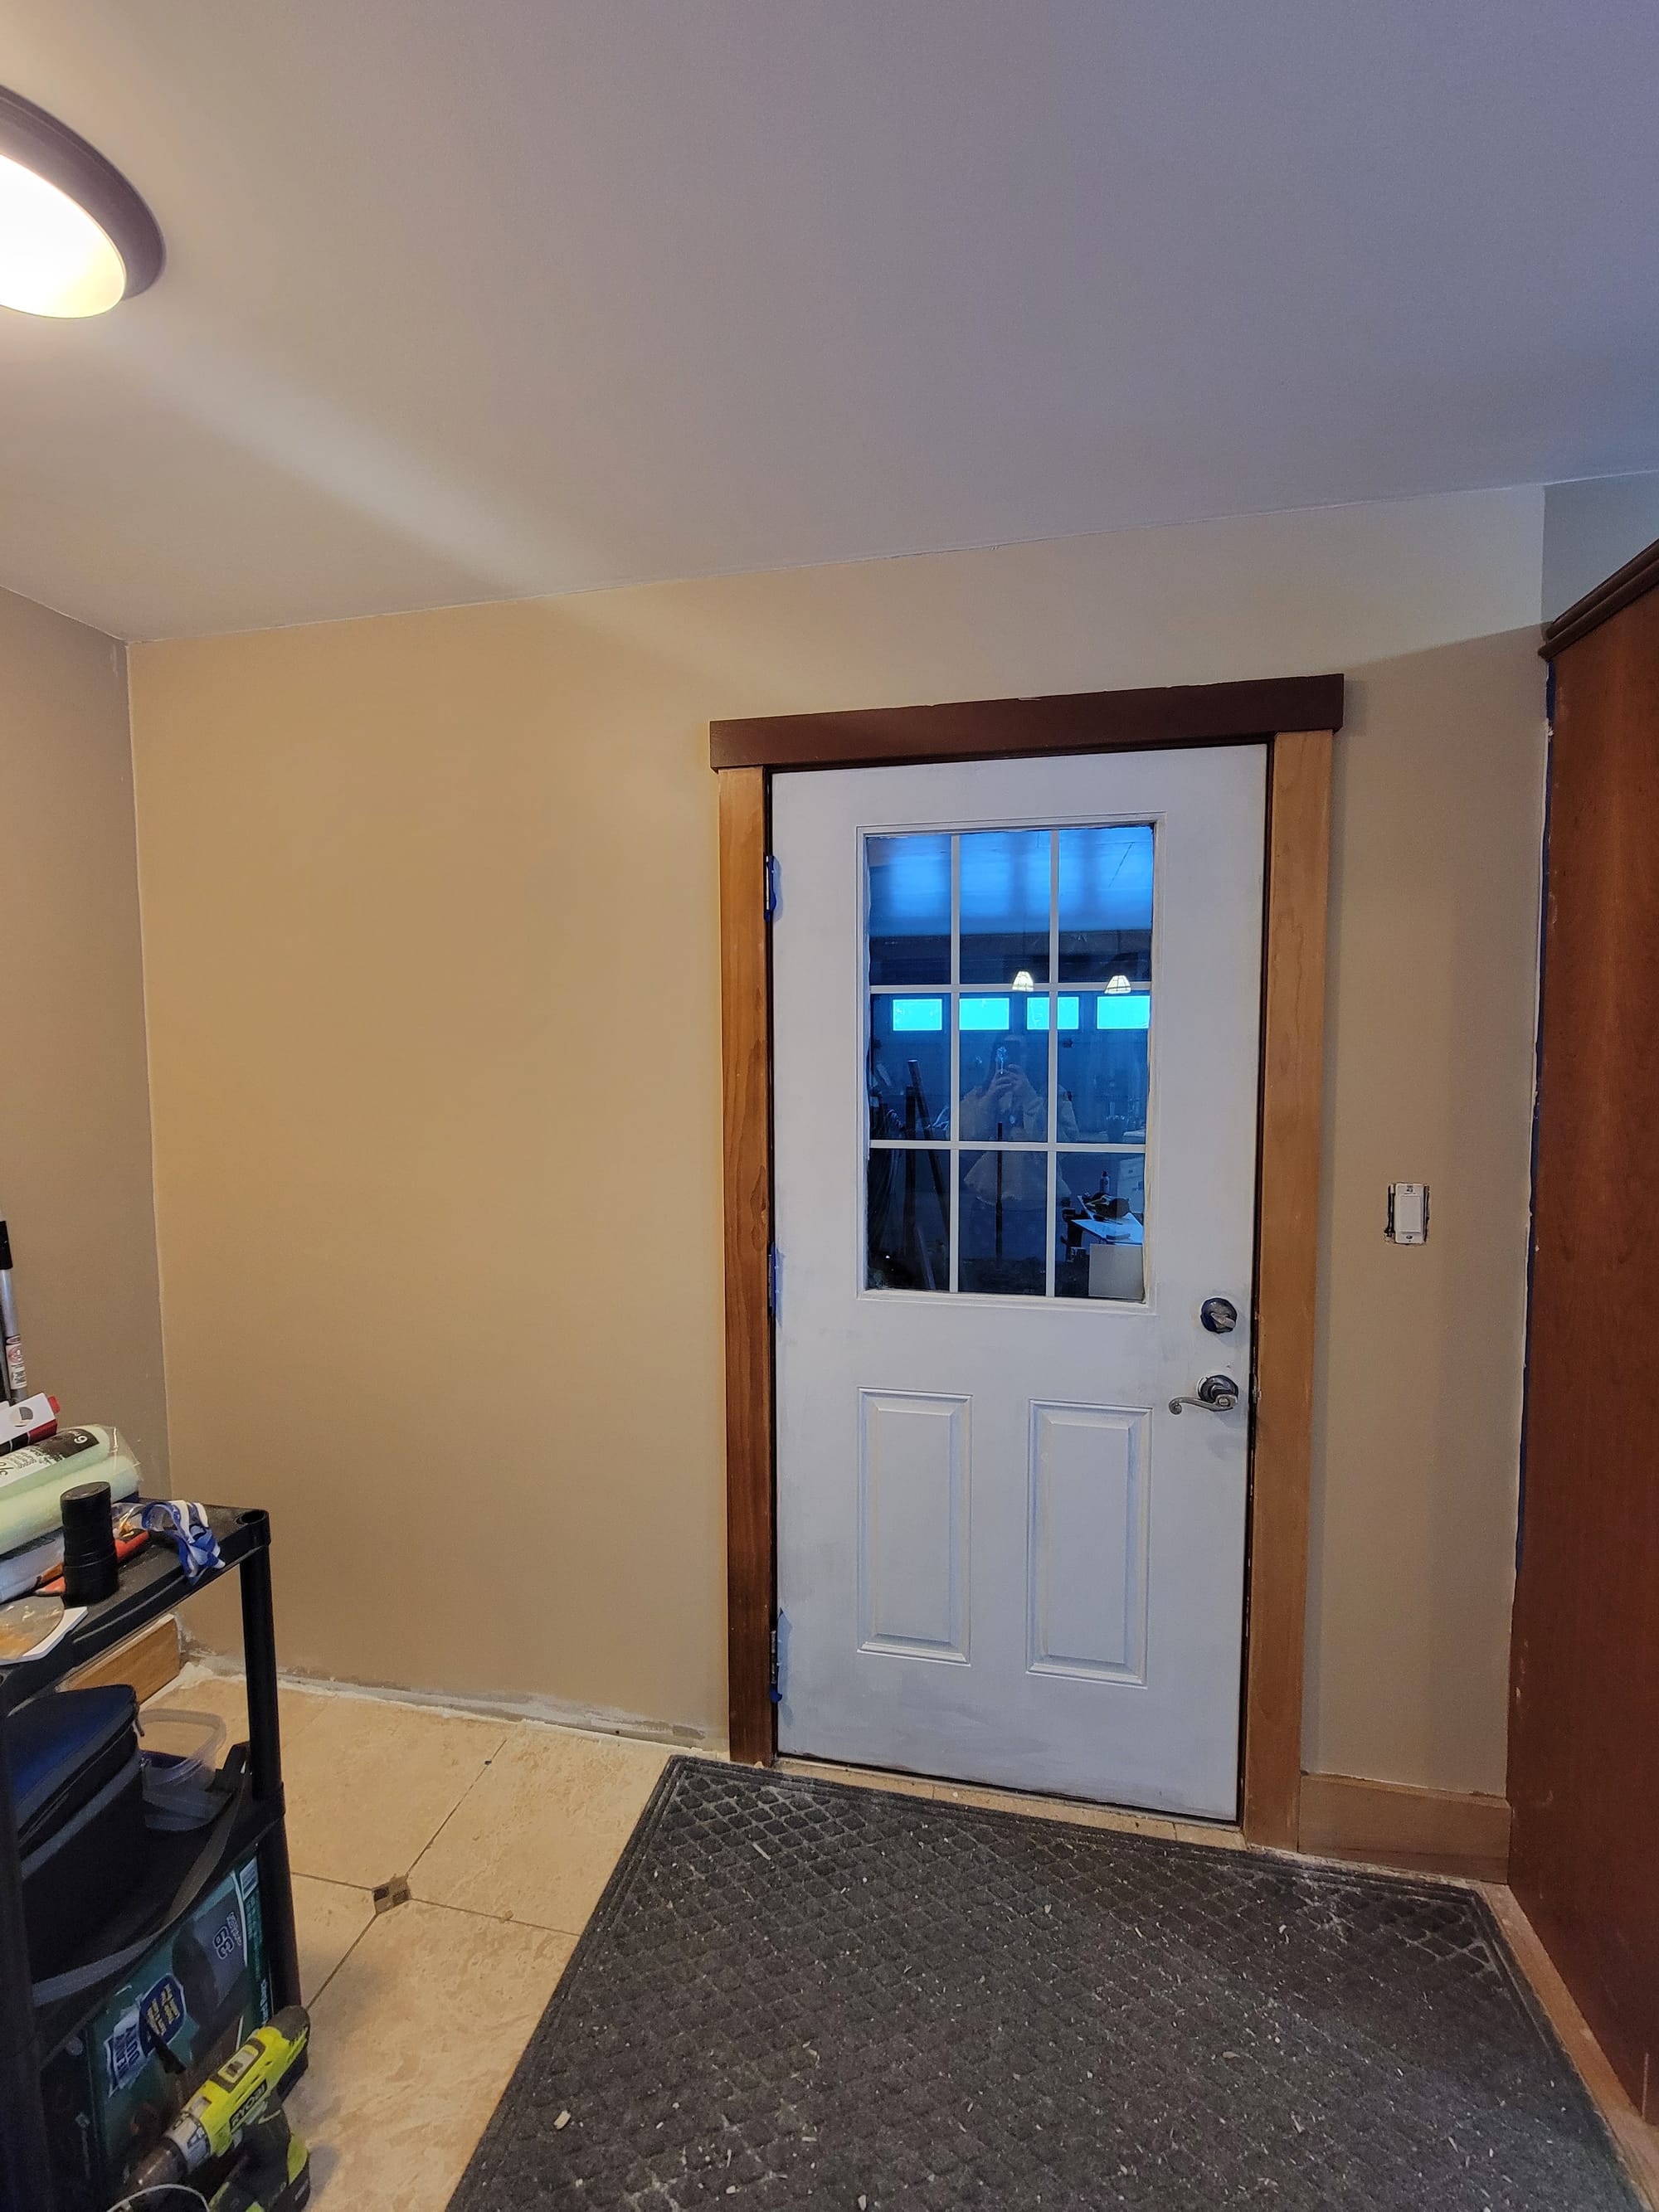
I refinished the wall where the shelves would be by first fixing major holes with drywall mud, priming, applying several skim coats of light drywall mud, priming again, and finishing with Behr Dynasty paint. This process is tedious but yields near perfect walls.
Moving the washer and dryer were next.
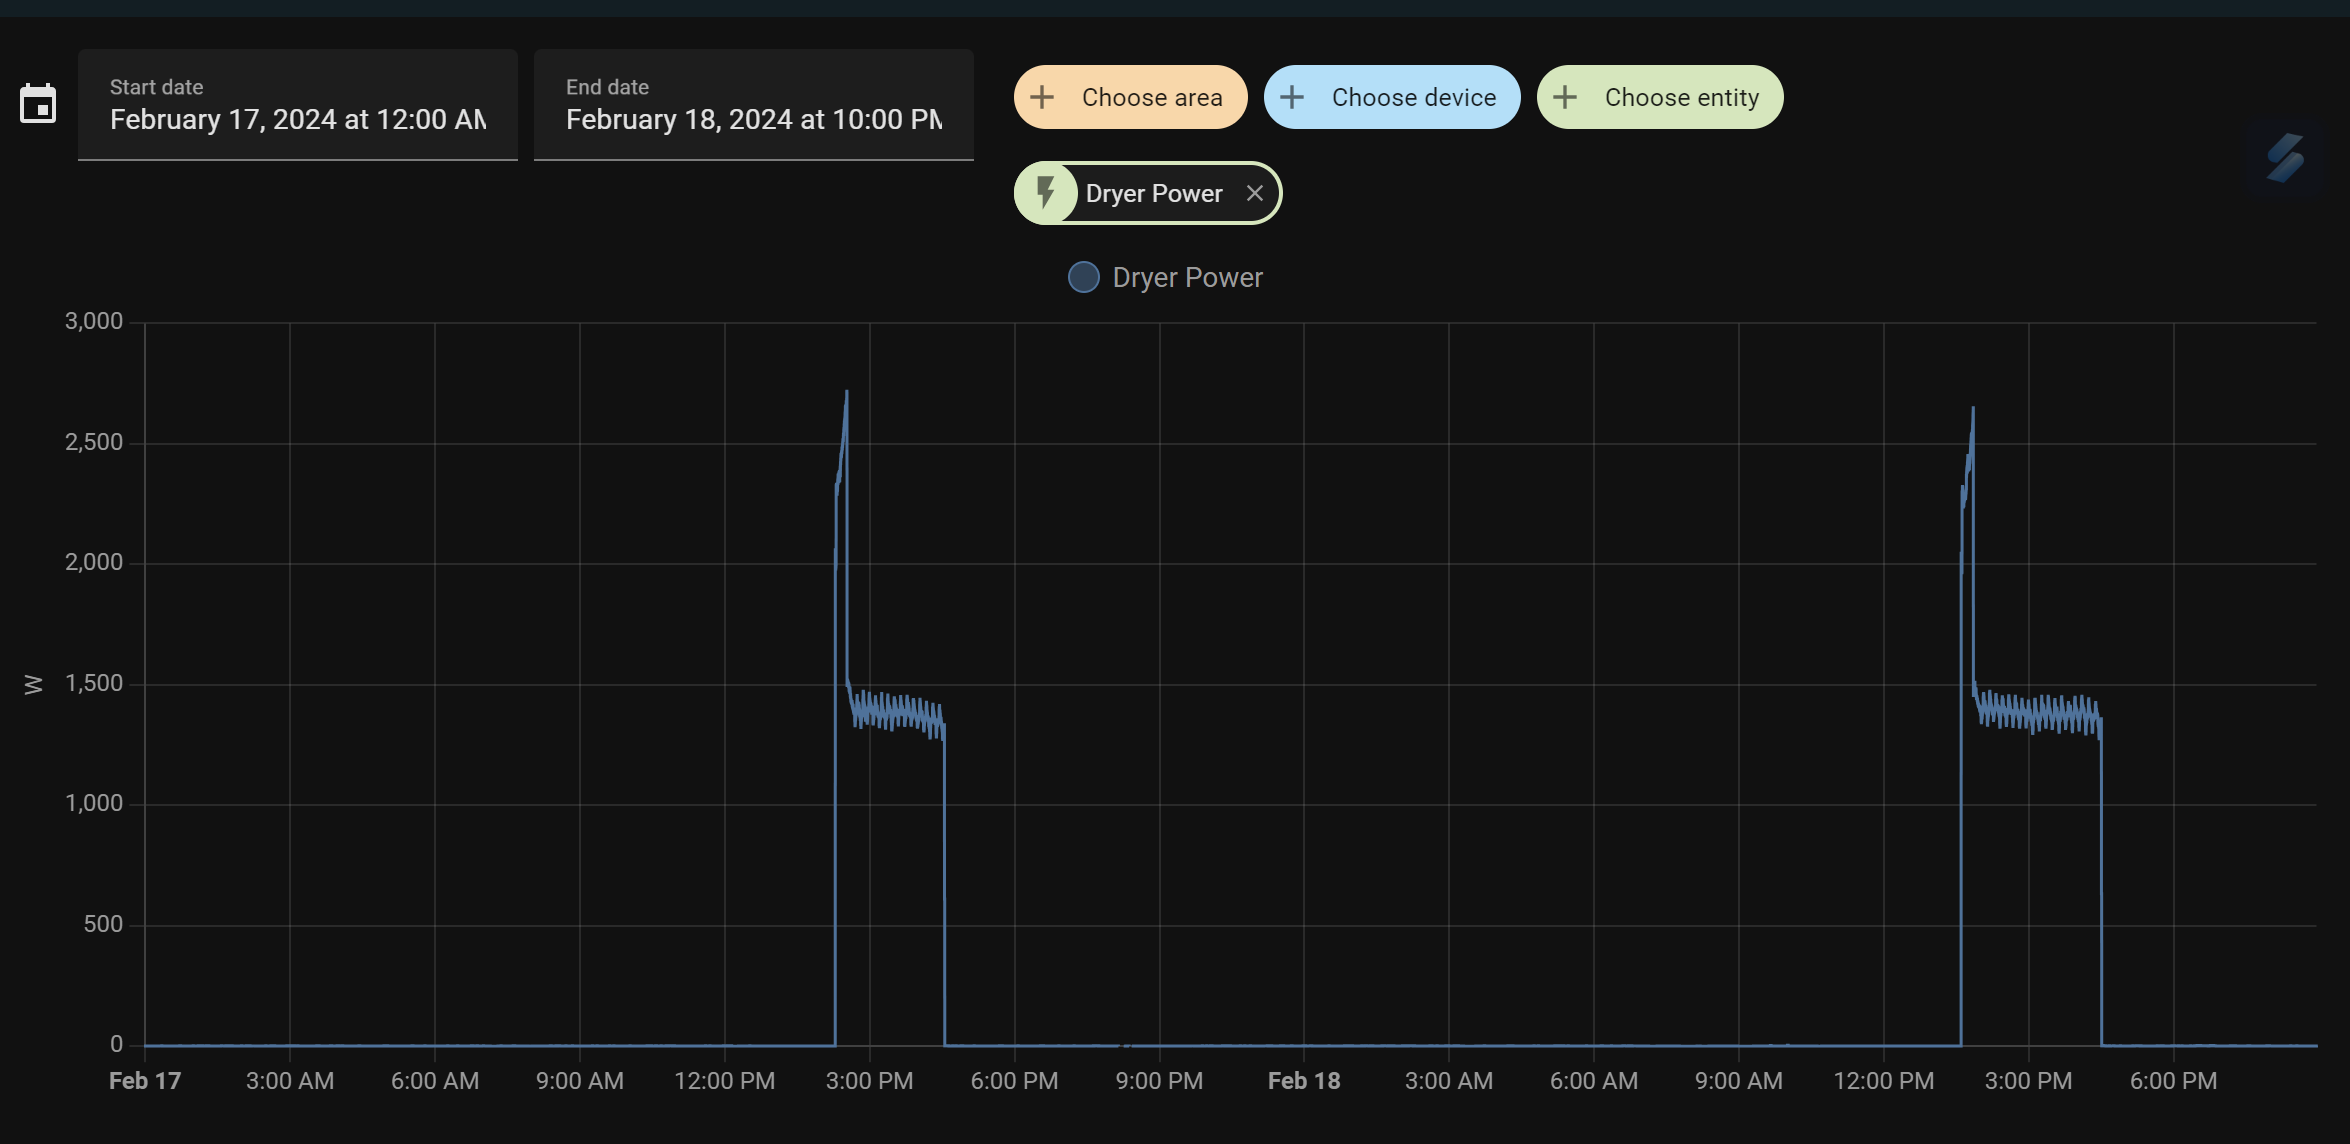
I went down the rabbit hole on alternative dryer options. Conventional dryers use a simple heating element that pulls 3000-5000W while on - additionally, they can exhaust something like half the home's conditioned air per cycle! Long term, I'm looking to go solar and am always looking for ways to reduce power use and improve heating efficiency.
I found a cheap used whirlpool heat pump, condensing dryer on facebook marketplace. This heat pump units pulls ~1300W while drying and has no exhaust vent at all - rather, it condenses the moisture and expels it out a drain line, just like the washing machine.
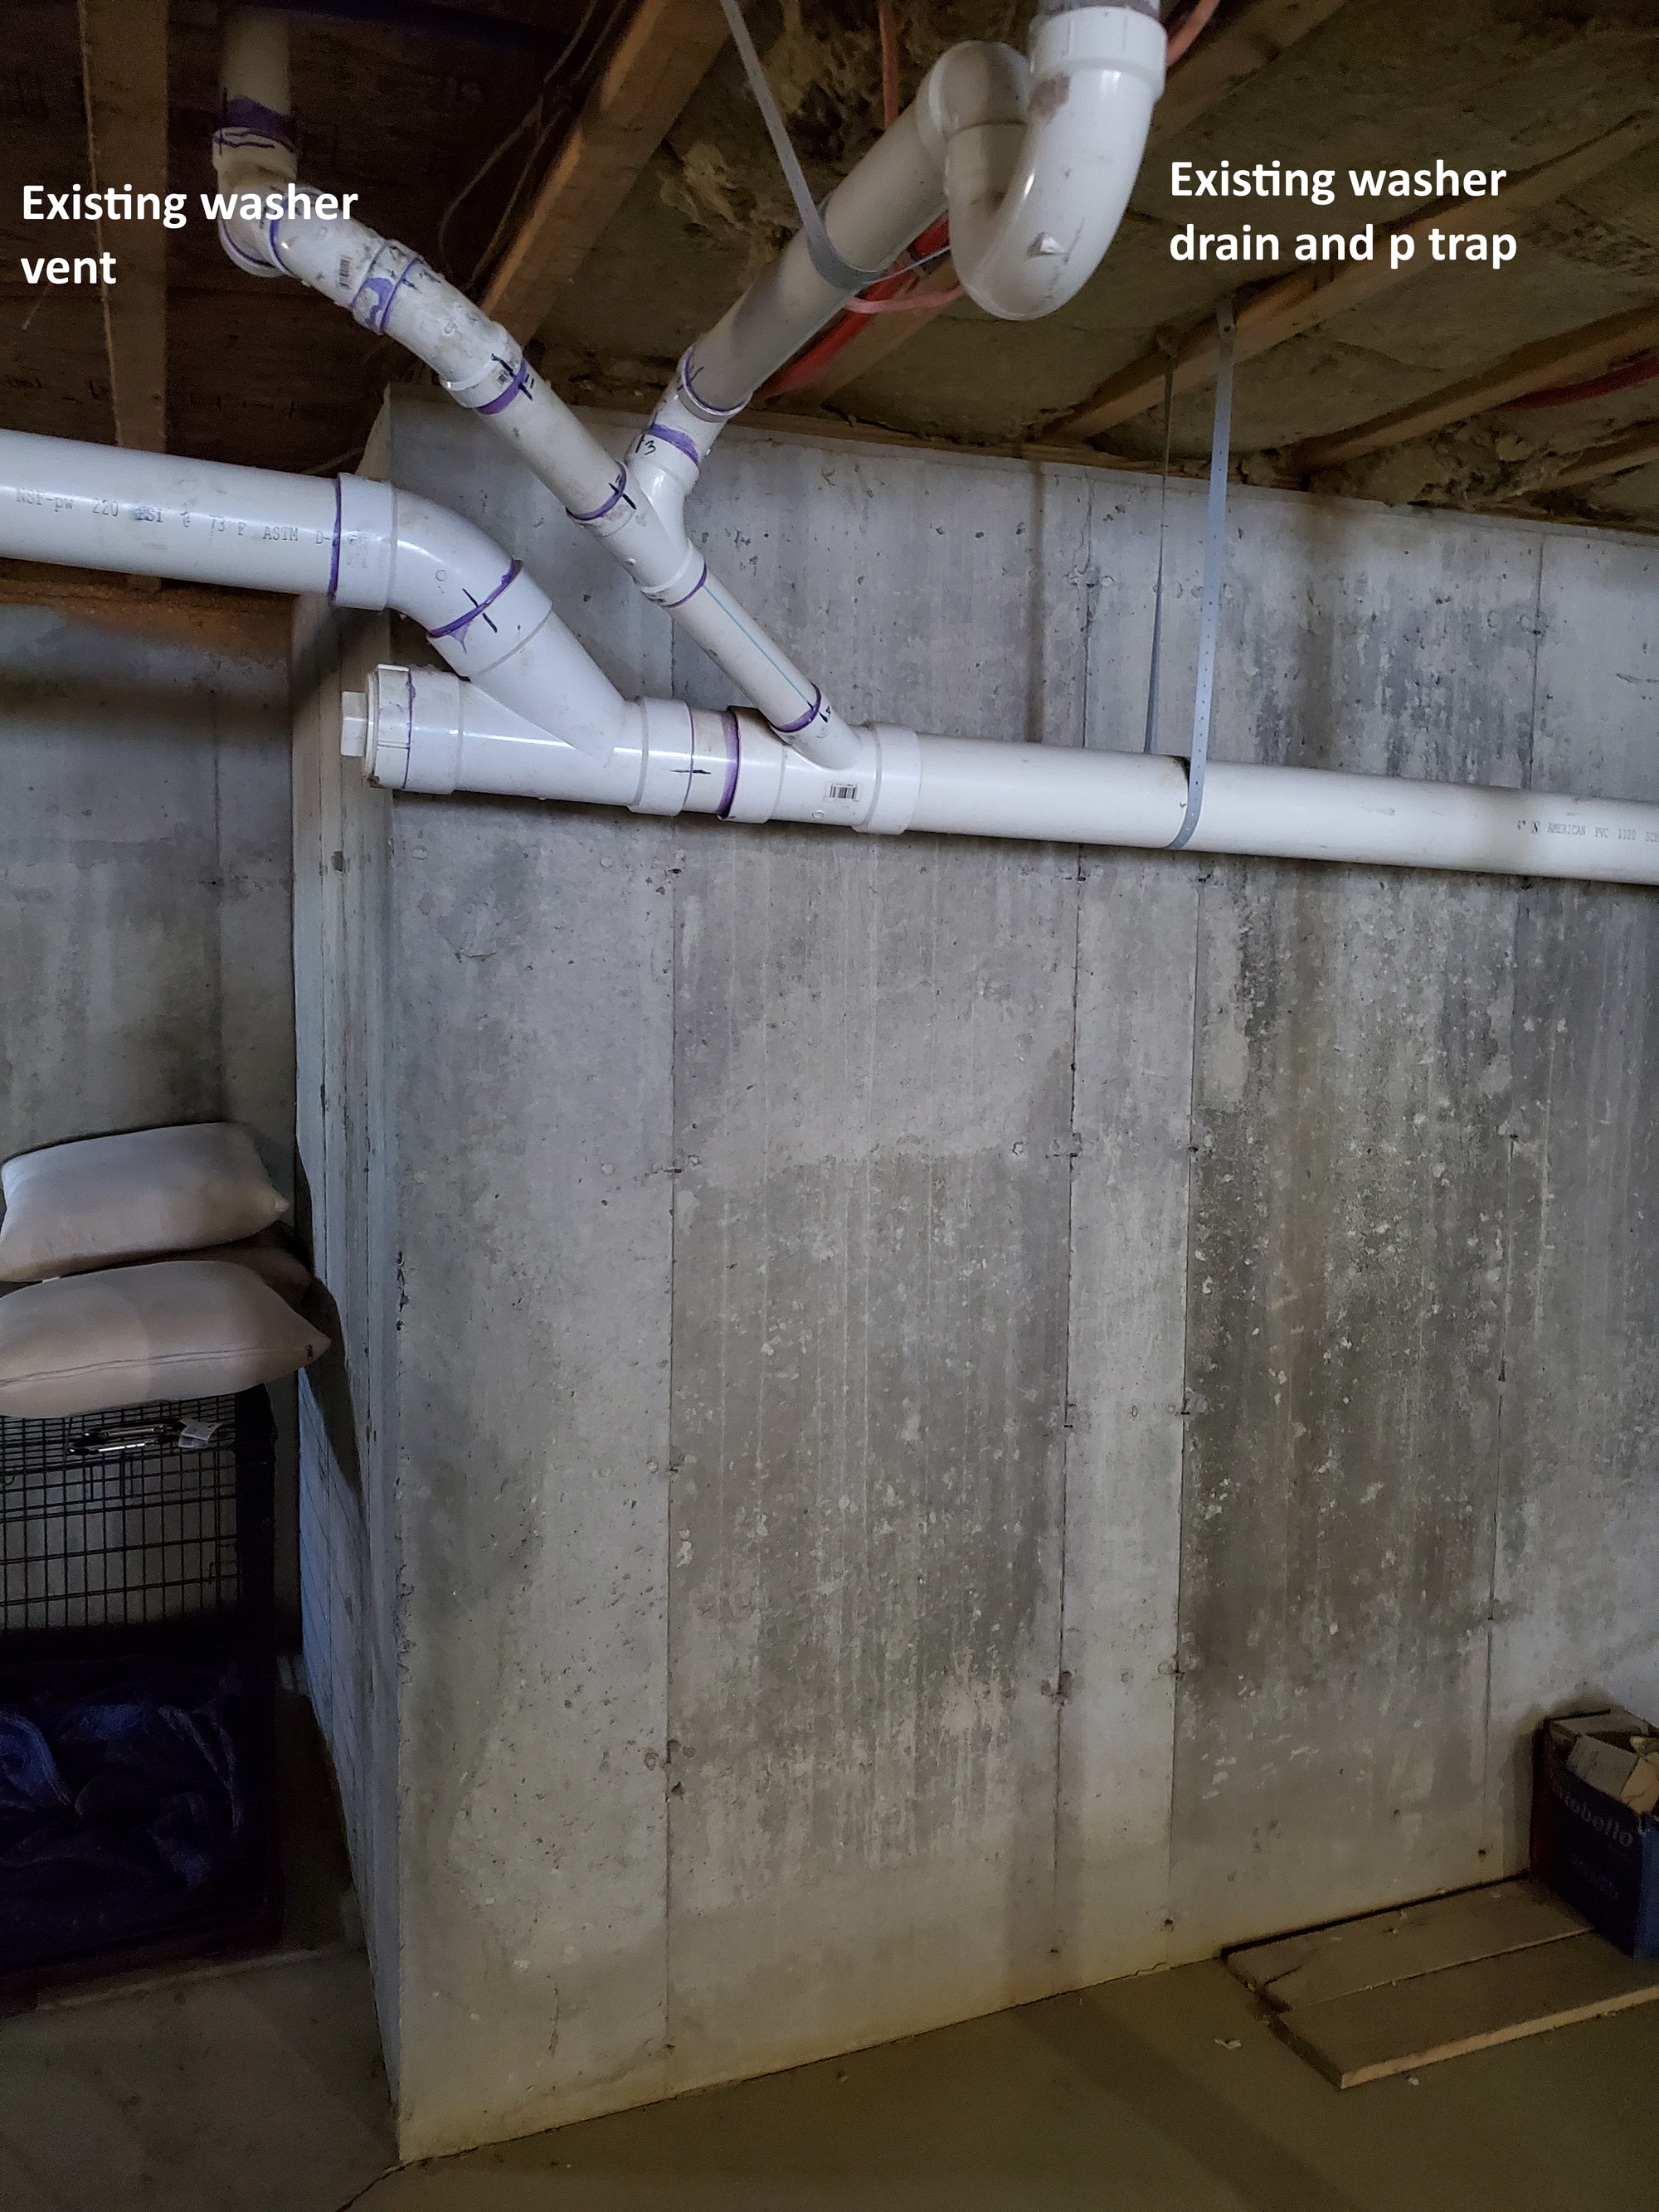
The next step was to move the washer and dryer to the basement. We chose the area directly under the existing washer/dryer. This would make rerouting the pex supply lines, PVC waste lines, and 240v power relatively simple.
Since the washer and dryer would now be below my main drain line, I had to find a way to get the washer and dryer discharge up to the drain line. I opted to install a laundry sink with a pump on the discharge. The washer and dryer drain into the laundry sink - it drains into a sump pump mounted next to it. The sump pump has a float and a check valve - when it fills up, the pump cycles on and sends the waste water up to the main drain line.
There were several types of pumps to choose from - there are small pumps that mount directly under the sink and don't necessarily require a vent. I read bad things about their reliability and ability to handle solids (lint! and other nasty things I may wash down a utility sink the basement). The best more industrial options seemed to be the Zoeller 105 and the Liberty 404 - both get great reviews and I opted to go with the Zoeller. It's mounted off to the left in the picture below. I had to raise it a few inches with concrete pavers to get everything lined up with the laundry sink's discharge. These pumps require a vent which I fortunately already had for the old laundry discharge. I picked up a bunch of fittings and pipe and dry fit everything before using PVC cement to connect it all.
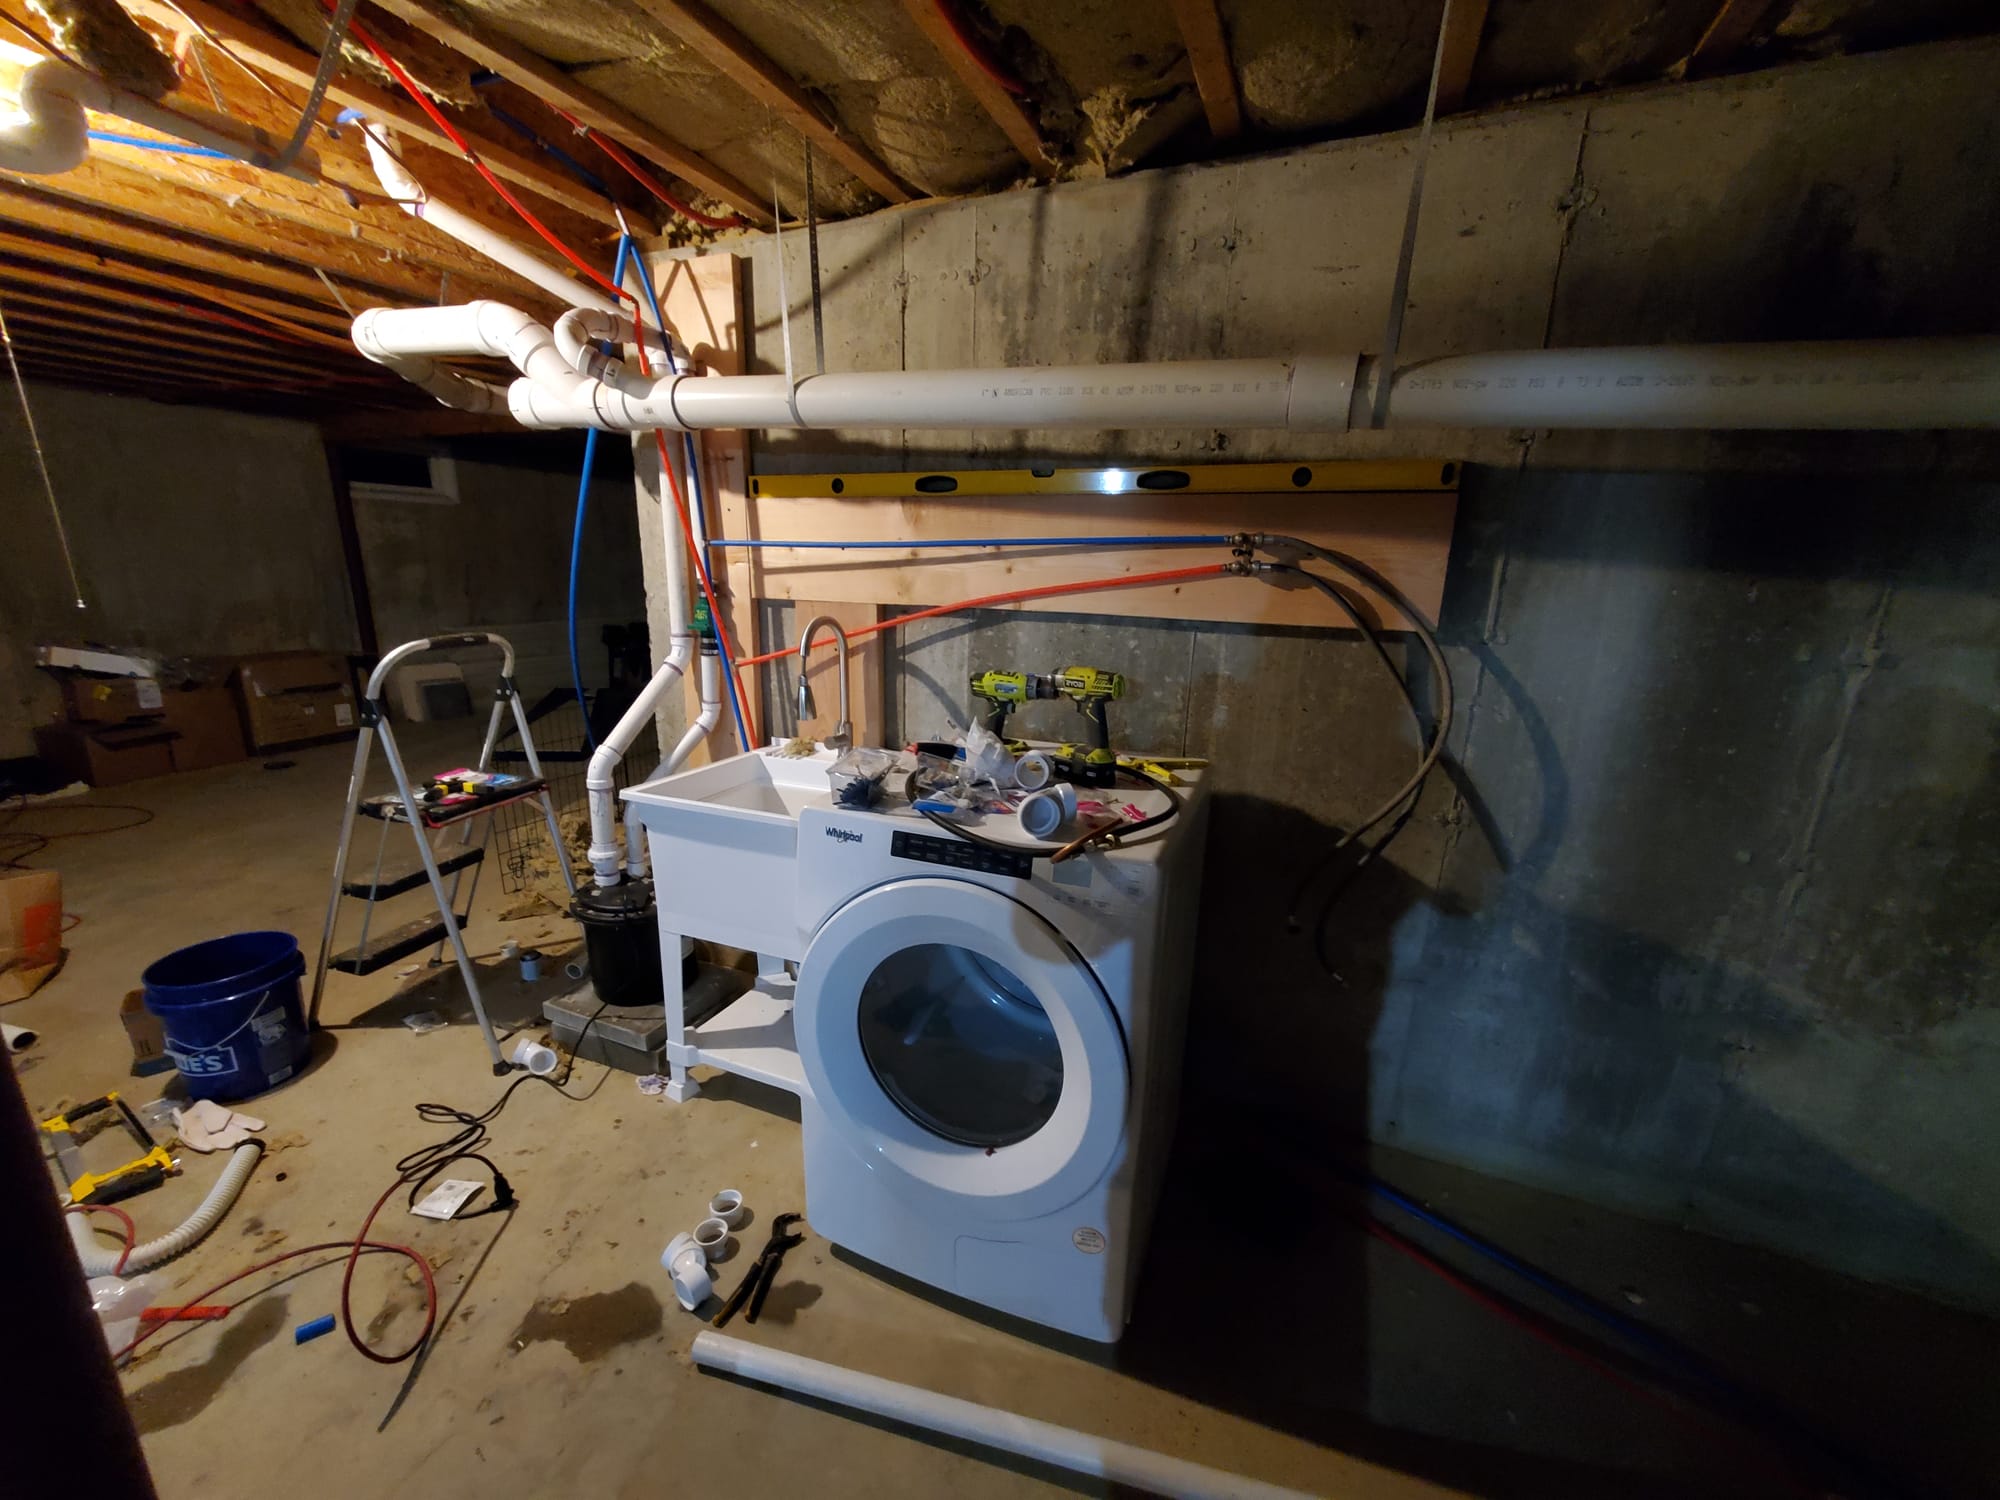
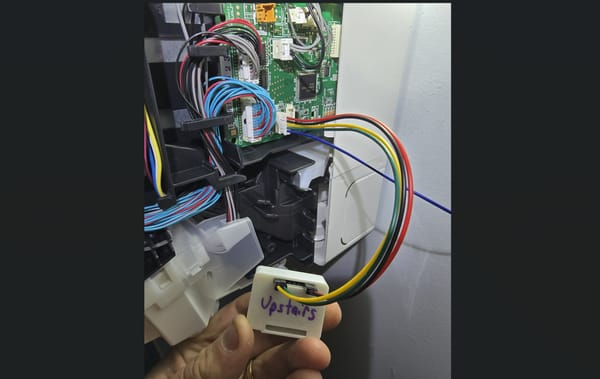
I mounted a few pieces of wood to the concrete basement walls with tapcon screws so I had a place to mount the plumbing and electrical gear. I shut and drained my hot and cold water lines, pulled the old pex down from the kitchen and installed new tees and elbows to reach the appliances. I picked up some 10/3 romex to extend the old dryer outlet. I also ran two new 20A 120V circuits - one for the washer and one for the sump pump. These probably both could've shared a circuit, but the sump pump pulls ~9A when it cycles on and I didn't want to chance tripping the breaker with the washer running. Eventually I'll add some additional basement outlets and lighting hanging off these circuits.

With the washer and dryer out of the way and in the basement, it was time to refinish the walls behind them. I followed the same process as before - fill big holes, prime, skim coat, prime, then paint.
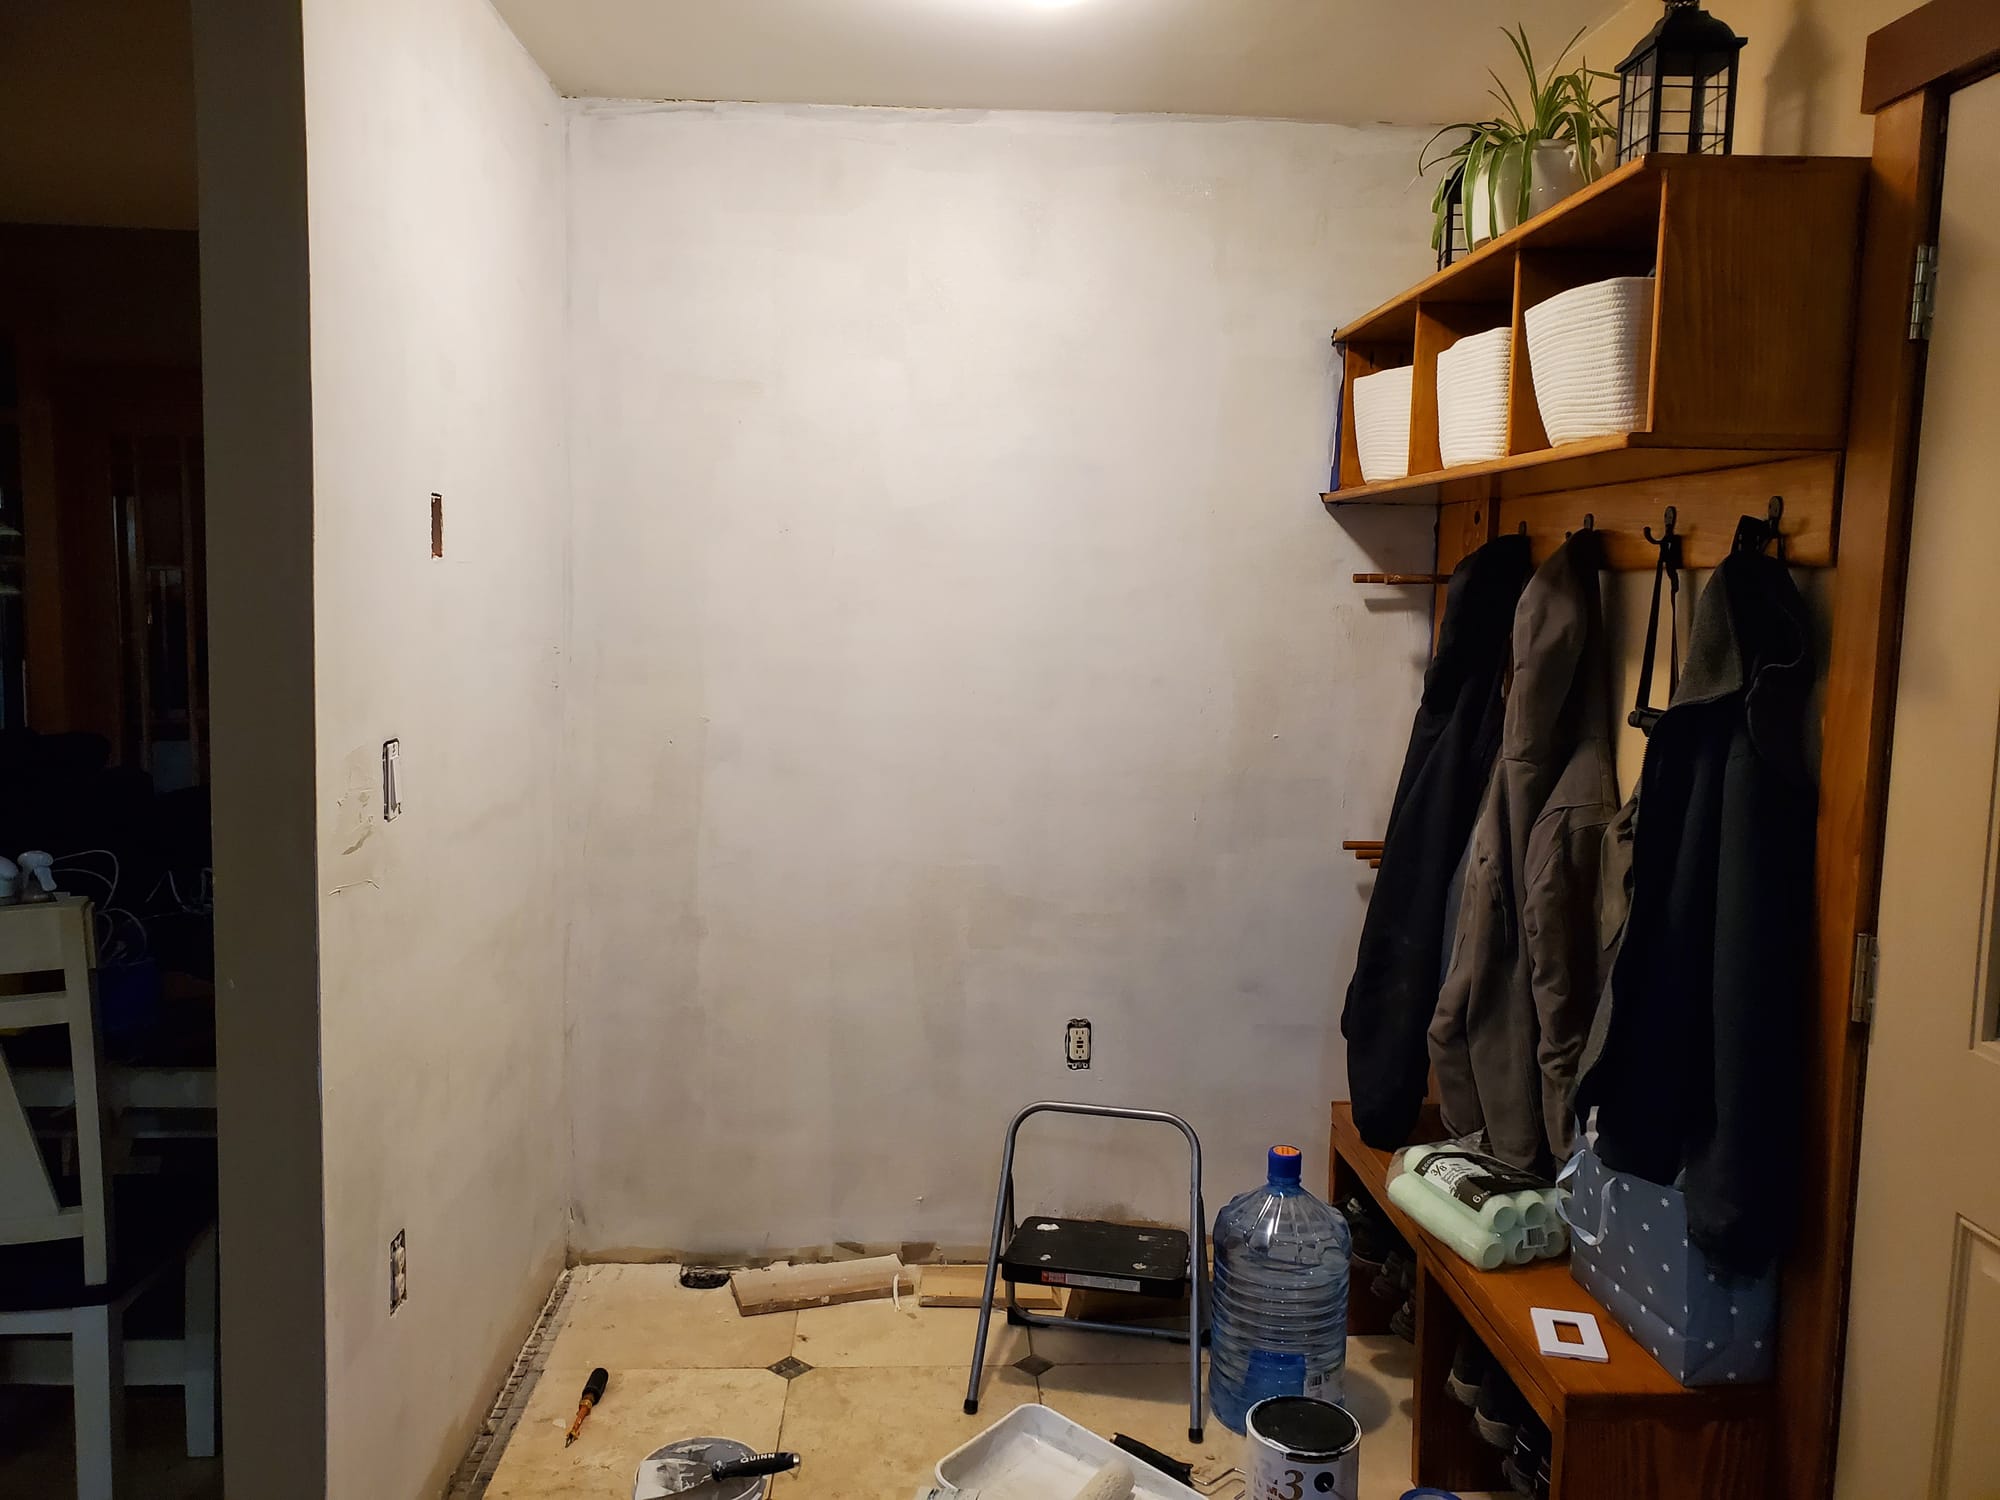
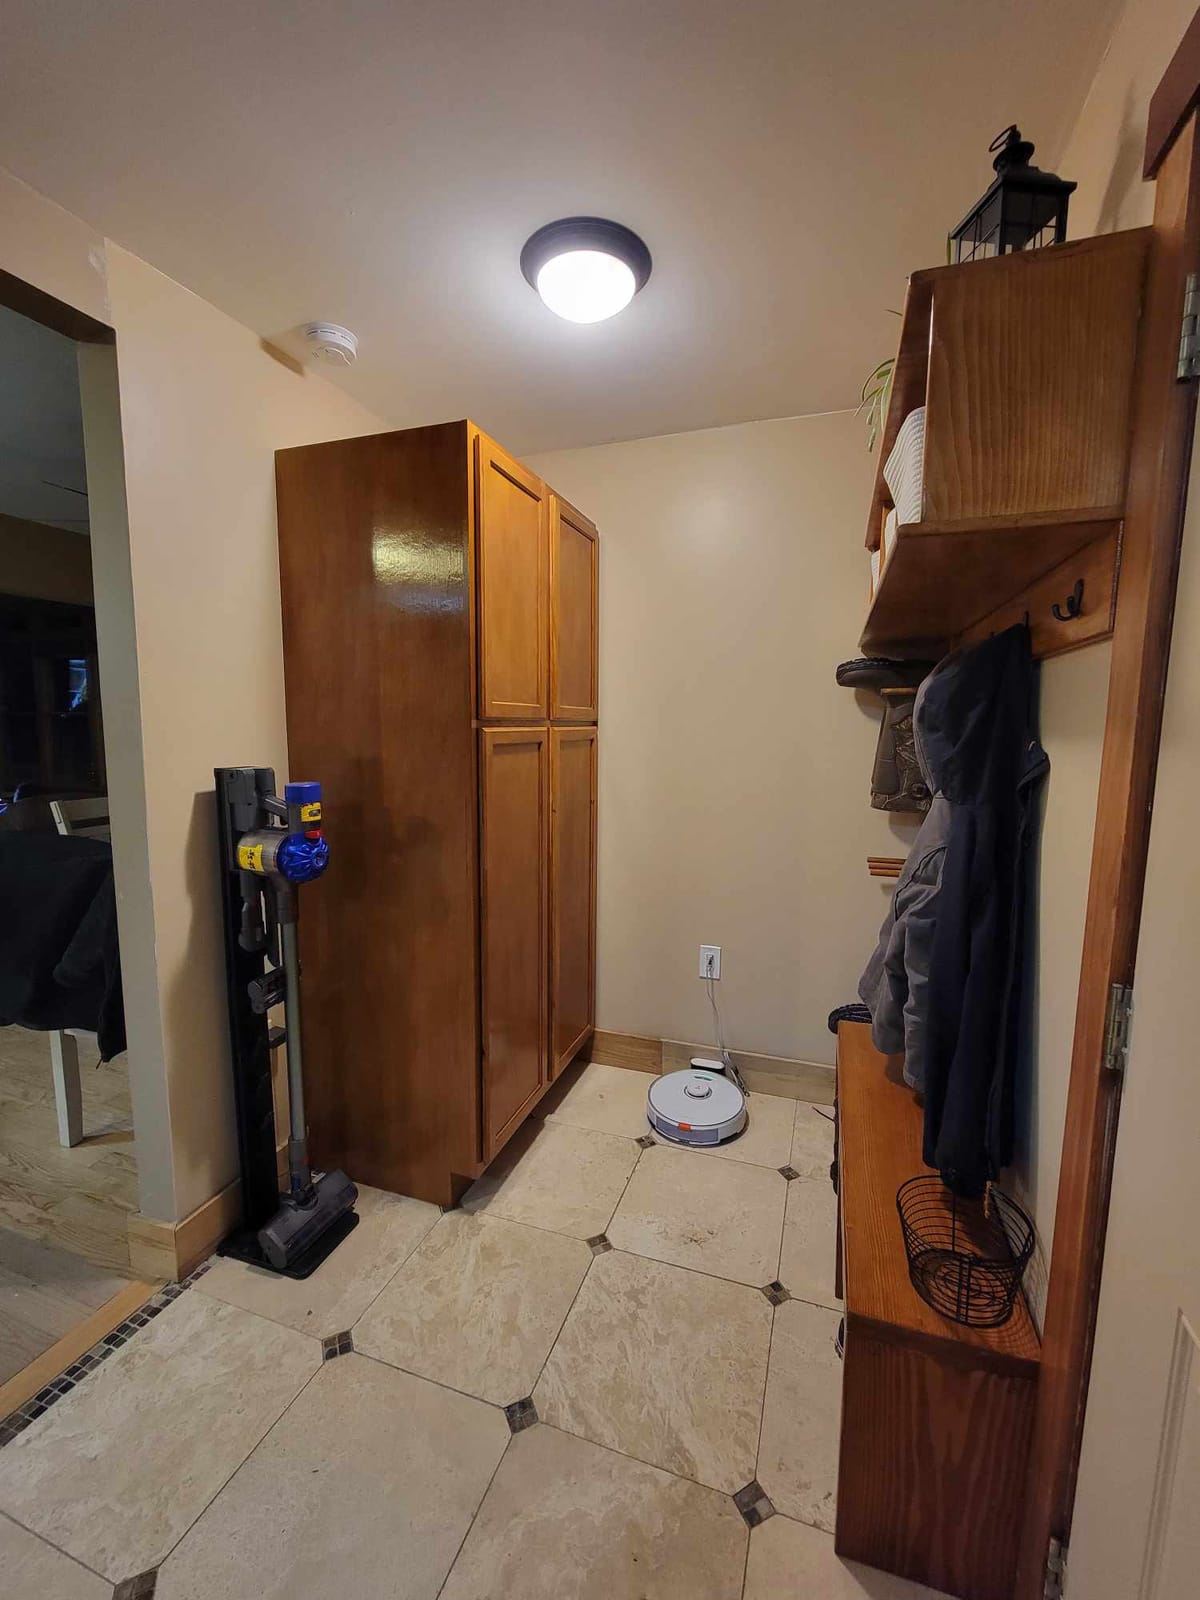
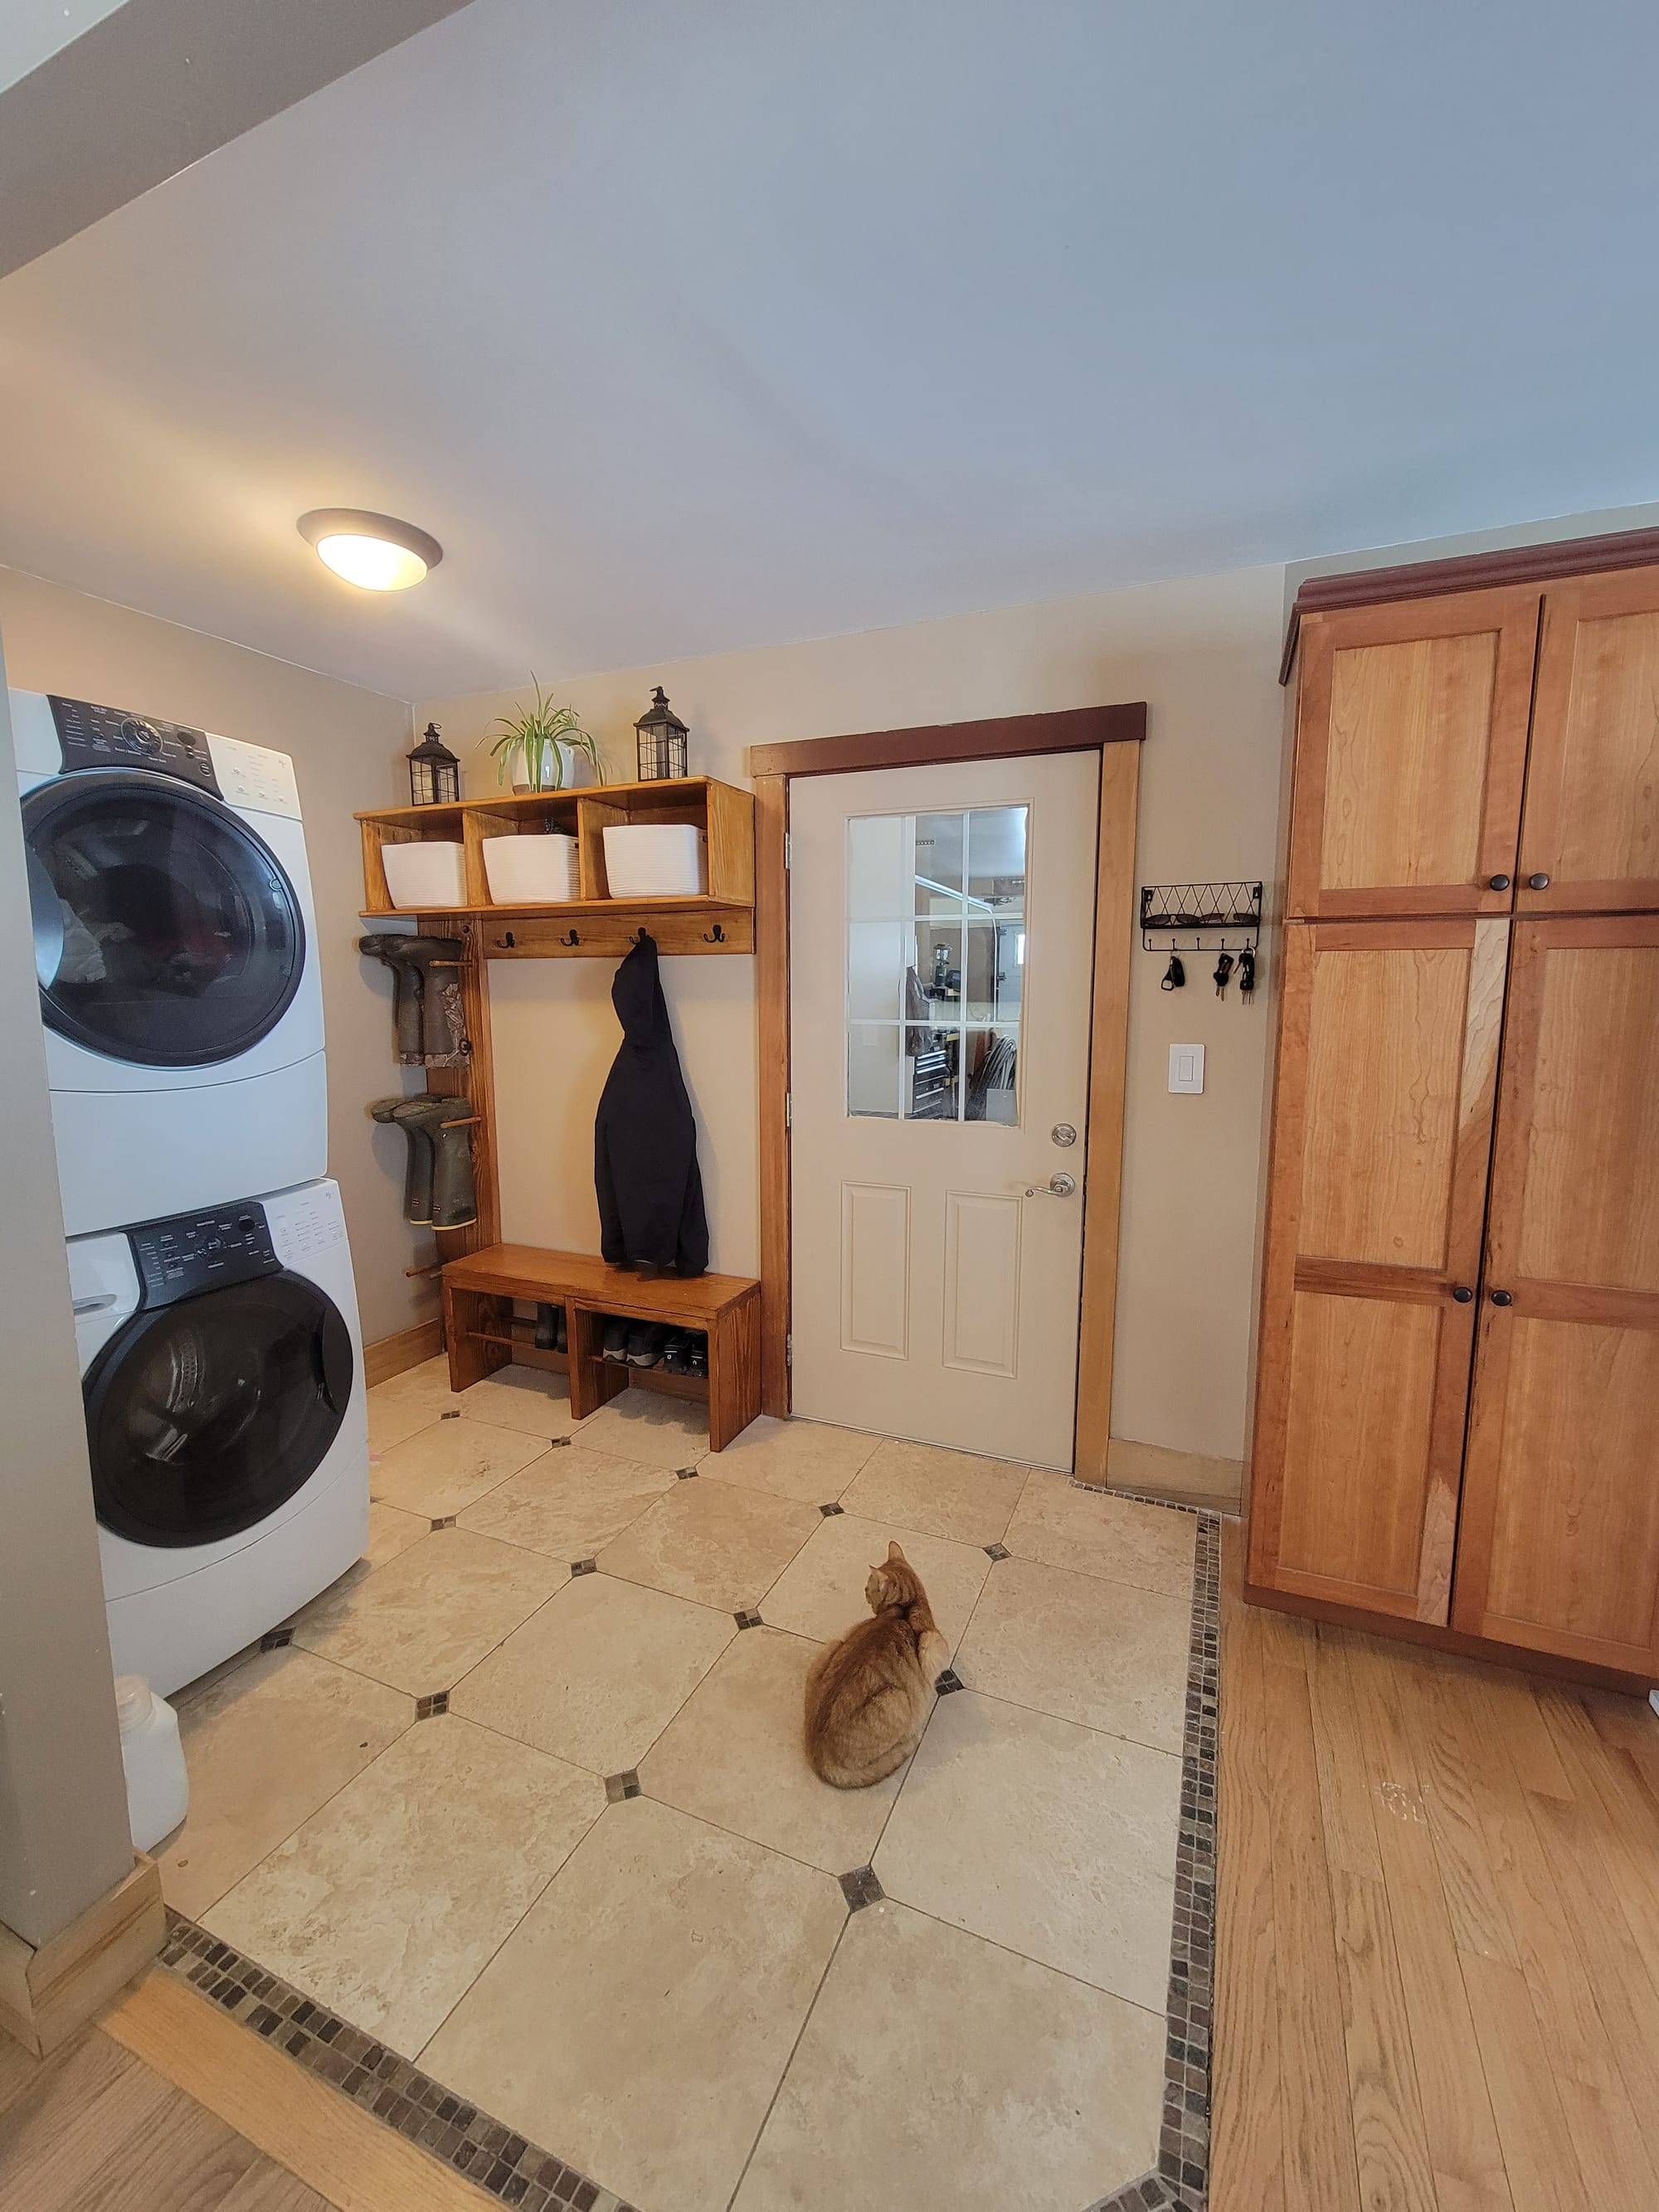
We picked up two 84" Hampton bay unfinished pantry cabinets from home depot and finished them with the same stain and poly we used on the boot rack. This combo matched the rest of our kitchen cabinets really well.
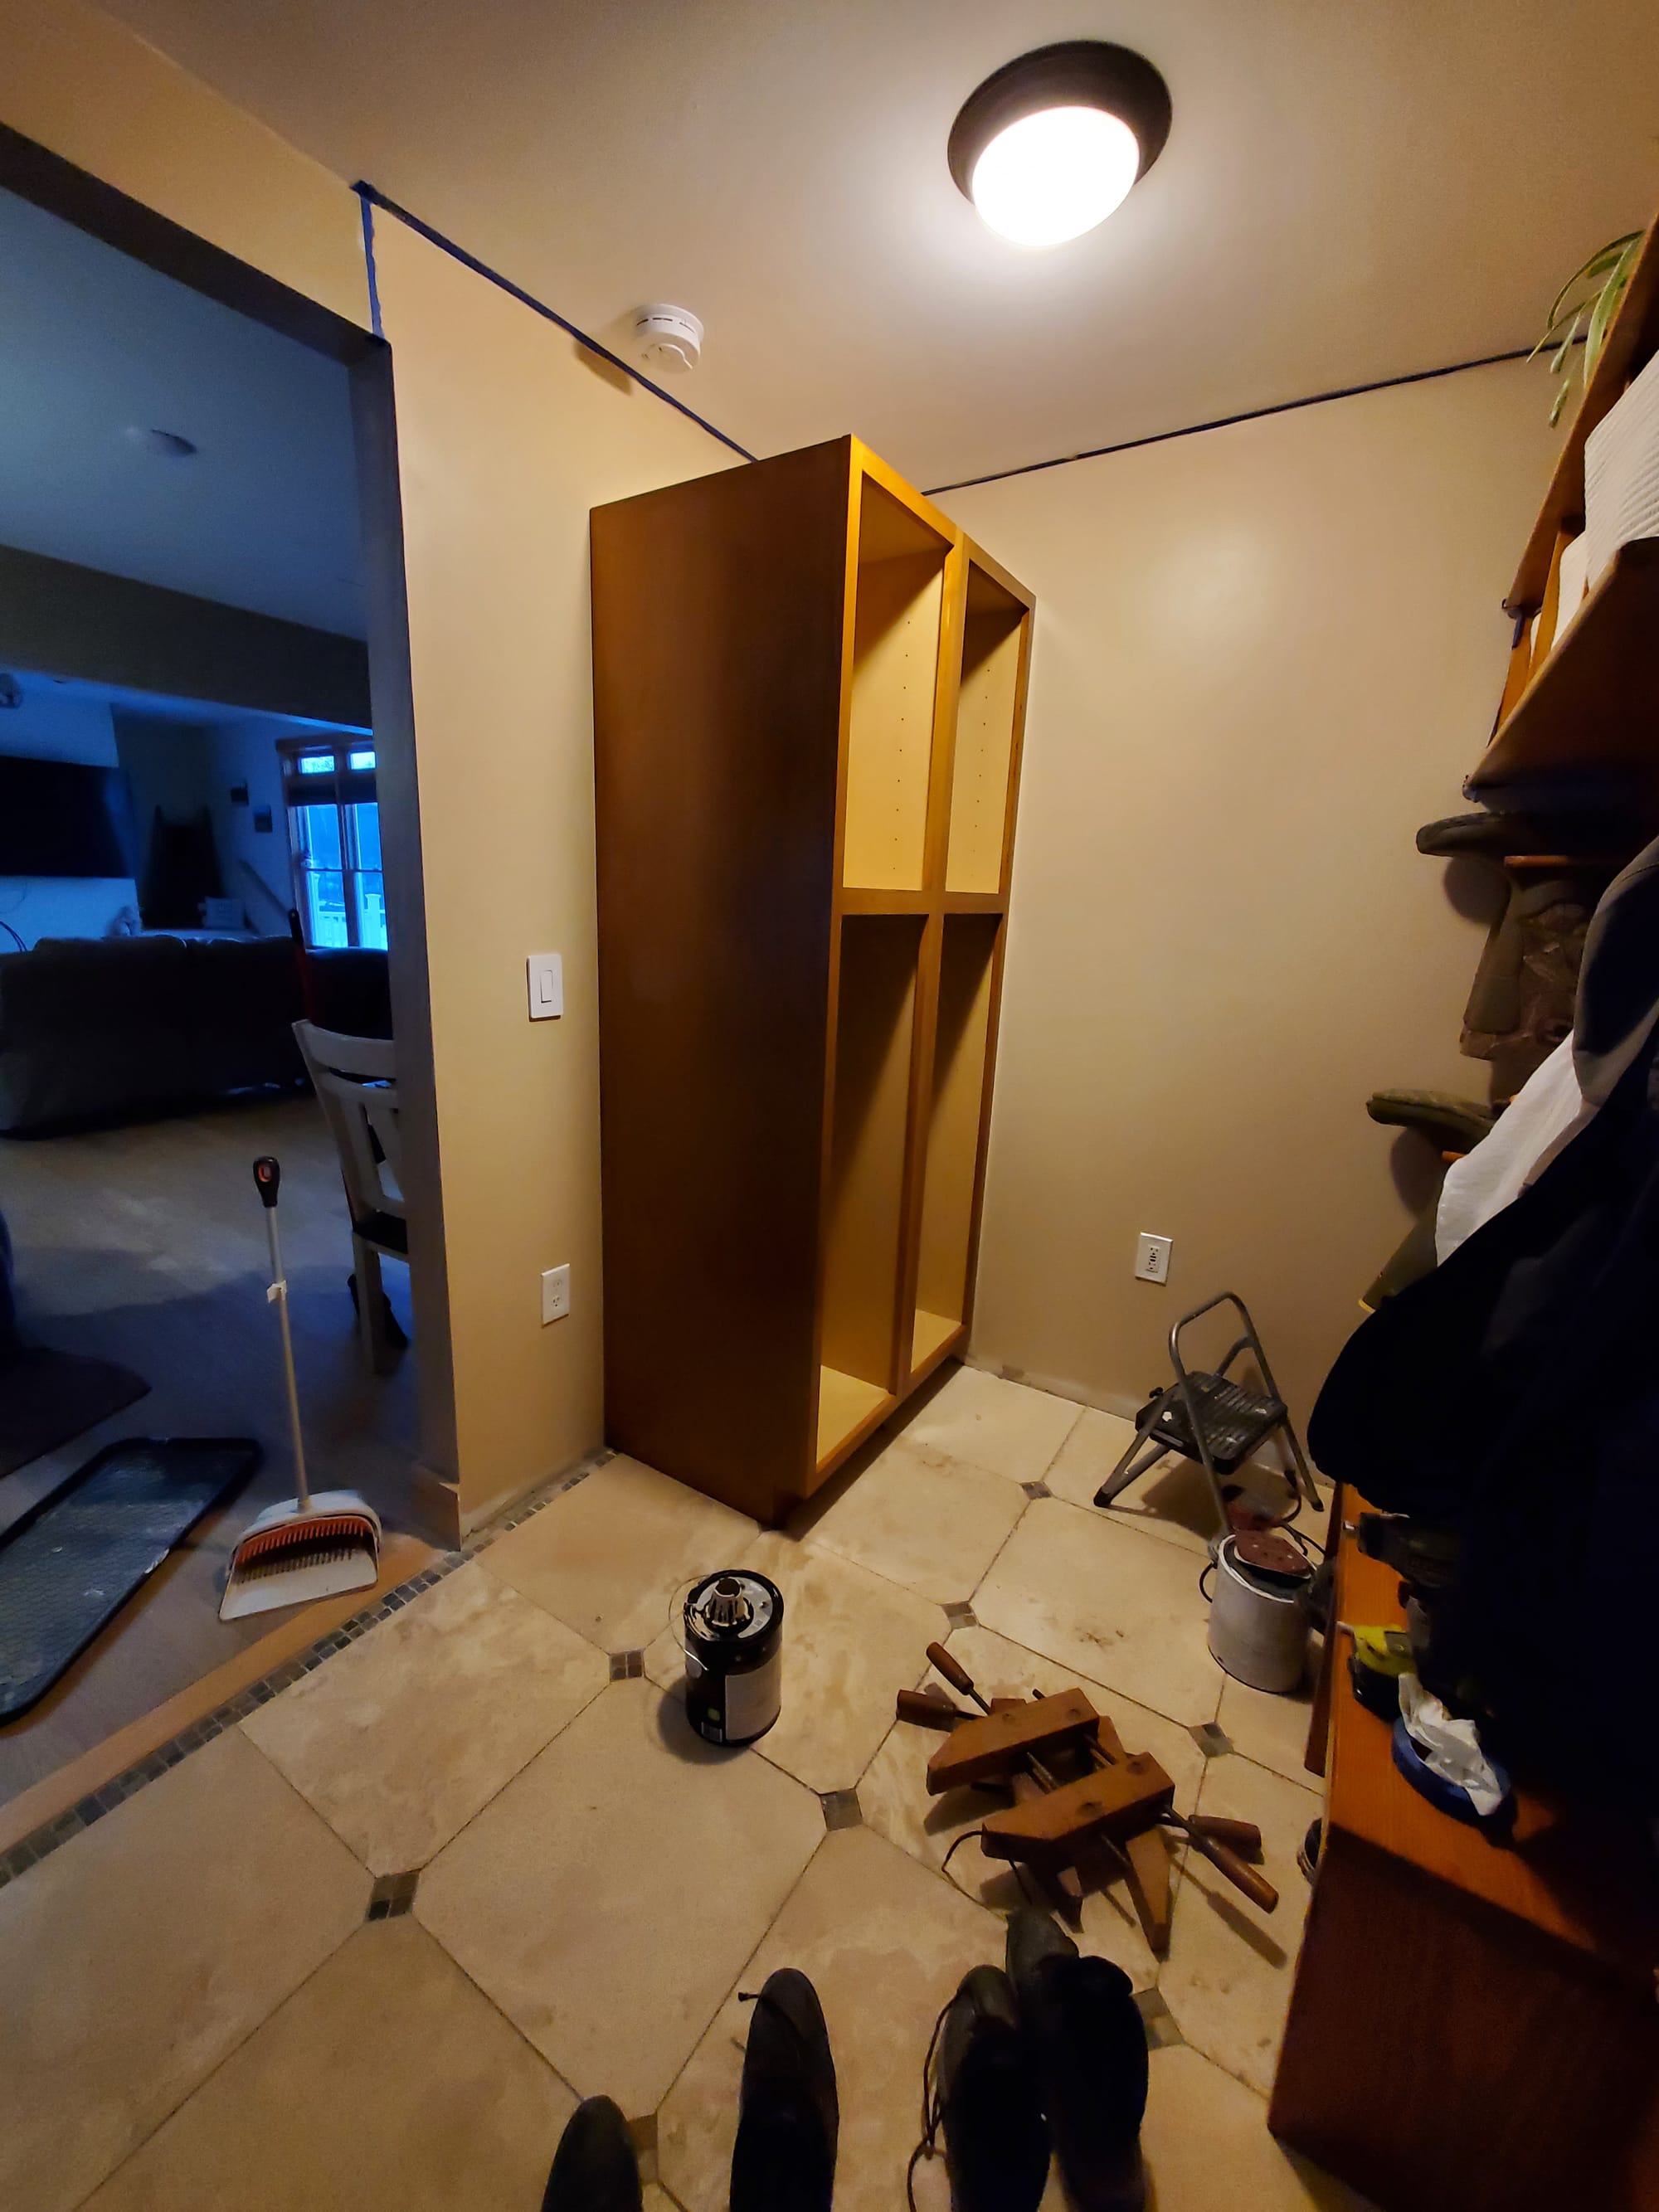


I'd like to add a small cabinet or stand below the light switch to round out the area, but at 17" it's just a bit too small for any of the easy off the shelf options. The dyson fits there well for now. All in, we've got a much more usable entryway, and a quieter + more efficient laundry setup to boot!