Rage Against the Garage Door Opener
It's hard to believe it's been 2 years without a remote way to control our garage door. I have long threatened to build an esp-based opener, but I finally broke down and bought one instead.
In our first home in Virginia, we originally had manual garage doors (no opener). I installed a cheap opener I got on clearance at home depot. The wall remote had two wires going back to the opener and several buttons for open/close/light functions. I spent some time probing it with a multimeter and as it turned out, each button closed a contact with a different resistance value, which was then sensed by the opener to determine function. I bought 3 3.3V dry contact relays, soldered resistors of similar values to the OEM opener on a protoboard, and then hooked the relays + resistor combos up to some digital pins on an ESP8266. I used ESPHome to control it all natively in home assistant - it worked great.
In our new-to-us Maine home, we have a 2005 vintage Chamberlain opener. Rather than simple resistance-based buttons, it uses Chamberlain's "Security+". The wall remote uses a rolling code encryption protocol to talk to the opener and tell it to open/close/turn the light on. Chamberlain sells the MyQ Hub to make any of their garage door openers smart. A couple of years ago, there was a nice integration with home assistant but Chamberlain rather infamously shut it down and forced users to use their app in an effort to push subscription to their cloud services. As smart device vendors have become increasingly unreliable at maintaining their smart home services long term, I have been on a quest to install purely locally controlled devices. The MyQ was out.
I started looking at OpenGarage - it's ESP based with an ultrasonic distance sensor to determine door state. I remembered one other option that sounded like RAT... which was RATGDO. As I came to find out, this stood for rage against the garage door opener, which was a way cooler name than I thought it'd be.
Both are ESP based but RATGDO offers native ESPHome based firmware that can be adopted into the Home Assistant ESPHome builder add on. The latest RATGDO32 is based on an ESP32 chip and advertised native Security+ support (unclear to me if OpenGarage has full functionality on security+ vs the newer Securuty+ 2.0). Additionally, it advertised door state without needing to mount an ultrasonic sensor. Price was comparable around $60 for either - I ordered the ratgdo32 directly from Paul's website.
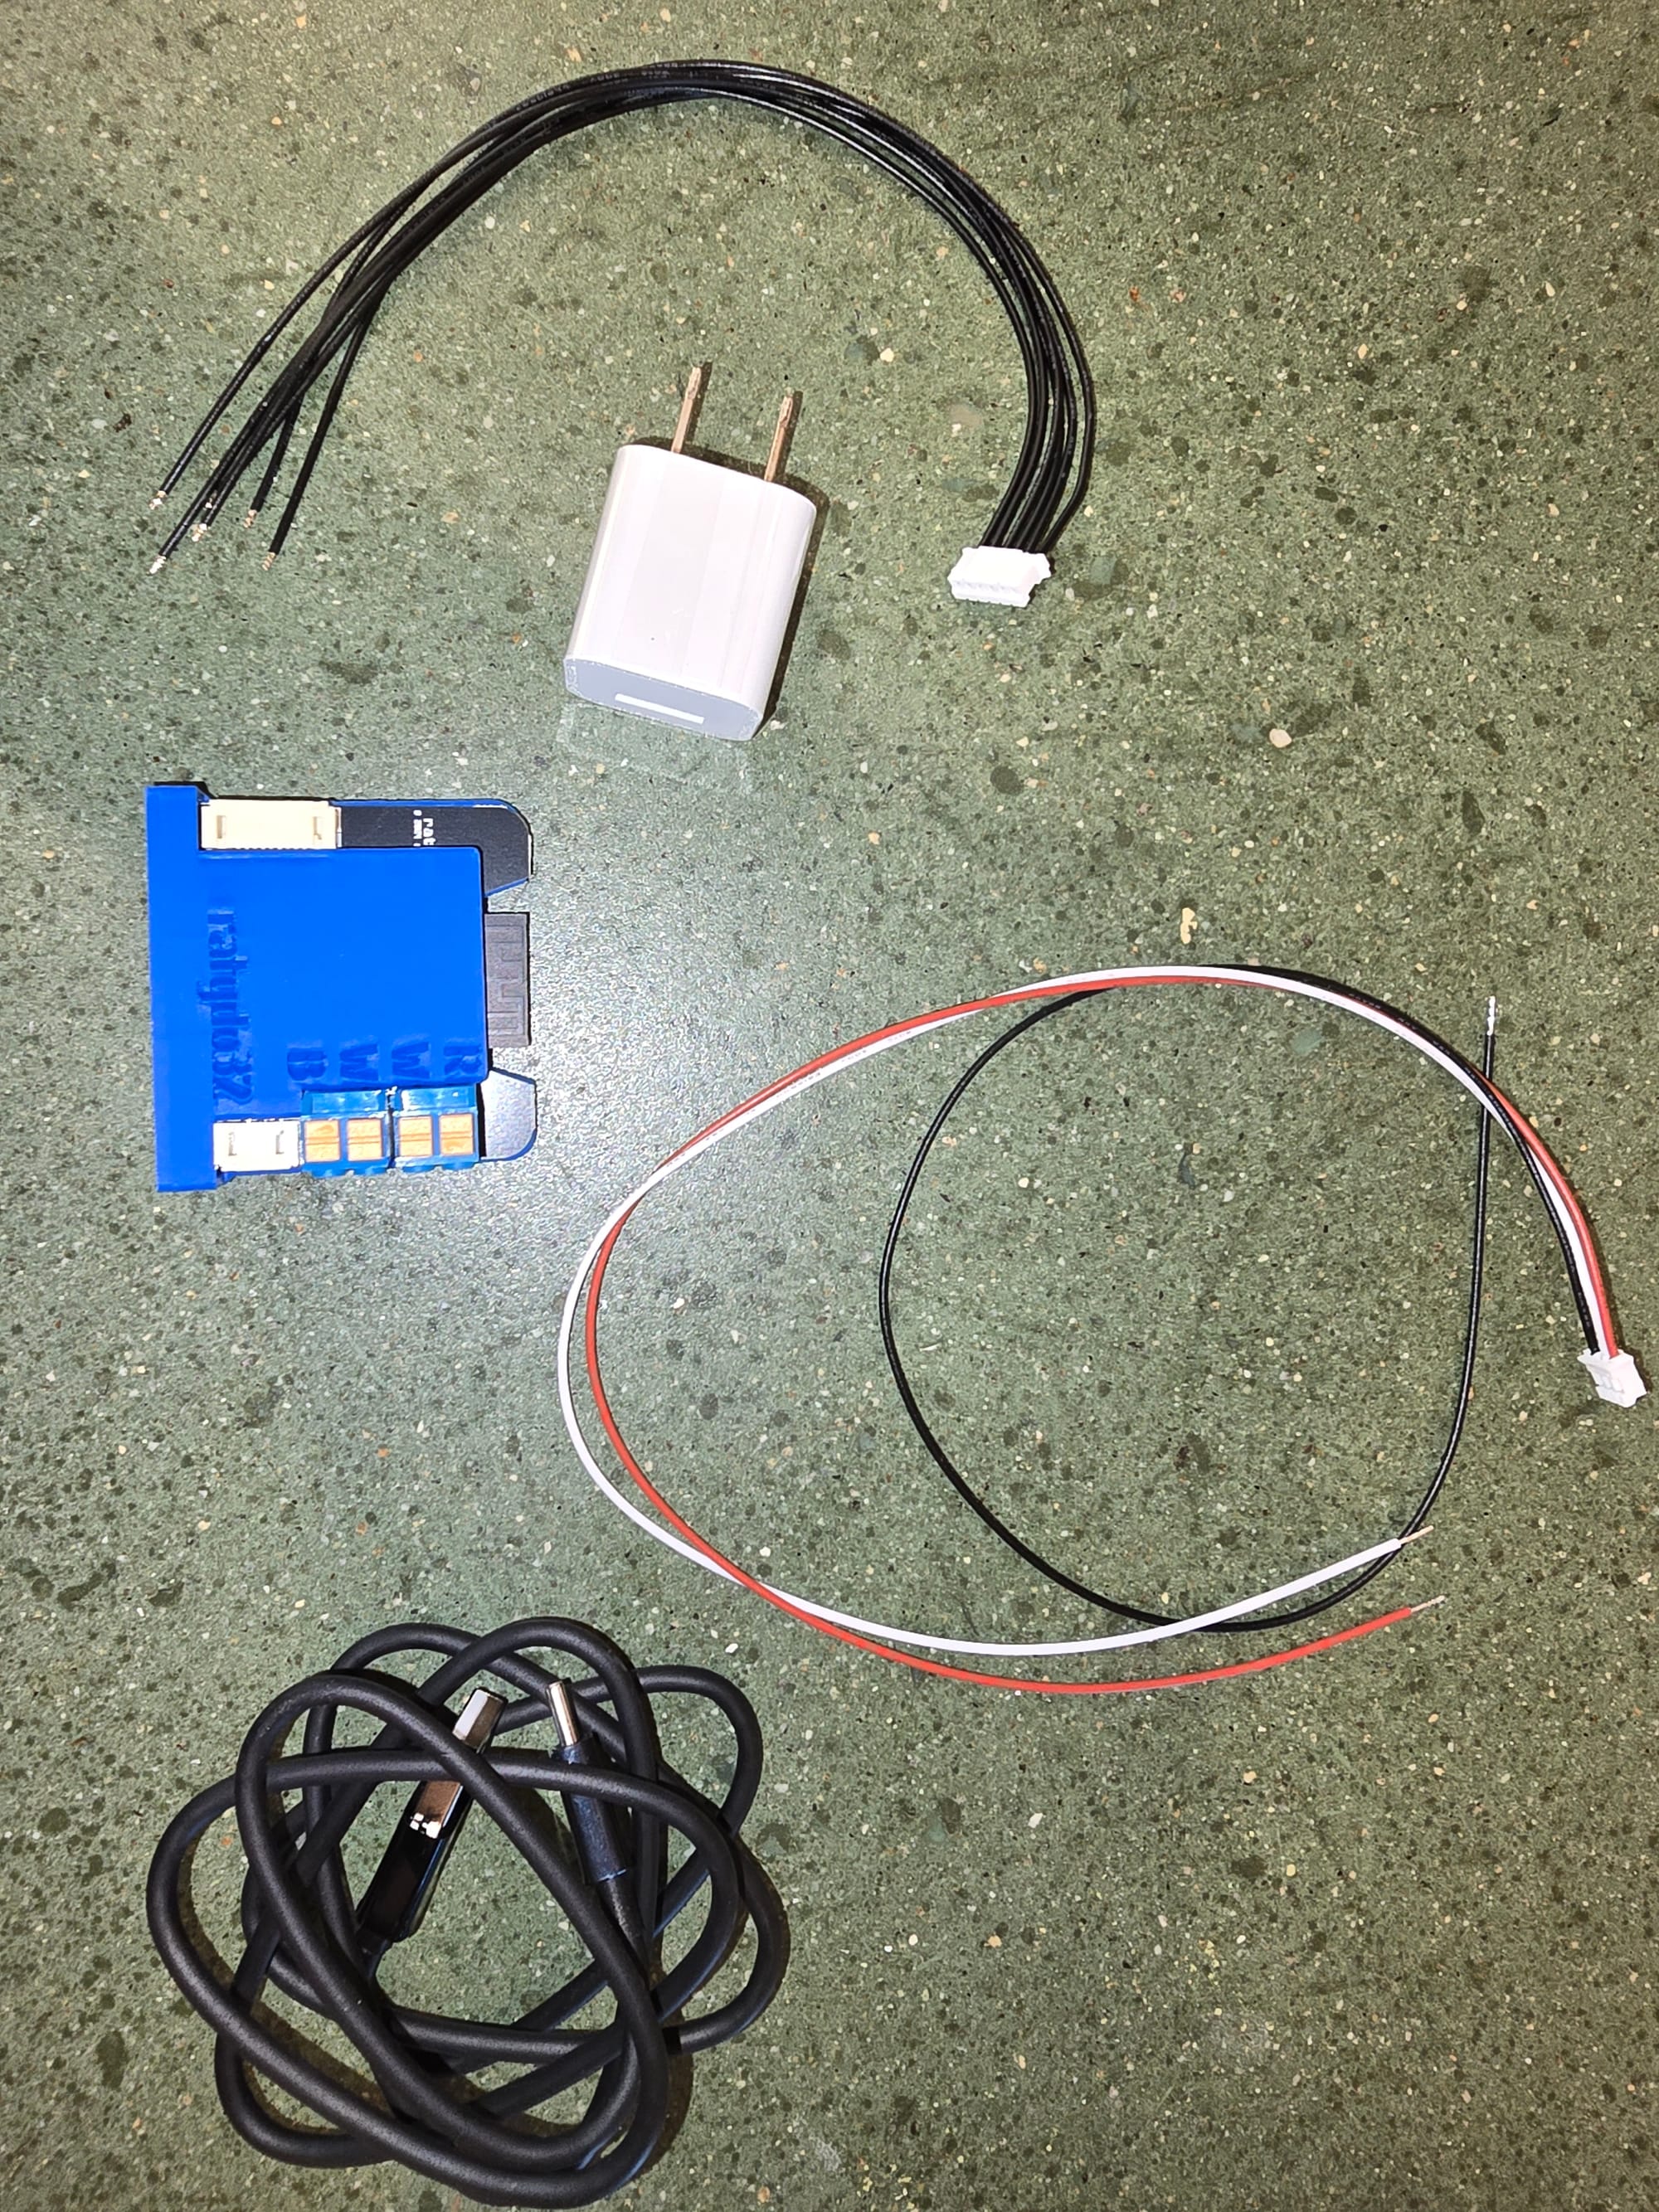
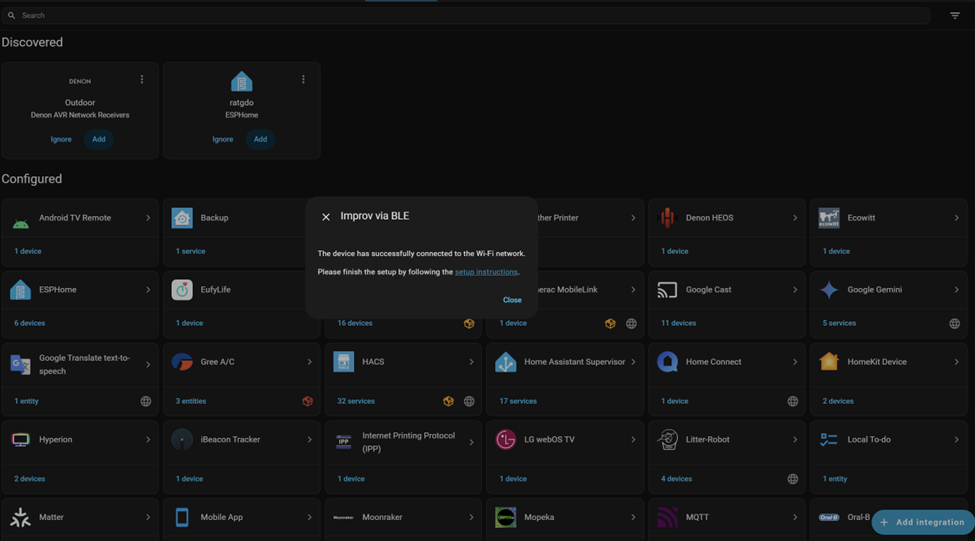
I plugged the wall wart in and fired up the device. You can do the initial connection to your network by connecting to a wireless SSID it broadcasts or via bluetooth from Home Assistant - I setup a BLE relay a few weeks back with an ESP32 and the ratgdo popped up right in discovered devices. I punched in my wireless creds and it connected without fanfare.
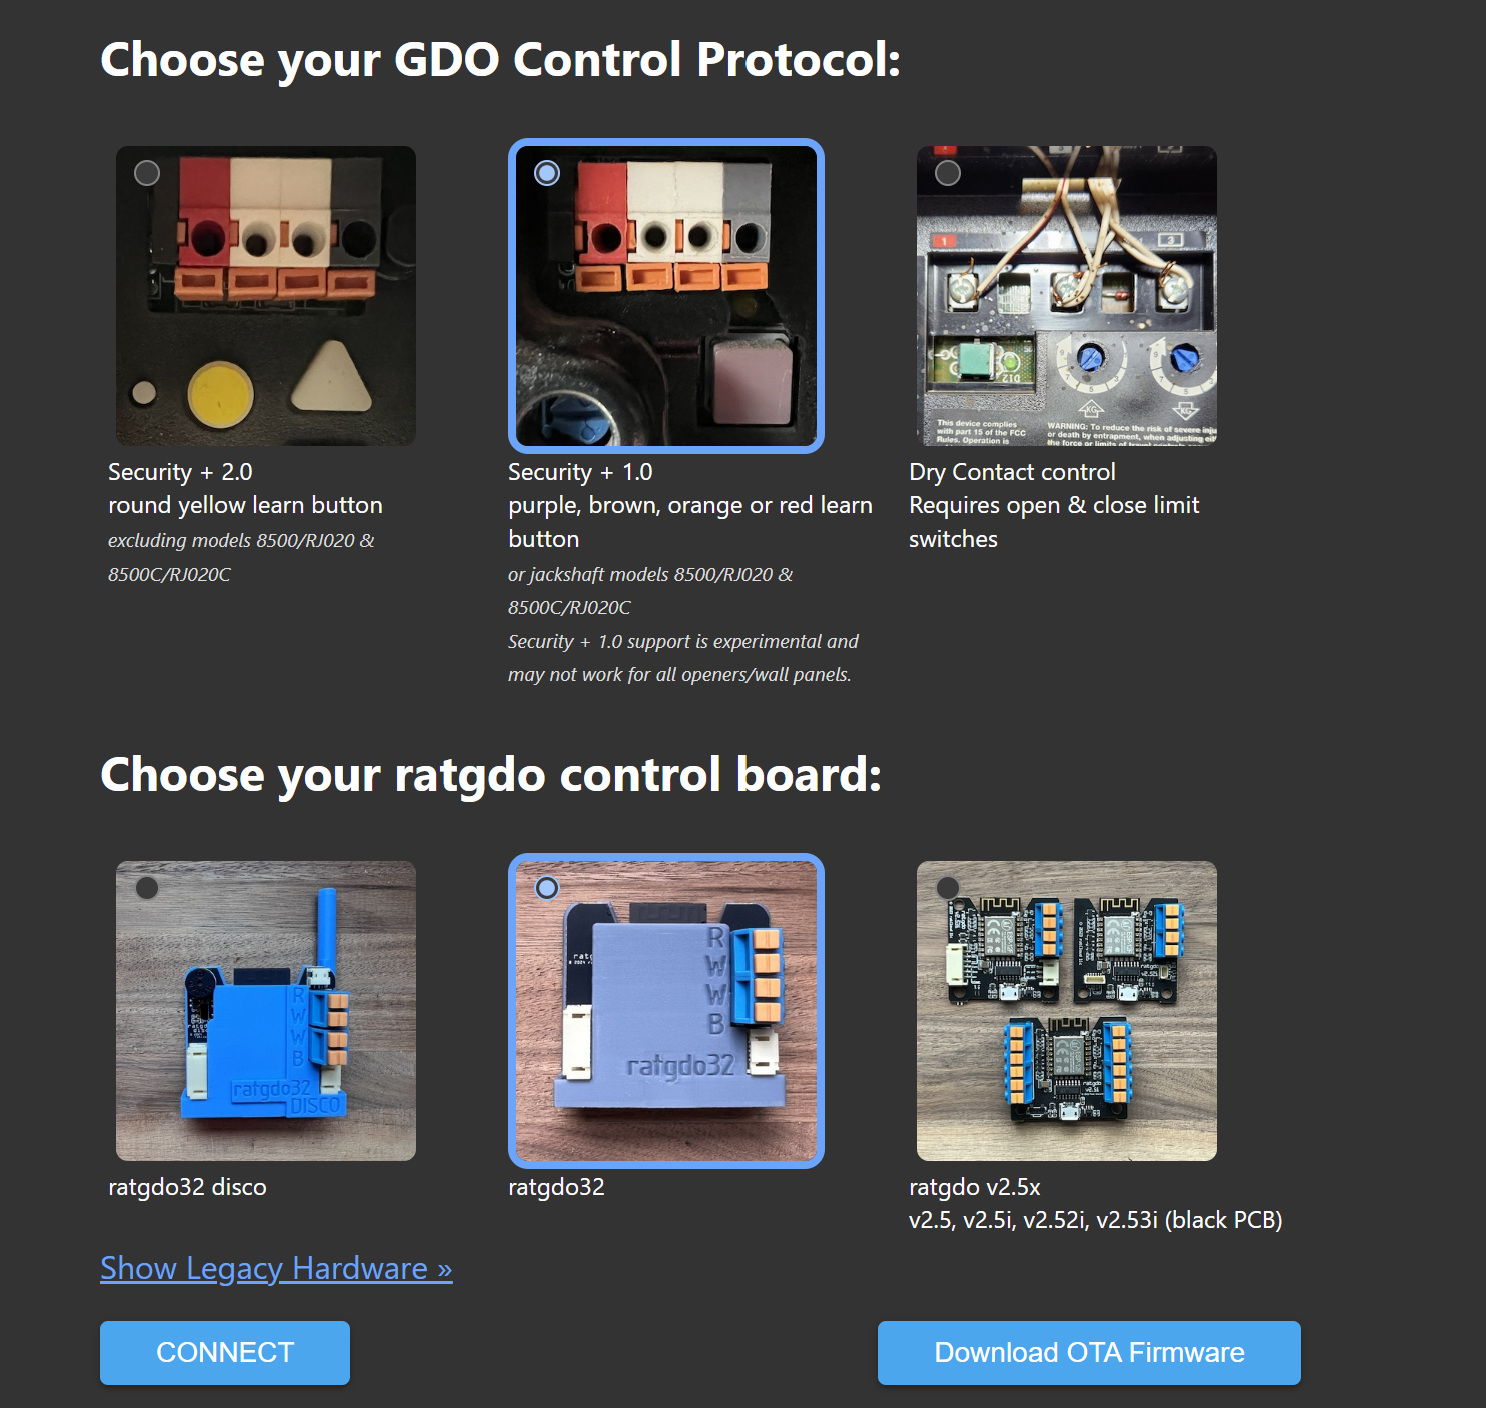
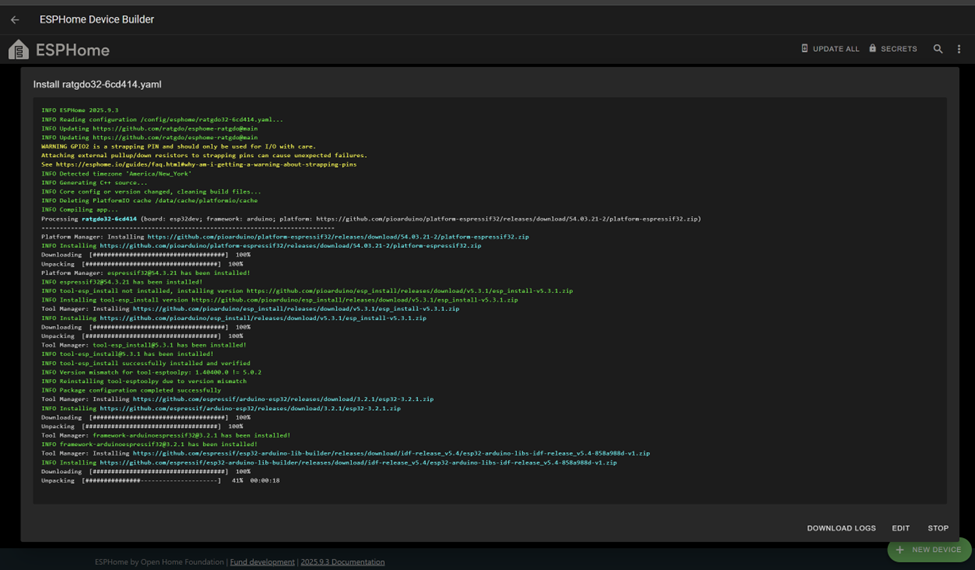
I found the device's IP in my firewall's DHCP dashboard and opened up the web page (although punching in the mdns name ratgdo.local should've worked too). I followed the initial firmware setup guide, downloading the ratgdo32 Security+ firmware. From the device's web page, I uploaded the file and hit update. The first few times the connection reset and the update failed by the 3rd time it proceeded without a hitch.
With the device flashed, I fired up ESPhome builder in home assistant. Along the top, it showed one device discovered and prompted me to adopt it. ESPHome grabbed the config from the device, added it's encryption key to talk to my specific instance, and reflashed the device.
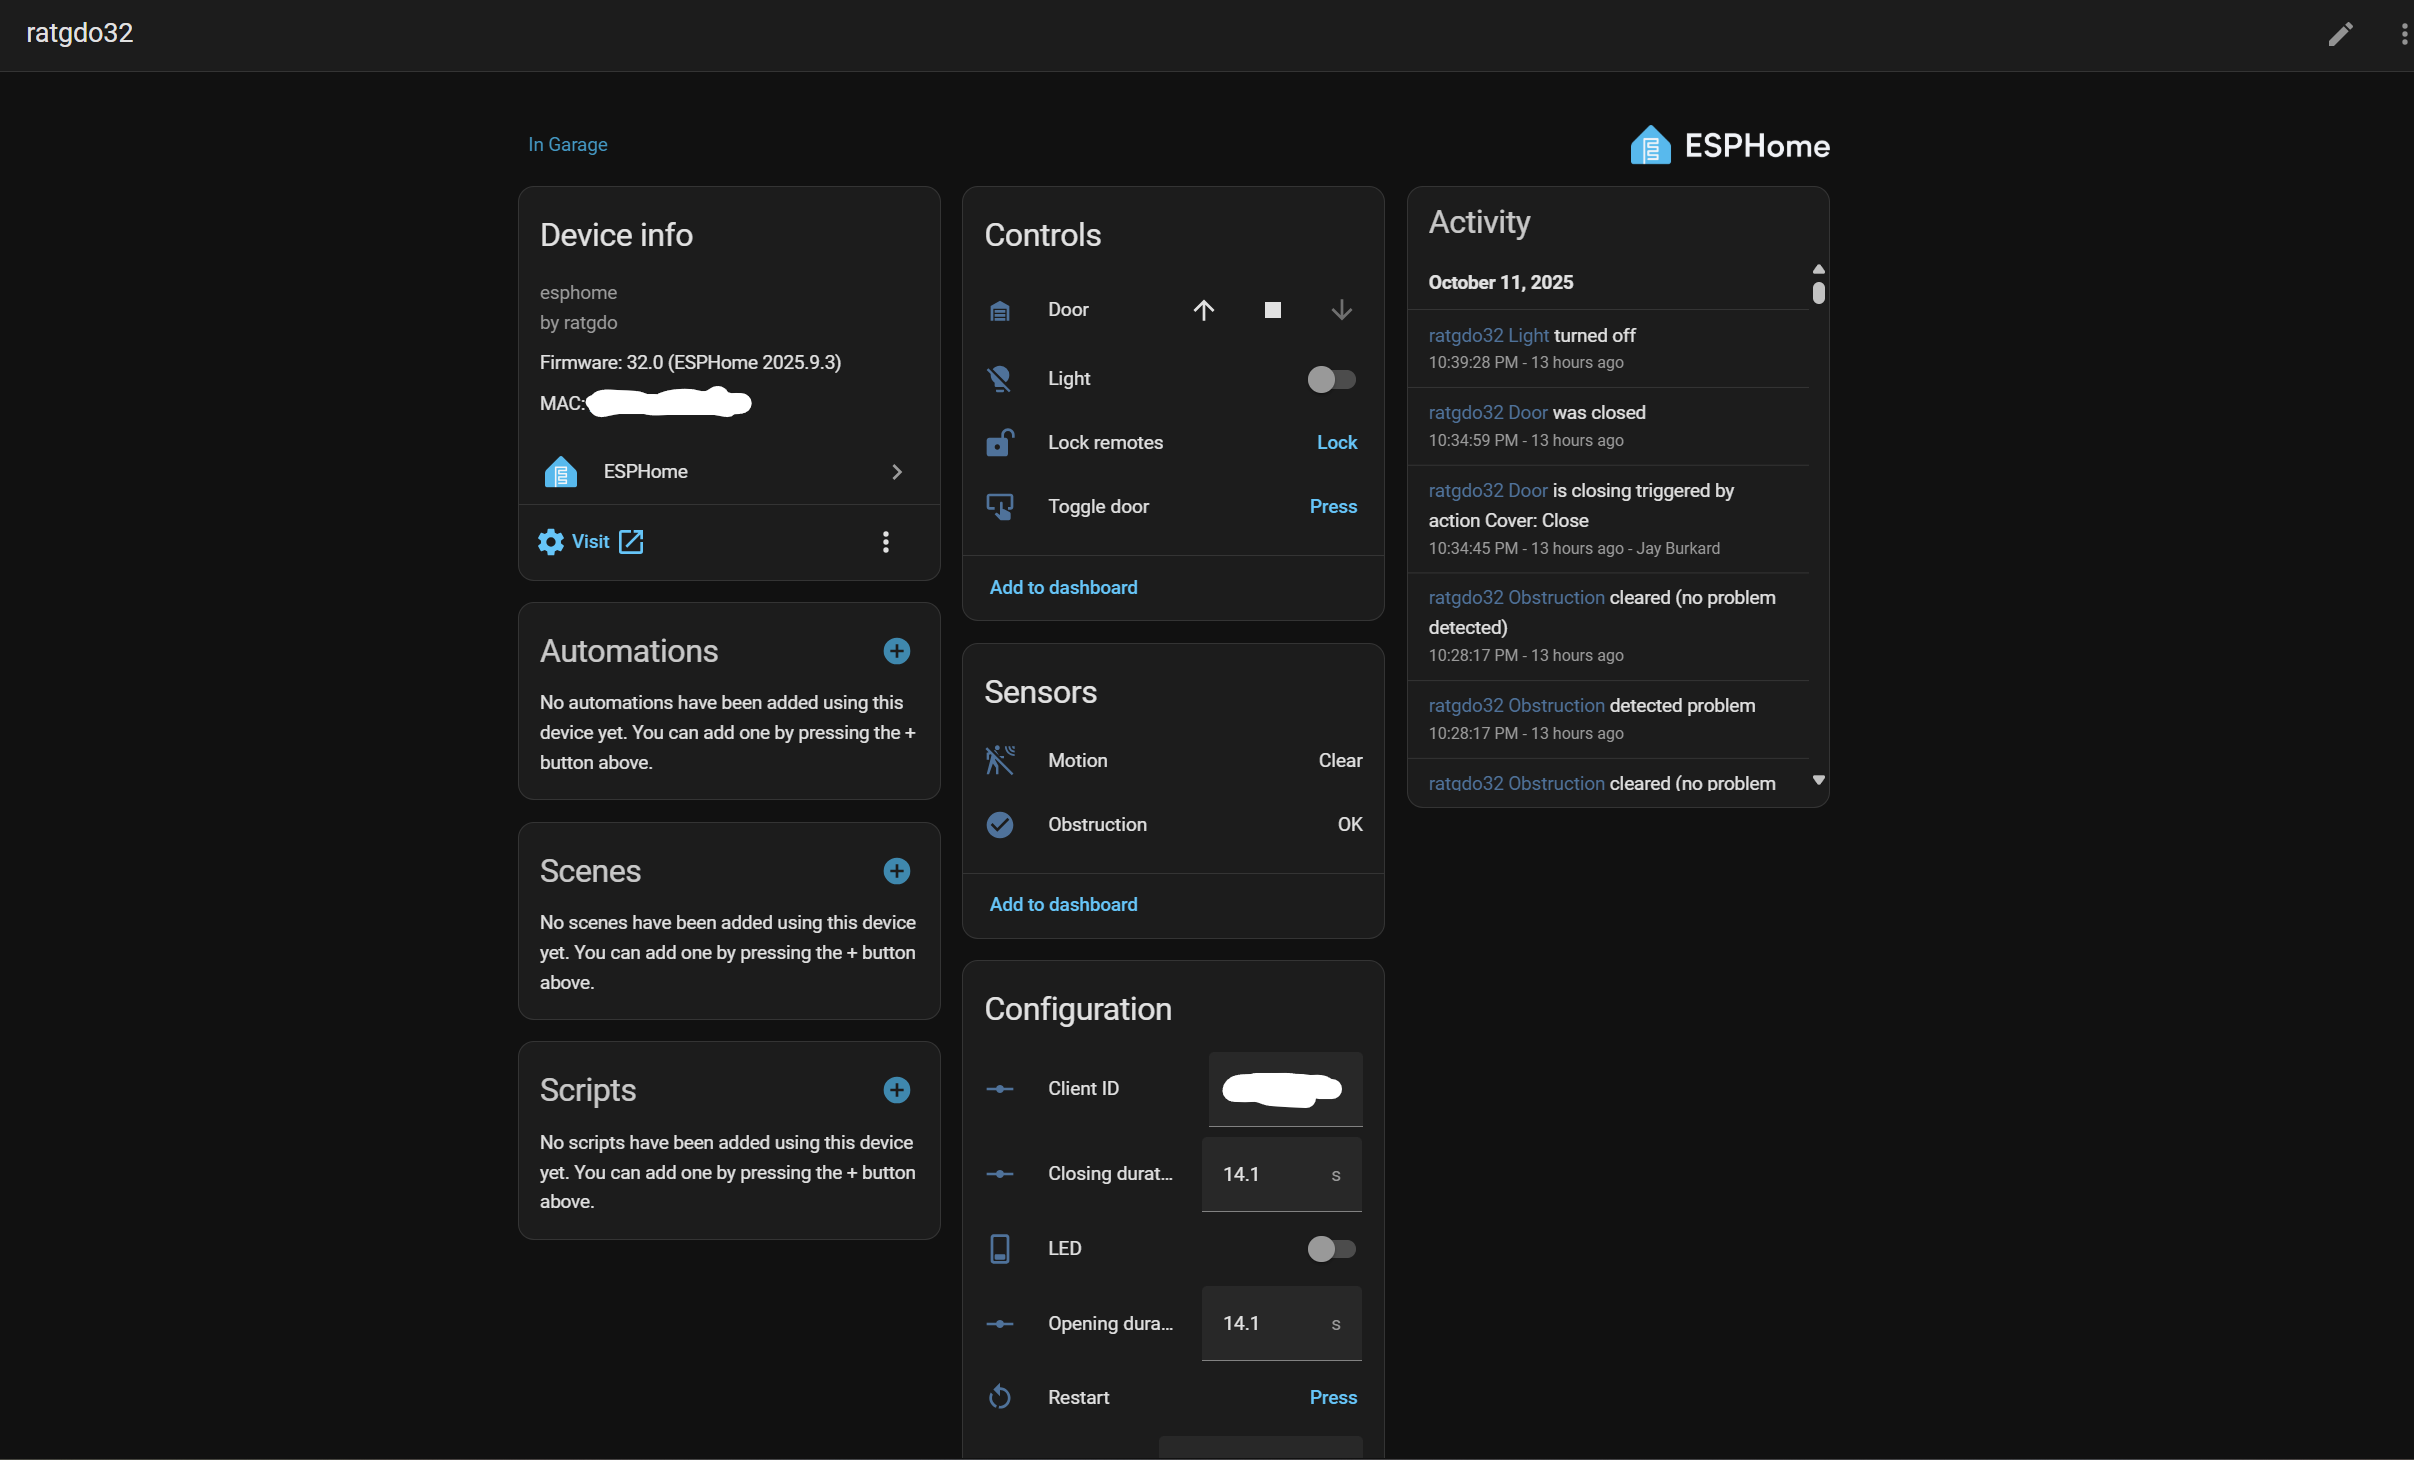
After that, all was well on the home assistant side and I could see all of the ratgdo functions in the ESPHome integration page.
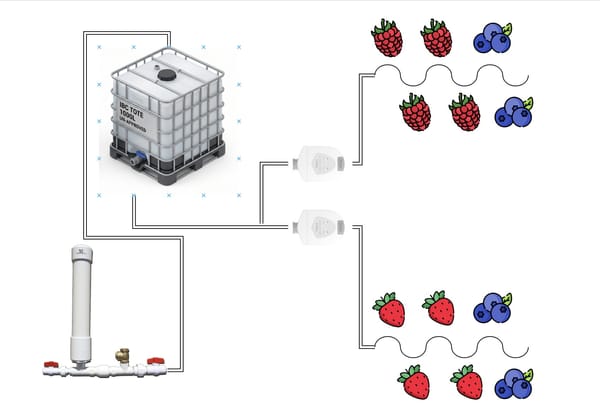
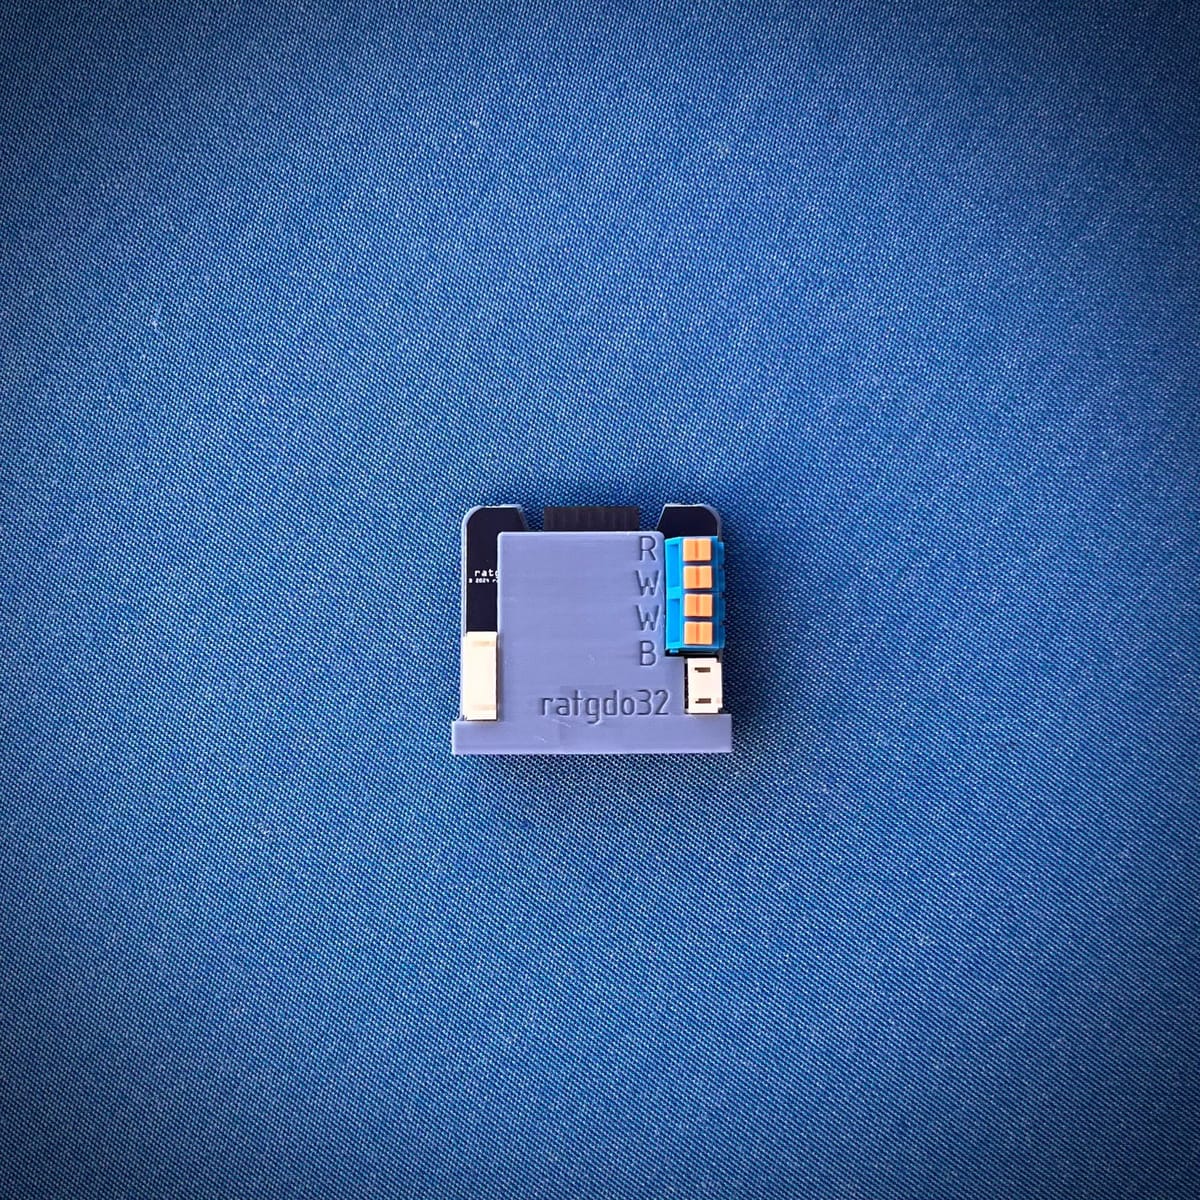
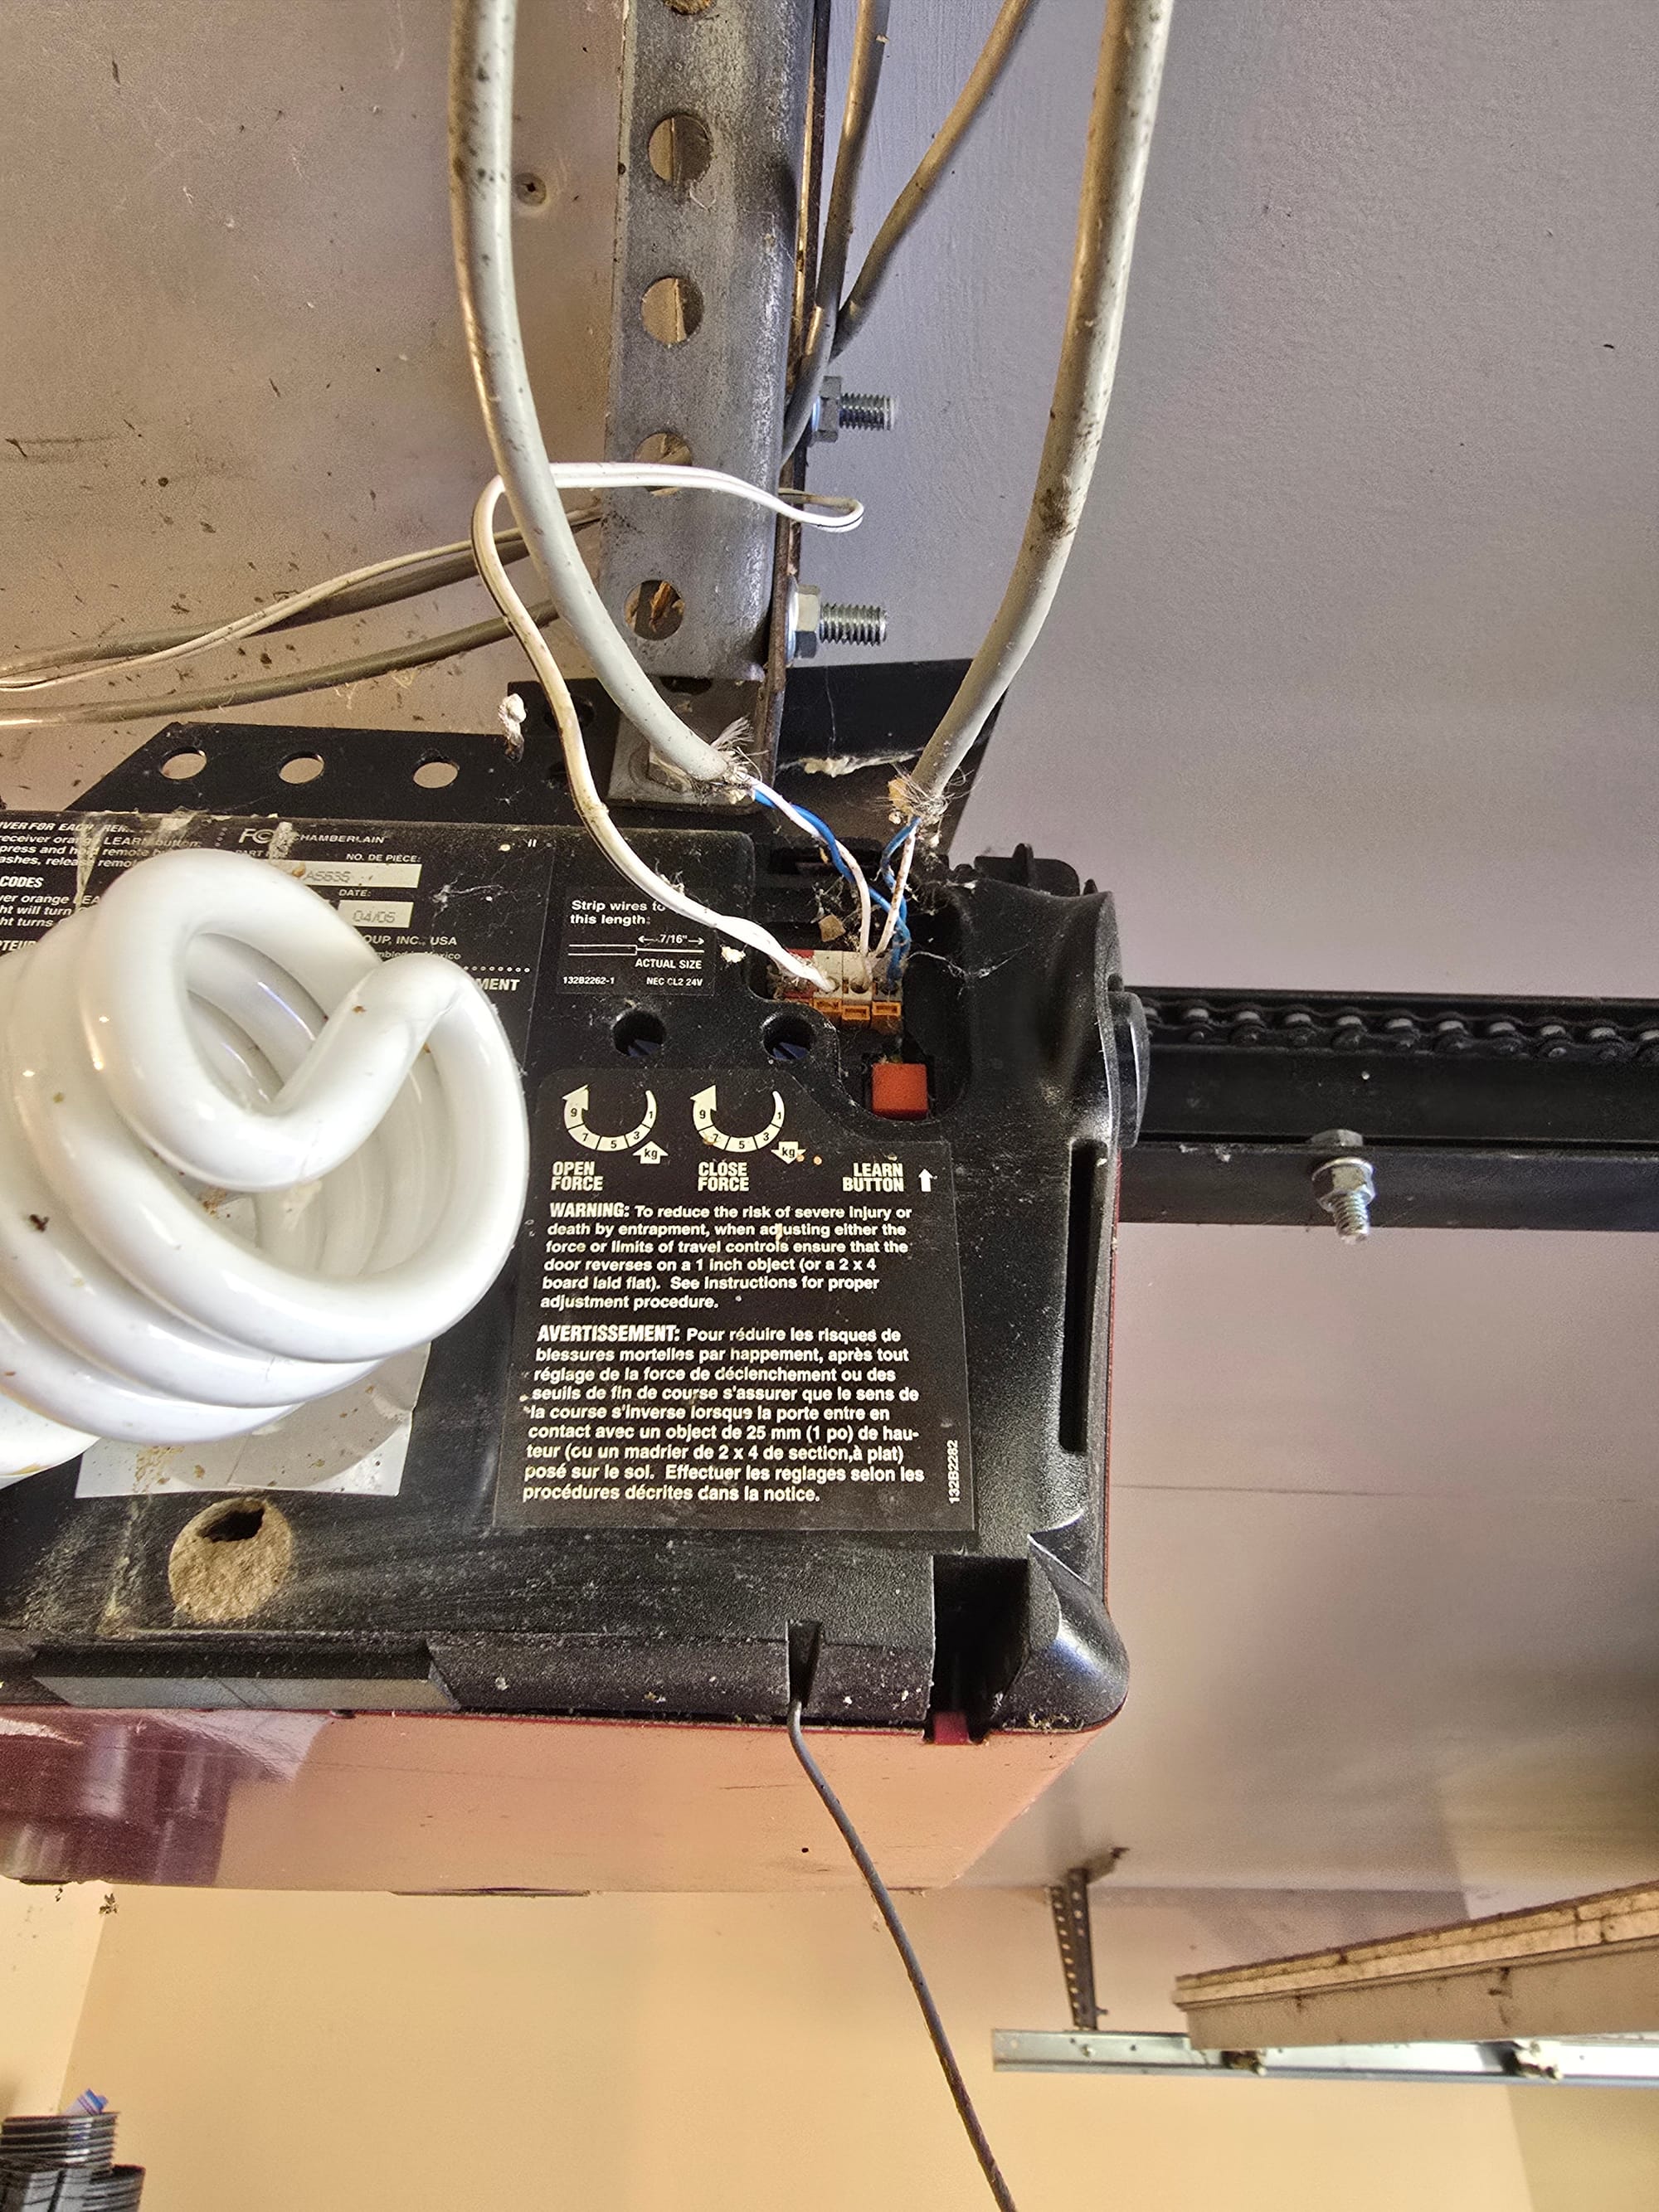
Back to the physical install - wiring was simple. The wires from the obstruction sensors came into the lower "W" and "B" terminals and the wires from the OEM remote (which in my case was just a doorbell style button) came into the "R" and "W" terminals at the top. The 3 pin header below the push terminals had a pigtail that went back out to the garage door opener itself - only 3 of the 4 terminals are landed when installed as depicted below.

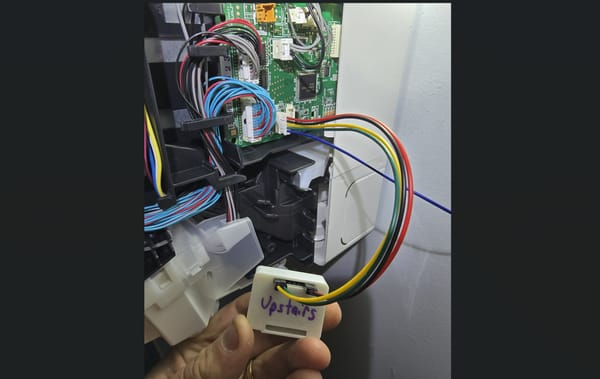
My wiring didn't exactly match the guide color wise but it was easy to tell which wires went to the obstruction sensors (blue/white) and which went to the wall button.
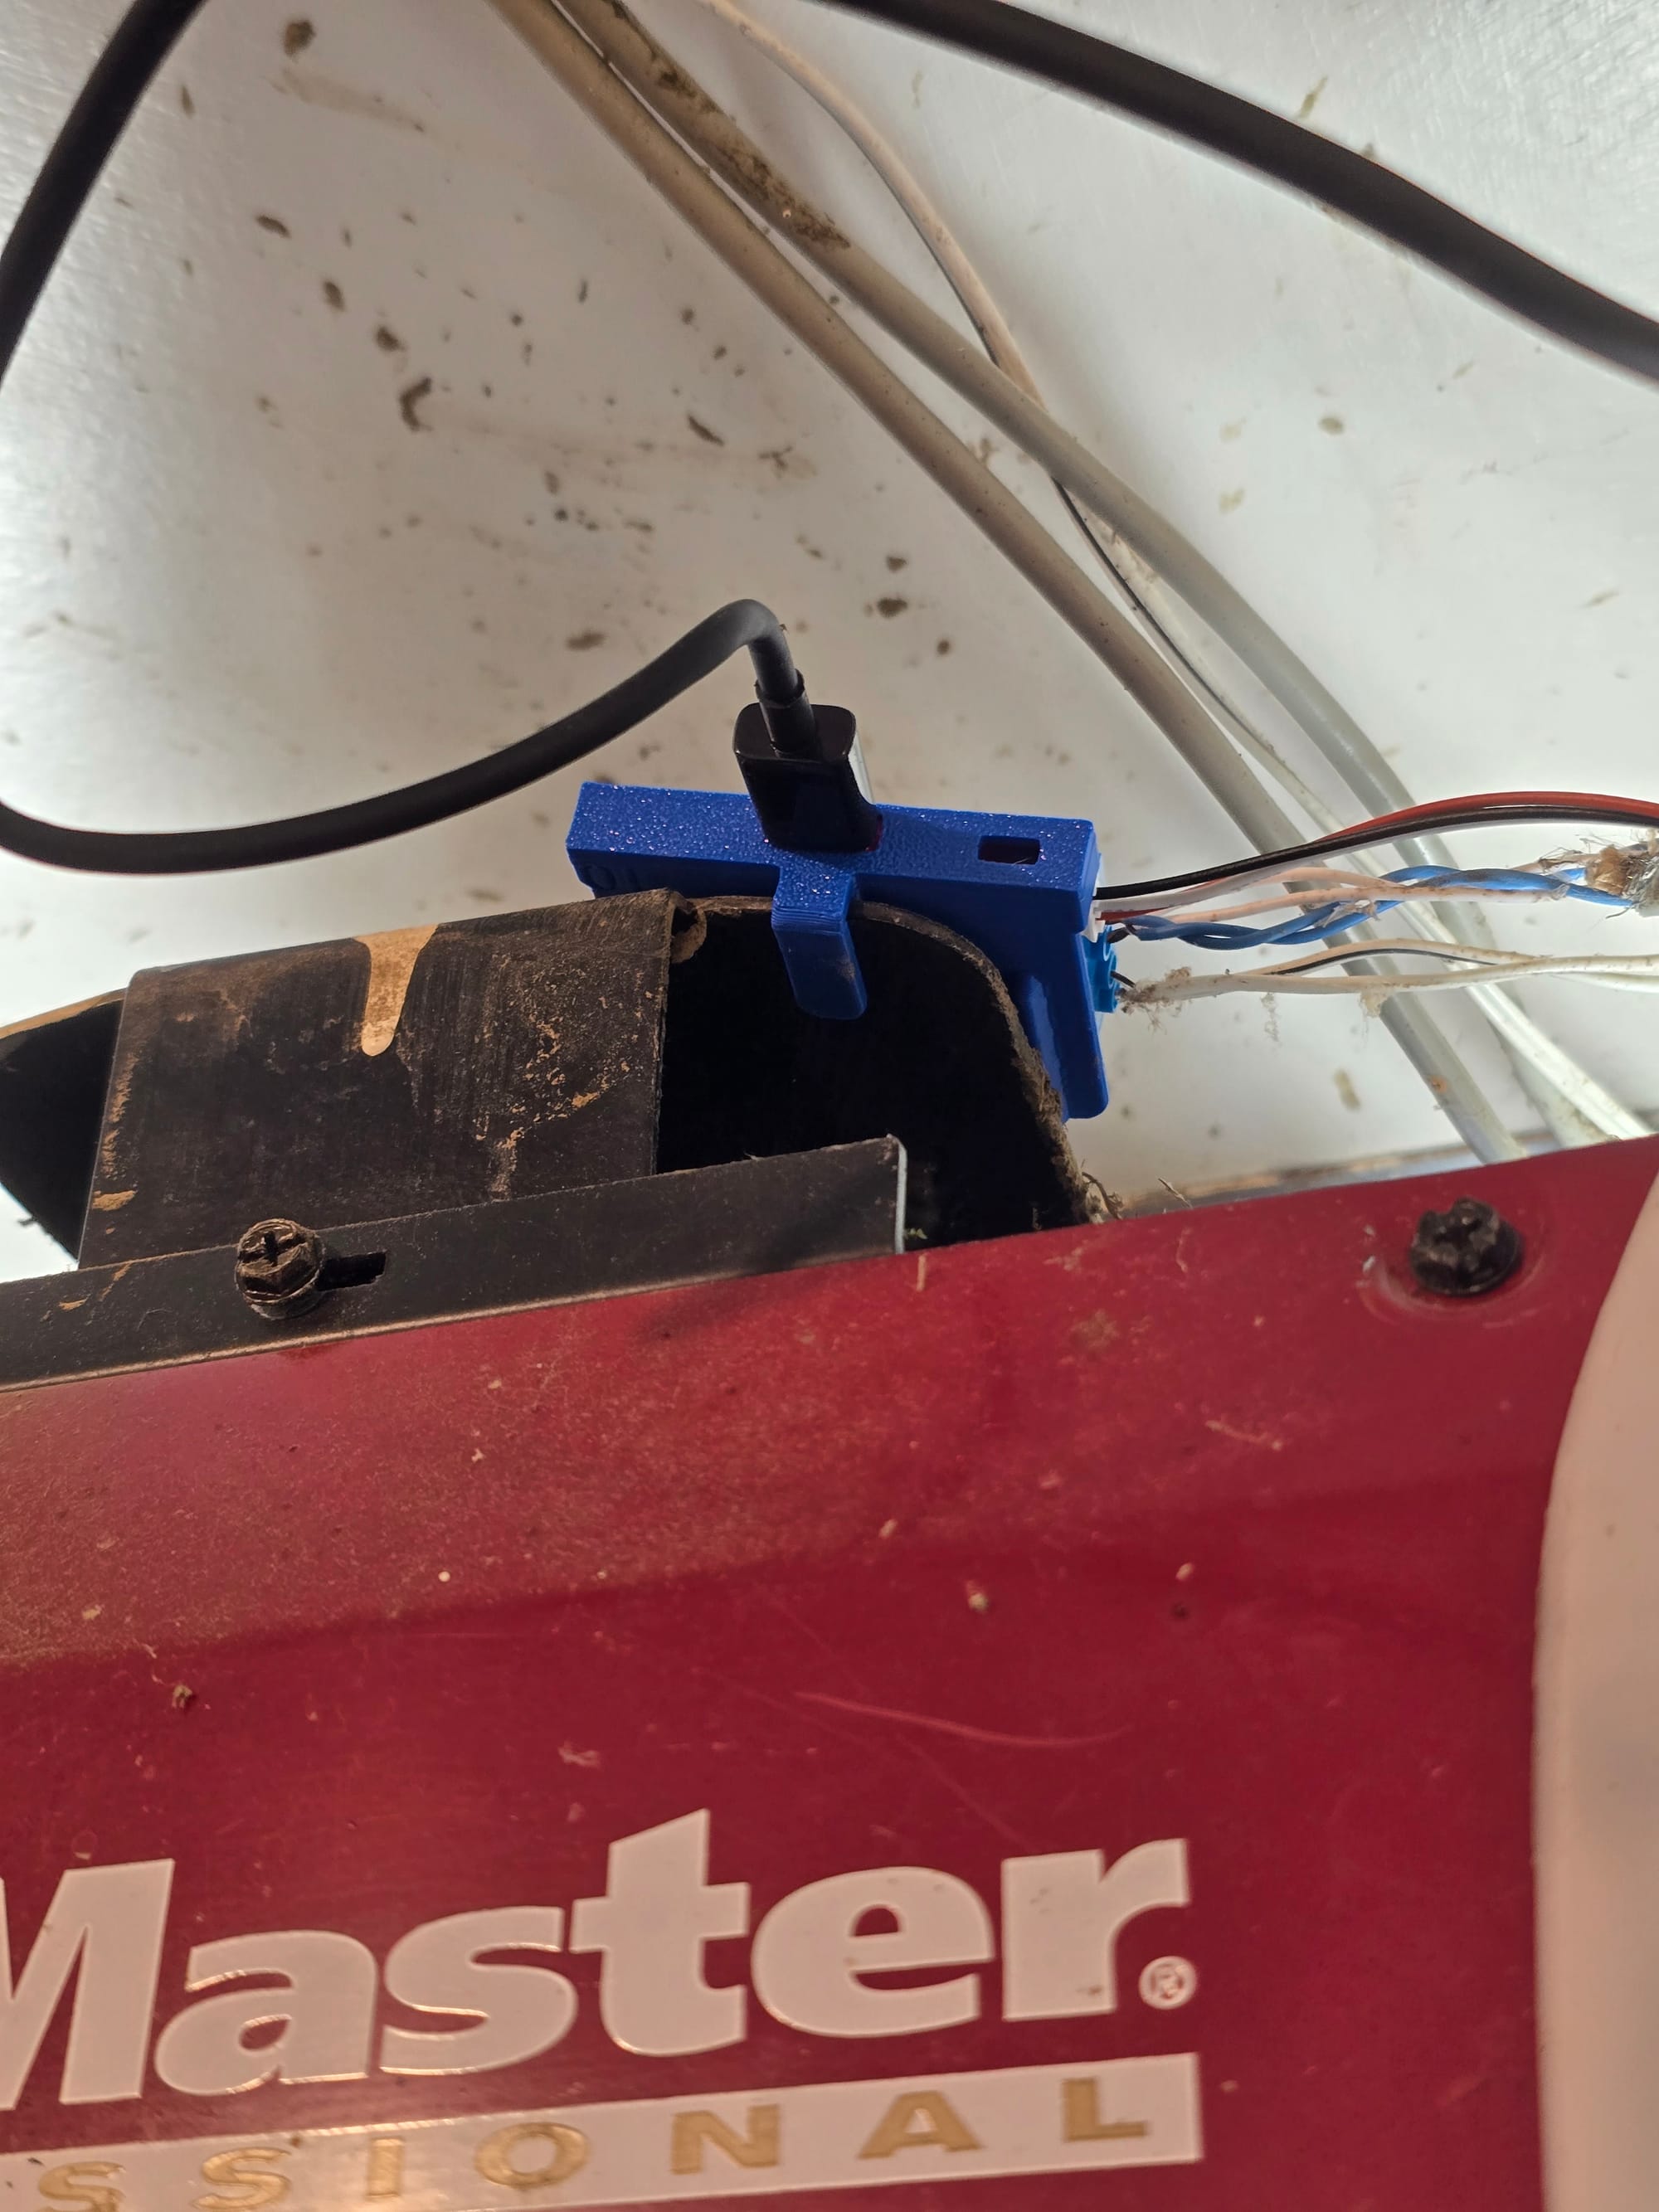
Once I had everything wired, I used the clip on the device to secure it to a little metal plate on top of my opener. I might do something cleaner eventually but this seemed secure for now.
The device worked immediately. On first close/open, it updated the time to close and time to open sensor values. The light entity worked flawlessly as did the obstruction sensor feedback. With the simple doorbell style remote we have on our wall, I had no way to toggle the light on (it came on for ~1 minute each time the door was opened or closed). Being able to use it as an additional overhead light will be very nice. If I can find a cheap one used, I may pick up a Chamberlain 889LM wall remote - ratgdo will expose the motion sensor status on it.
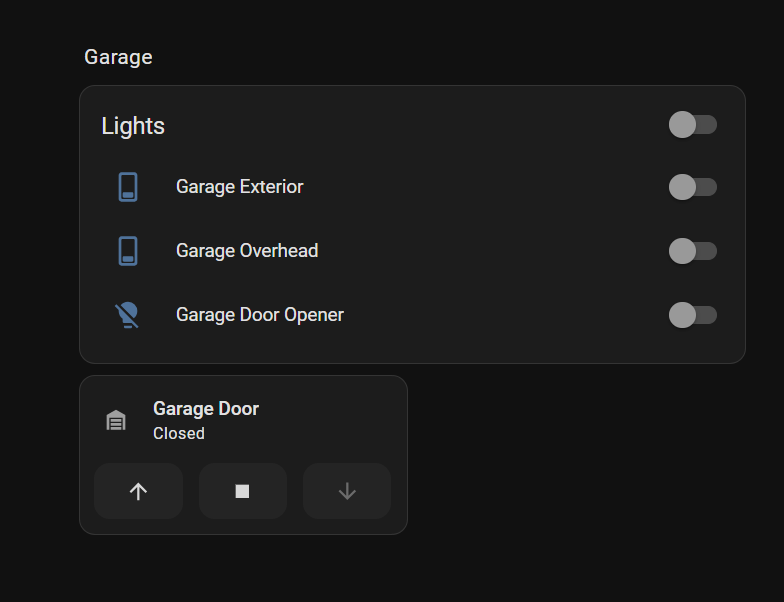
On my main dashboard, I added a couple of small header entities that show obstruction sensor status and door status. Clicking them brings up the entity details where you can toggle the door. With so many entities and integrations, I've been trying to create a minimalist home dashboard with detailed room sub-views.

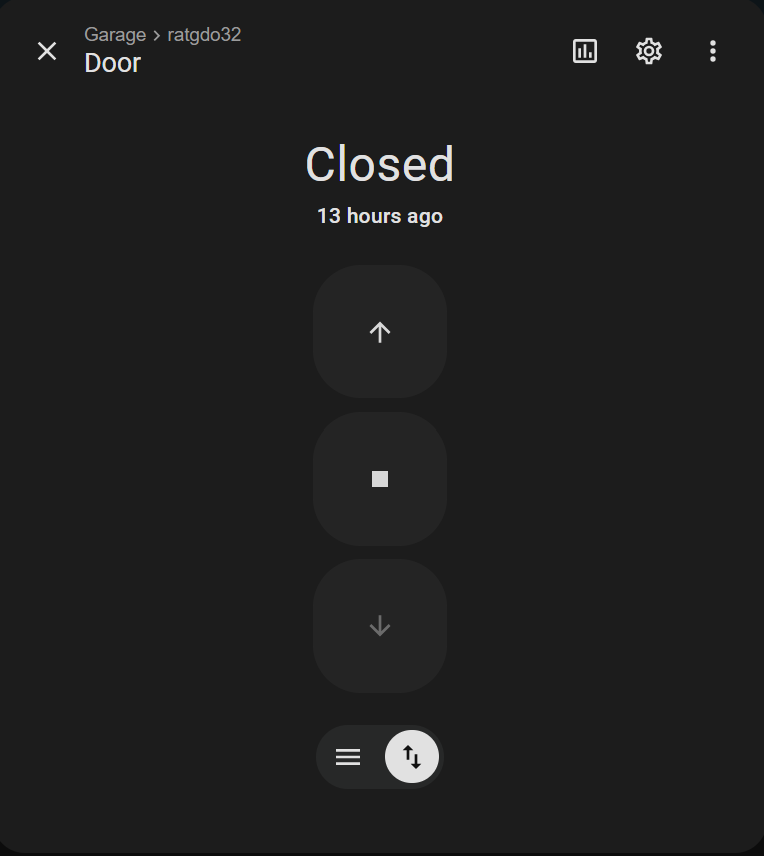
Clicking on the garage lights or garage room header brings you to the detailed garage sub view - for now I just slapped the opener on there as a tile entity.